
Expand Internal Storage by Linking your SD Card (for any Android devices)
Are you disappointed by the internal memory of your Android device? You know that you can’t literally increase your internal memory, but there is something else that you can do: feel free to allow the Android device to use some of your SD card’s storage as internal memory to install applications and games directly.
If you also choose to expand the internal storage by linking your SD card, then be sure of the fact that your Android phone will continue running with no issue as you install all your favorite games and apps.
Before starting, keep in mind that the procedure only works on a rooted Android device and that you must have at least an 8GB SD card and a card reader. Taking Link2SD is also necessary as this is an application which saves the day by installing all the games and applications on SD card’s second partition. And you must also backup your data and proceed with caution in order not to mix or skip the steps from below.
If you damage your handset in one way or another, I am not the one taking the blame, but you are the only one responsible. So, are you ready for this procedure?
How to Easily Expand Internal Storage by Linking your SD Card:
- Take the appropriate Minitool partition wizard for your system with the help of this link;
- Install the wizard;
- Then, it’s time to insert your SD card to a card reader and open it on your PC;
- Open Mini Tool in your computer and locate your SD card;
- Select Disk > Right Click > Wipe Disk;
- Now, create a partition;
- When the New partition dialog box appears, don’t hesitate to select it as primary partition with FAT32 File system;
- Then, make another partition;
- In this partition all your apps are linked in. This partition is invisible or Ghost partition and will not be displayed in the file manager;
- Don’t forget to select Primary partition, as well as Ext2 as File System;
- After all these, remove your SD card and Insert in your device;
- Install Link2SD App by using this link;
- Open Link2sd and you will be prompted to choose between ext2, ext3, ext4 and FAT32. Your choice must be Ext2;
- The mount script will be created and you have to select Yes;
- Then, reboot the device;
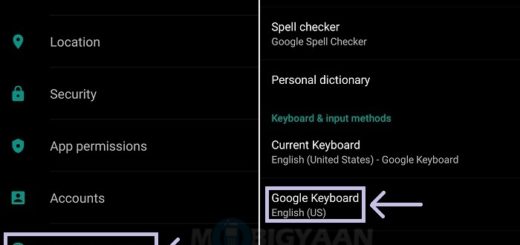
- Ensure Link2SD> Settings> Check Autolink is enabled;
- If you already have some apps, select the app you wish to move and simply select “Create Link”;
- At the end, choose Pat on your back and that was all!
Now that your SD card has been linked as internal storage, there is something that you must keep in mind: never think about taking out your SD card because in such a manner most of your applications (if not even all of them) will stop working immediately and this could be a serious problem.
Do you have any other issues that I should know about? Share them in the comments and I’ll do my best to find a solution!


Hi Mike
When I get to step 13 I am asked to “select the file system of your SD card’s second partition” when I select ext2 I get a mount script error,
Mount script cannot be created.
mount: Operation not supported on transport endpoint.
Any thoughts, Thanks