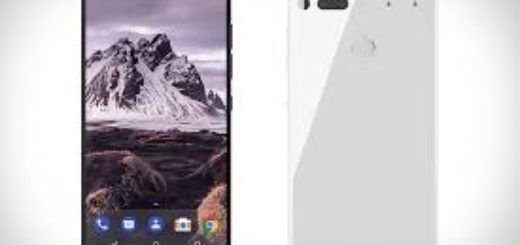
How to Install XenonHD Android 5.1.1 ROM on T-Mobile LG G3 D851
Have you heard that XenonHD is now based on the AOSP Android 5.1.1 Lollipop builds? If you like the sound of this change and want to flash this new custom ROM on your T-Mobile LG G3 D851, be sure of the fact that here I am to support you, but you should first check and follow the instructions listed in this tutorial.
For the start, my advice is to take a backup of all the important data stored in your LG’s G3 as a complete wipe will erase everything you might have stored. Then, download the phone USB drivers and install them on your computer,or else you won’t be able to install the Android 5.1.1 Lollipop featured XenonHD firmware.
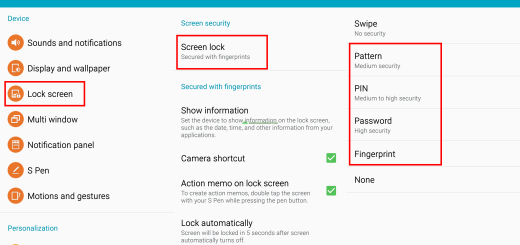
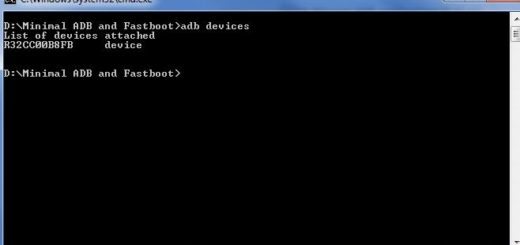
Next, make sure that you have deactivated the security protection and enable the USB debugging mode in your smartphone. To be more specific, you must first enable Developer options by following this path: Settings -> About Phone (tap several times on the build number to enable Developer options) and then, just enter into: Settings -> Developer options -> USB debugging and tap on the appropriate box.
Your device must be rooted (read: How to Easily Root LG G3 using One-Click Root method) and must sport a custom Recovery as well in order to be prepared for the procedure (the Lollipop XenonHD ROM is offered in form of a .zip file) – for the moment, I am only talking about the PhilzTouch CWM and the TWRP one. And do not start the operation without checking the battery charge level of your LG phone. You know that it has to be over 60% to prevent the device from powering down while you’re flashing the firmware files.
Do you know what are the risks of applying these steps on the wrong handset? You can easily end up bricking it, so make no mistake. Use this post only if you are the user of a T-Mobile LG G3 device which has the D851 model number. That is why I strongly encourage you to verify the version of your device under Settings> About Phone menu to be sure that there is no confusion threatening the safety of your handset.
As for the warranty, you know that it will be voided, but it can be restored by following the steps from this guide: How to Restore the Warranty on your Android device. While there are such methods of restoring it, I also want to warn you about the fact that there is no guarantee that the warranty department won’t catch on. Even more, these guidelines are for the advanced users and I will not be held responsible if anything goes wrong during the update process.
How to Install XenonHD Android 5.1.1 ROM on T-Mobile LG G3 D851:
- For the start, you have to take the custom ROM file by using this link;
- Also enter here to download Gapps;
- Transfer both these zip files to your phone’s internal storage by using the original USB cord;
- Switch off your LG G3;
- Then, boot the device in Custom Recovery Mode;
- Don’t forget to create a NANDROID Backup, so choose the ‘backup’ option;
- It’s time to ‘factory reset’, so for Philz Touch: select ‘wipe data/ factory reset’;
- For TWRP, you have to choose ‘wipe’ menu;
- You must confirm the factory reset;
- Start the XenonHD 5.1.1 ROM installation by loading the ROM zip file, so for Philz Touch select ‘install zip from sdcard’;
- For TWRP, just use the ‘Install’ menu;
- Browse the SD card for the Android 5.1.1 Lollipop custom ROM;
- Then, simply load the XenonHD zip file;
- Confirm the installation process;
- After the ROM is flashed, go back to the installing option;
- This time, you have to upload the Google Apps package;
- Go back to the main recovery and reboot the LG G3 T-Mobile device in normal mode (do that only after all the new files are installed successfully).
Keep in mind that the first boot process might take a while before it loads all the new, so there is no reason to get too agitated.