How to Install TWRP Recovery on your Sony Xperia ZL
Just the fact that you own an Android device doesn’t have to mean that you can take advantage of all what the Android development community has to offer. There is no mystery that you need a custom recovery installed and Sony’s Xperia ZL is no exception to that. With the help of these steps, you will be able to power up and speed up your Xperia ZL. TWRP, otherwise known as Team Win Recovery Project is my choice for this moment, so don’t hesitate to keep reading.
This guide is tailored for Sony’s Xperia ZL, so don’t make the mistake of applying the TWRP recovery file on any other version or device. I’ve warned you about that, so you have no excuse for making any confusion.
Even more, don’t skip the preparatory steps: well, as you can imagine, my first advice is not to forget about the backup process. Saving all of your data is a must, so you should use a cloud storage software, a SD card, or various other backup and restore apps that can be found on Google Play in order to be sure that your data is safe (learn How to Backup Android Data Without Root, Backup and Restore LG G4 Data with Ease, How to Backup and Restore IMEI / NVRAM Data on Android Devices, How to Efficiently Backup Galaxy S6 Data and more in the How to section).
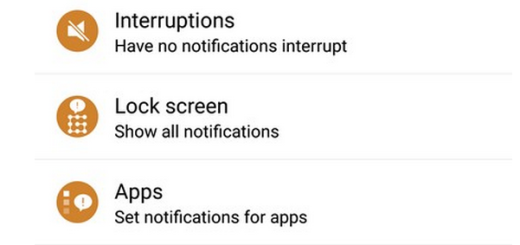
When it comes to your PC or laptop (the one that you are going to use for the TWRP recovery installation procedure), the best is to temporarily turn off any security programs as they don’t get along too well with such operations. Then, on your Sony Xperia ZL you have to gain Developer Options. For that, just tap several times on Built Number from Menu – Settings – About phone) and then, you have to enable USB debugging Option (check this option from Menu – Settings – Developer options).
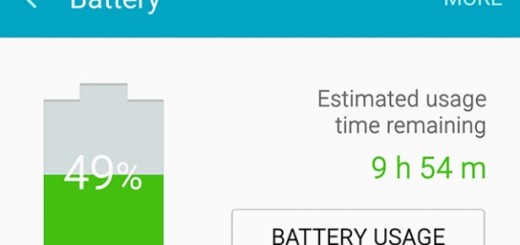
Are you ready for the procedure? Not so fast; you should plug in the charger if the battery power left is lower than 60% or you risk having a very unpleasant surprise.
How to Install TWRP Recovery on your Sony Xperia ZL:
- From here you have to take the TWRP recovery file on your computer;
- Then, unzip the TWRP recovery package on desktop;
- Enter into the folder;
- Do not hesitate to press and hold the Shift keyboard key while right clicking on any blank space in order to open a command prompt window;
- Then, turn off your Sony Xperia ZL;
- Enter it into fastboot mode;
- Use the original USB cable to make a connection between your handset and the PC;
- Now, in the cmd window, you must enter the command: “fastboot flash boot boot.img”;
- Have patience while TWRP recovery will be flashed on your phone;
- Unplug the USB cord;
- Then, you just have to reboot the handset.
Congratulations! You have successfully installed the TWRP Recovery on your Sony Xperia ZL device. If you have any questions, post them in the comments section below and I’ll answer them as soon as possible.