How to Install TWRP Recovery on HTC One A9
HTC One A9 is a newly released Android smartphone that runs on Android Marshmallow out of the box, which is great, but I can only imagine that there are still owners who want to improve their experience. If you are one of them as well, it’s obviously that you ca install custom recovery in order to explore more features on your HTC One A9 device.
Let me tell you from the start that the TWRP recovery software listed here goes by the version 2.8.7.0 and it comes from Captain_Throwback. You can flash the TWRP image on your HTC One A9 using the usual adb and fastboot method and amazing changes are going to wait for you. Don’t you know what to do? Don’t worry as I have everything covered in the detailed steps below.
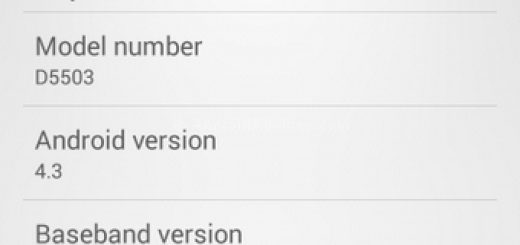
Before you proceed, make sure that you Enable USB debugging on your HTC One A9 smartphone. To enable this feature, simply go to Settings >> About Phone and then scroll to build number and tap up to no less than seven times, till you get a message saying you’re now a developer. Then, return to Settings >> Developers option and enable USB debugging.
You must also unlock bootloader of your HTC device if it’s locked before flashing TWRP recovery, and note that that you must set up ADB and Fastboot on your computer. It is up to you to download the minimal ADB and fastboot tool from here or to take the quick ADB and fastboot installer by using this link.
Then, HTC drivers are also needed on your computer and do not forget to back up all your precious data from the recovery, including your photos, contacts, videos, files, apps, IMEI / NVRAM data and anything else that you want to use after the procedure ends.
This is helpful in case something goes wrong and even though you might feel confident and you’ve done this more than once, let me remind you that accidents tend to happen all the time. So, be prepared for every single step that you have to take and don’t start looking for responsibles for your hansdet! You are that one!
How to Install TWRP Recovery on HTC One A9:
- Head to this page and download the recovery image file;
- You must transfer the file to your PC where you can easily locate it (use the original USB cord for that);
- Now power off your device and unplug it from your PC;
- Enter it into bootloader mode. For that, you have to press and hold the Volume Down and Power buttons together until seeing the bootloader screen;
- Connect your smartphone to the computer via USB cable;
- Now, open the ABD and fastboot folder;
- On a blank space in the folder, tap shift + right click;
- Select the Open command prompt windows option;
- After that, enter the following command in the command prompt to check your phone’s connectivity: fastboot devices
- Then, enter these commands to flash both the twrp recovery image files:
fastboot flash boot boot.img
fastboot flash recovery twrp.img - At the end, the custom recovery will be installed on your HTC device. You are finished!