How to Install Stock Firmware on Samsung Galaxy S7
As you know, there is no OTA that can be received if your Galaxy S7 is rooted or unlocked. So, everything should normally be kept official if you want to get new updates by air or else you will have to revoke root access and reinstall the stock Android firmware on your phone.
You probably know that you can choose to flash the official Android update manually and this is exactly the operation that I want to tell you more about.
This guide will allow you to easily restore your Galaxy S7 back to factory settings, just like the day you bought it. To be more precise, it will remove any sign of root, custom ROMs, or modding on your phone. Even if you’re not rooted, but planning on selling your phone or sending it back to the carrier or Samsung, this tutorial is the best as it will wipe any personal information you may have on your Galaxy S7.
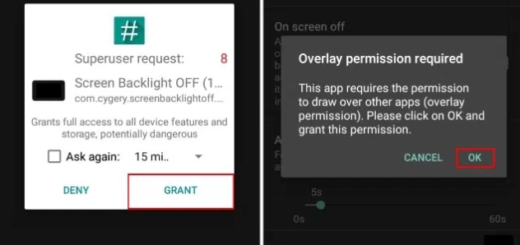
For being able to perform it, you must use a computer running on Windows on which you will install Odin at a later time, the small tool developed by Samsung and used on update types of operations. Also, on your phone you have to access Menu – Settings – About phone from where you have to tap several times on Built Number, until you become a developer. Up next, you must check the USB Debugging option, a feature that can be found under Menu – Settings – Developer options. And you should also think of disabling the security protection from your computer before doing anything else as it might stop the procedure or make you a hard time while performing it.
This guide will only take no more than a few minutes and your Galaxy S7 will be back to its initial days with no problem and all user information removed, so what are you waiting for?
How to Install Stock Firmware on Samsung Galaxy S7:
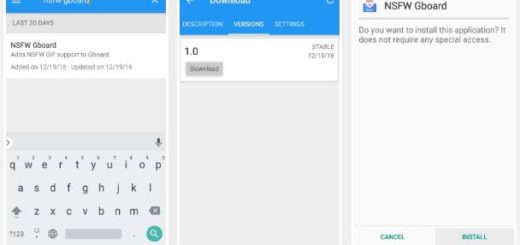
- Firstly, take the firmware from here;
- power off the device using the Power button;
- Now, you have to press and hold the Volume Down, Home and Power buttons at same time. You can release them only when you see Android Logo with the usual warning;
- Now, press ‘Volume UP’ to get in to Download mode;
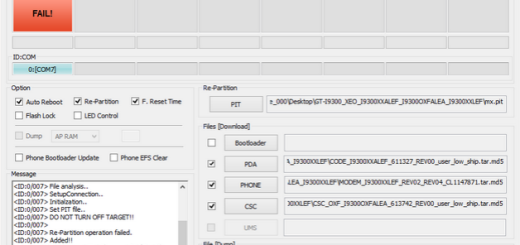
- Don’t hesitate to head onto PC and find the Odin3.0.9.exe file and run it;
- A Odin screen will appear, so connect your device to your PC using USB cable;
- Look on Odin program, the ID:Com section should turn to light blue or green. That means that your phone has been detected successfully;
- If this doesn’t happen, you just have to install USB drivers and reconnect your device to the computer;
- Then, select “AP”;
- Locate the .md5 file from the extracted folder of downloaded firmware file;
- Do not make any changes to it. You just have to keep unchanged all the settings on Odin;
- Now,don’t hesitate to click the start button. Once the process is completed, the PASS message will appear on the ODIN screen.