Solve Samsung Galaxy Odin Firmware Installation Failed at Hidden.img Issue
Odin is Samsung’s popular software that leaked onto the internet a few years ago and I am sure that many of you know about it. This is a Windows based one-click tool that can be easily used to flash firmwares, kernels, ROMs and other files which are in the .tar and .tar.md5 format. The magic is that this tool is a Standalone executable package which doesn’t need any special extensions, being very simple in design and convenient to use.
When you are in a mood for a change, a world of possibilities is waiting for you out there and I know that most of the people frequently change the firmware, try new custom ROMs or flash kernels to improve performance. Sometimes, all you have to do is to download the firmware file and go through a few basic steps to flash a firmware on any Galaxy phone or tablet. Anyway, despite of how simple this sounds, there are always some chances to get into problems. I am not here to hide that Odin is a very powerful tool and it should be used very carefully. If Odin falls into the wrong hands or if you aren’t careful, it can turn your phone into a very expensive brick.
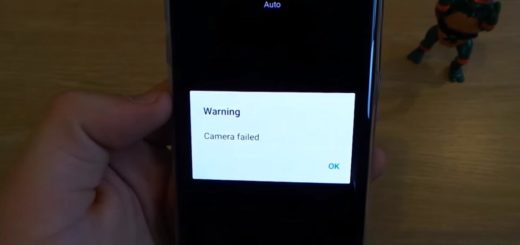
This is why you have to make sure you’re careful when you use it and be prepared for unpleasant surprised too. For example, if you have been trying to install a firmware file on your Samsung device and the firmware installation fails due to that annoying hidden.img issue, let me be your guide and show you how to put your device on the right track again.
For that to be possible, you need the stock Samsung firmware file with .tar.md5 extension and to install a zip extractor program on your computer – if you don’t have any idea, I can assure you that 7-Zip is among the best options, so grab it from here. And don’t forget to charge your handset – fully, or at least to 60% if you don’t want to make things even worse than they are at this point.
Solve Samsung Galaxy Odin Firmware Installation Failed at Hidden.img Issue:
- Open the folder where you have saved the firmware file;
- Up next, click the View option in Windows Explorer menu and enable File name extensions option there;
- Right-click the firmware file and select Rename option;
- You can finally remove the .md5 extension from the file name so that it end with .tar only;
- Now right-click the firmware file and highlight 7-Zip;
- Choose Extract to “firmware file name” and have patience while the operation takes place;
- After extracting the firmware, open the extracted folder;
- It’s time to look for the hidden.img file in the folder and delete it;
- Celect all files in the folder by pressing Ctrl+A keys;
- Right-click on the files and select the 7-Zip> Add to archive option;
- A new window will pop up, so click the drop-down menu in front of Archive format and select tar;
- Then, click OK;
- When the compression is done, you’ll get a new file with firmware name and .tar extension;
- You can right-click this file and add .md5 extension so that you have .tar.md5 extension;
- Now, you can finally install the firmware in Odin without getting failed firmware installation because of hidden.img.