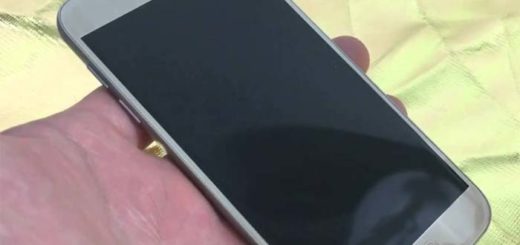
Install Android 7 Nougat Firmware on your Galaxy S7 SM-G930FD
At the moment, unlocked Galaxy S7 models are updating to Android 7.0 Nougat in the U.S., among several other markets. Well, we even know for sure that the very same S7 handsets are now updating to Android 7.0 Nougat in India, but what about Galaxy S7 SM-G930FD handsets?
You own the dual-SIM model of the Galaxy S7, so things might be a little complicated at this chapter, but now your wait is over too! Yes, you can do that, since the official Nougat firmware is out for this specific model as ,well but before you proceed to the download and guide section, let me remind you to take a backup of your data (if you’ve created a backup before, you know that it takes some time, but it is a must if you care about the safety of your data), and make sure that you have Samsung’s USB Drivers installed on your computer.
After that, you must go to Settings> Developer options and enable USB debugging and I also know that batteries are one of tech’s most boring subjects … until your smartphone dies in the middle of such a procedure and you simply end up with a bricked Galaxy S7 SM-G930FD. I know that you don’t want that, so charge it now or it might be too late to do it!
How to Install Android 7 Nougat Firmware on your Galaxy S7 SM-G930FD:
- The following firmwares can be installed on any dual-SIM model of the Galaxy S7 regardless of country:
India: G930FXXU1DQAZ_G930FODD1DQAZ_INS.zip
Thailand: G930FXXU1DQAQ_G930FOLB1DQAQ_THL.zip - Now, also take the Odin3_v3.12.3.zip by accessing this link;
- Extract it on your desktop;
- At this point, you’ll find 5 files with .tar.md5 extension inside the extracted folder and you will see that every single one of them has a specific role;
- Now, you must turn off your Galaxy smartphone;
- Press and hold the Volume Down + Home + Power keys at the same time for just a few seconds to boot your device into the Download mode;
- You should release the keys only when you see a blue screen with exclamation sign and press the Volume Up key;
- When your S7 phone gets into the Download mode, open the Odin folder;
- You must now launch the .exe file to launch it;
- Now, connect the smartphone to your computer with the help of the original USB cable;
- The ID:COM port on Odin will be highlighted as soon as your device is detected;
- Click the BL button, navigate to the firmware folder and add BL_G935FXXU1DQAZ_REV00_user_low_ship.tar.md5 to it;
- Click the AP button and add AP_G935FXXU1DQAZ_REV00_user_low_ship_meta.tar.md5 file to it. Since the AP file is huge in size, it might take some time for it to be added in Odin;
- Up next, click the CP button and add CP_G935FXXU1DQAF_REV00_user_low_ship.tar.md5;
- Then, add the CSC_ODD_G935FODD1DQAZ_REV00_user_low_ship.tar.md5 file to the CSC field. Leave the HOME_CSC file;
- Up next, you can finally click the Start button to install the Android 7 Nougat Firmware on your Galaxy S7;
- When the firmware is installed, you will get PASS! message in Odin and your phone will reboot automatically;
- Your device will boot up normally after the firmware installation. That was all this time!
For any queries, comment down below.