How to Install Official Lineage OS on LG G3
A large number of LG G3 users have been wondering me what to do in order to enjoy the Lineage OS on their LG G3 smartphones. I never leave your requests unanswered, so here I am with a fresh guide for your handset! LG G3 supports Lineage OS, and there is no secret about the fact that it is one of the finest devices to come with this support.
Therefore, I see no reason for not enjoying this advantage. I while ago I was telling you that the Lineage OS for the LG G3 is still an unofficial ROM and that we expect the actual ROM to release shortly. This has happened and I am no longer talking about an unofficial version of Lineage OS, but this is the official one and lets you take a peek at what’s new in the CyanogenMod iteration, that it is stable for an everyday usage and that will smoothly run on your LG G3.
Interested users can download the ROM and install it on their phones by making use of the instructions below, but not before taking in consideration some important preparatory steps:
- For the operation to work, your LG G3 must be rooted (enter here) and with a custom recovery image (preferable TWRP) installed; such procedures will void your warranty, so you may consider thinking twice before going to this path;
- The Official Lineage OS for the LG G3 is based primarily on the AOSP (Android Open Source Project), so you must install a Gapps package additionally, which allows you to access Google services like the Play Store;
- During the flashing process you can easily lose your personal files – I am saying that as long as you will have to complete a hard reset and you will also have to clear app data cache to make the new Lineage OS run properly. So, don’t waste any more time and back up your contacts, call logs, texts, images, videos, audio files, market apps, internet settings, IMEI / NVRAM data and anything else you might want to keep using after the procedure reaches to an end;
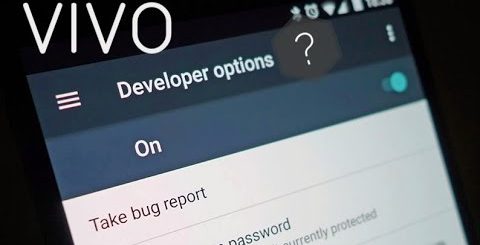
- A connection between your laptop and the smartphone will be required at a later point – this is something that you need to know from the start. So, on your phone you need to check the USB Debugging option from Menu – Settings – Developer options (in case of not being a developer, first go to Menu – Settings – About phone and tap 7 times on Built Number until you get the ‘you are a developer’ message) and prepare the handset’s original USB cord;
- Charge your LG G3 smartphone if you don’t want to soft brick it or damage it in any other way. Do I really have to remind you that malfunctions can be caused if you’re the device turns off right while you try to install this Official Lineage OS?
Note: You are the only person doing changes to your phone and I cannot be held responsible for the mistakes done by you.
How to Install Official Lineage OS on LG G3:
- You can download the Android Nougat based Lineage OS from this page to your computer;
- Also take the compatible Google Apps and place the file on your PC;
- Power on your handset and establish an USB connection between your phone and your computer;
- Move the downloaded files from your computer to your phone;
- Up to this point, the computer is no longer required;
- Switch off your LG as the recovery mode menu will have to be accessed;
- Next, enter recovery mode on your handset and from recovery clear the system in order to prepare your device for the update process – thus, select: “wipe data factory reset”, “wipe cache partition” and “wipe dalvik cache”.
Wait a few moments until the system is cleared and when done, go back to the main menu of recovery; - From there, choose: “install zip from SD card”;
- Then, “choose zip from SD card”;
- Select the Android Nougat update package and flash the Lineage OS on your LG G3;
- Then, you should also flash the Google Apps package by repeating the very same process;
- When the flashing process is completed, return to main menu of recovery and choose “reboot system now”.