How to Root Samsung Galaxy J2 Prime G532F
Your Samsung Galaxy J2 Prime G532F is an amazing handset, but what if you want to make Android a little more personalized than it is now? The answer, of course, is that you should root your device. Root access gives you full control and admin rights on the device and makes everything seem possible. However, it’s a completely unofficial operation and you will lose the warranty of the device, that is something that I have to warn you about from the start.
If that doesn’t scare you off, then you are in the right place, that’s for sure. Before rooting your device you need to know exactly what model you have – installing the package made for another model on your own might seem a joke, but it actually could turn it into an expensive paperweight. If your version is not Galaxy J2 Prime G532F, then this tutorial is not for you (let me know and I will do my best to help you).
Rooting isn’t particularly difficult or very dangerous, but if you are a newbie, then it might be worth trying alternative customization options such as custom launchers or apps that can do wonders. But if you are already convinced that this is what you have to do, then:
Prepare your device:
- Enable Developer Options: you have to go to Settings -> About device and tap 7 times on Build number to enable Developer options;
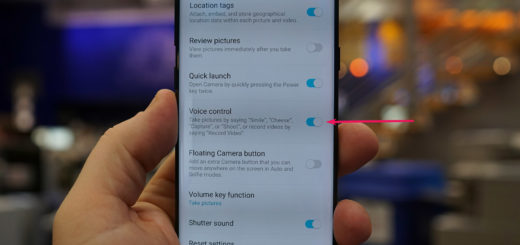
- Enable OEM unlock and USB debugging options (for that, just enter into Settings -> Developer options);
- Download the Minimal ADB and Fasboot Setup and install it on your computer;
- Make sure that you have Samsung Mobile Phone drivers installed on your computer. If you don’t, then download the drivers from your device, install them on the PC and proceed to next step;
- You must take a backup of your important files on your device to a safe place as this operation will format your entire device;
- Ensure that your Samsung Galaxy J2 Prime carries more than 70% of charge.
How to Root Samsung Galaxy J2 Prime G532F:
- Grab the G532FXWU1APJ1 Firmware;
- Up next, also grab J2 Prime Root Kit from here;
- You must extract the files on your PC and you will get these three files:
root-boot.tar
ROOT-ENGLISH.exe
ROOT-ESPAÑOL.exe - Double-click on the “ROOT-ENGLISH.exe” file to open the executable file;
- Press Enter and the phone will reboot to Download mode automatically;
- Even more, an Odin window will open on your computer;
- Click on AP and select the root-boot.tar file;
- Click Start to continue flashing the file;
- At that point, you’ll see a Reset text at the top-left side of the Odin window;
- The Galaxy J2 Prime G532F phone will reboot automatically;
- The script will run post installation steps on your device and will show a message “Your device is rooted”;
- Press Enterand your device will be rebooted again;
- In the end, just open the SuperSU app and update the binaries.
If you have any issues please post in the comments below and I’ll do my best to answer them as fast as I can.


