How to Install Android 8.0 Oreo on OnePlus 3
Do you want to install Android 8.0 Oreo on OnePlus 3? Well, you are in right place and the best part is that the OnePlus 3 Android Oreo ROM brings all Android Oreo features to your device. But this is the unofficial build by akhilnarang in the early alpha stage of development, therefore you can expect some bugs.
Understand that this is not a final build, so make sure you know that after installing this firmware update, the device can get FC errors, several other bugs, apps might not work and so on. Even more, the camera does not work yet, nor does Bluetooth and you might have even more surprises.
To fix all these, you might have to reinstall stock firmware or any other stable custom ROM. And I cannot be held responsible if you damage or brick your device. That’s all on you. Are you willing to accept that?
Get ready for the procedure:
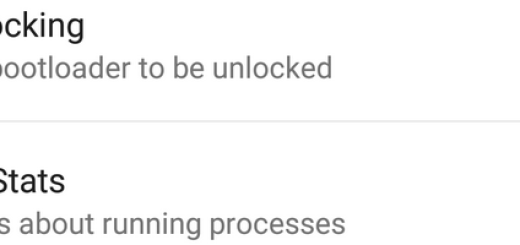
- You need a OnePlus 3 device with an unlocked bootloader;
- The operation will erase all your data, so I strongly advise you first to take a complete backup of your phone and then proceed;
- A custom recovery such as the popular TWRP must be installed on the device or make another similar choice if that’s your wish;
- Make sure your device is properly charged in order to prevent any accidental shutdowns.
How to Install Android 8.0 Oreo on OnePlus 3:
- Download Andriod 8.0 ROM and Gapps;
- Next, turn off your device;
- Then, you need to boot it into Recovery mode; for that, press and hold the Power and Volume Down button simultaneously;
- Continue to hold the two buttons past the OnePlus splash screen boot logo until your device boots into recovery mode;
- While in TWRP, you can create a Nandroid backup and play safe;
- Now, find your way into Wipe>Advanced Wipe>Select Wipe cache, Dalvik cache, System, and data and swipe to confirm it;
- Then, go to Install and locate the ROM zip file & swipe to Install the ROM file;
- Follow the same procedure to select the Gapps file;
- At the end, wipe cache & Dalvik cache again and reboot your device. Done!