Learn to Extract Data from a Broken Android device
Have your ever broken or cracked your Android phone screen and failed to find a way to get data off the device? Don’t worry! There are various tools that you can use to extract data from an Android device, I can assure you of that, so now it all reduces to making the best choice. I recommend you using Wondershare’s Dr. Fone toolkit for Android because thanks its surprisingly simple user interface and huge list of compatible devices.
Yes, I know that the Dr. Fone toolkit can’t extract data from an encrypted device, which may be a problem for some of you, but this is also a sign of the fact that that device encryption holds up against data extraction by an unauthorized person, so thinks twice before saying that it is not what you are looking for.
Well, The Dr. Fone toolkit also includes transferring, rooting, repairing, erasing, and back up capabilities, meaning it’s useful in so many cases, but in this guide I am only talking about the extraction of data. Are you ready?
Learn to Extract Data from a Broken Android device:
- Grab Wondershare’s Dr. Fone toolkit for Android;
- Establish a connection between your android device to your PC via the original USB cord;
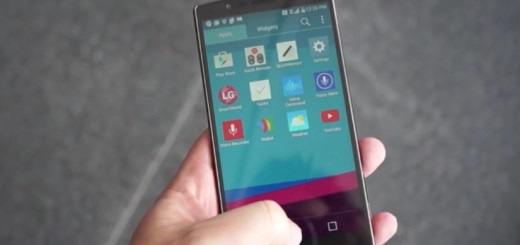
- Make sure that USB debugging is enabled on your device;
- Launch the Dr. Fone toolkit for Android on your PC;
- You must select the Data Recovery option;
- After that, select file types to scan. All data types will be displayed and checked, so do not forget to de-select any data types you do not wish to recover from the device;
- Select between ‘Scan for deleted files’ and ‘Scan for all files.’ Just to be clear, scanning for all files attempts to extract all possible data files available, so the procedure could take longer than just scanning for deleted files;
- Tap Next if you are ready to begin the data recovery process;
- After analyzing the device, the software will scan for items;
- Preview discovered data from the device. The user interface is neatly laid out, allowing you to select and preview individual files;
- Extract the data to your computer;
- Don’t forget to check the items you want to extract and click “Recover” to save them all on your computer.