Take Rootless Pixel Launcher 3 APK on Android
The Google Pixel Launcher from Google’s own handsets has quite a few exciting features that make many come back to it over popular third-party launchers like Nova Launcher and Action Launcher. For a while, there was no way to access all of these features, like the Google Now panel, without root access. Even in such a case, a developer by the name of Amir Zaidi took inspiration from the developers behind Paranoid Android and he made these features work on other devices, without root access being required any longer.
This was possible by reverse engineering the Pixel Launcher from the original Google Pixel and then porting those features over to the Android Open Source Project launcher, Launcher3.
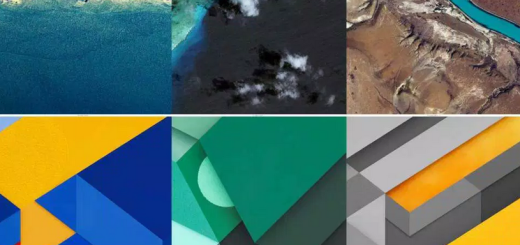
Therefore, Amir made the rootless Pixel Launcher 3 APK compatible with certain Android versions and he also succeeded to add some amazing custom features apart from the other Pixel Launcher features have been ported: centered screen popups when left/right would go out of the screen, round shaped icons from Android 7.1 Nougat are used when available, support for icon packs with calendar icons that change with the date, you can open and close notifications from anywhere on the home screen or resize all apps list when opening the keyboard, there is a screen size profile for a 6×6 grid when the DPI is low and not only.
You can install the Pixel launcher 3 on any Android handset which is currently running on Android Lollipop or above. And besides that, you know the rule for installing APK files from other sources: you must find the way into Setting >> Security >> Allow Unknown Sources. Once you check this option you will be able to install the files.
How to Take Rootless Pixel Launcher 3 APK on Android:
- For the start, just download Rootless Pixel Launcher 3 APK on your Android;
- Then, copy the downloaded APK on your Android device via the original USB cord only;
- Tap the downloaded APK to initiate the installation procedure and have patience until it ends;
Have you managed to complete the detailer tutorial above? Let me know in the comments area from below, along with any questions you might have regarding the procedure.
Hope you found this helpful; if yes, then do follow this site for such amazing Android guides.