How to install Android M Developer Preview on Sony Xperia Z2 Tablet

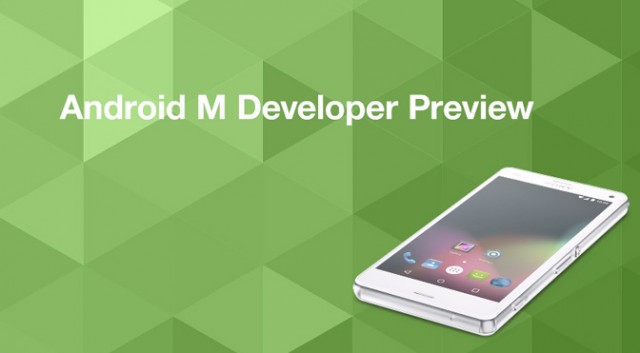
Running the latest version of Android before it is officially released is something specific for advanced and experienced Android users, but Sony is offering a tempting alternative. Devices in Sony’s Open Device program can run a preview build of Android M, which was released on Nexus devices several weeks ago, so here I am to guide you on how to install Android M Developer Preview on your Sony Xperia Z2 Tablet.
I want to warn you from the start that this version is not suitable for daily use, but I know that developers who need to test apps might be quite interested. After all, such an operation is not recommended to newbies and keep in mind that as you will apply this guide, the warranty of your Xperia Z2 Tablet will get void. So, if you are damaging the OS, or if you are bricking the device while installing Android M, then you will be by yourselves.
The tutorial will work only on Sony Xperia Z2 Tablet, so do not attempt to apply it on other device using the tools provided in this post; even more, the latest CWM or TWRP recovery should be installed, not to mention that you must create backups of your important files and that the handset has to be rooted before flashing this Android M firmware.
Make sure to charge your device is charged as this will prevent the device from powering off while the operation is still not finished and do not forget to unlock its bootloader. Furthermore, go to Settings -> Applications -> Development -> USB debugging and enable the USB debugging option. You will also have to use a Windows running computer and have access to your handset and to its USB cord and on your computer, install the appropriate USB drivers, if you don’t already have them.
Are you eager to give it a try? Therefore, read all the guidelines from below, see if there is anything that you don’t fully understand and ask us and if it’s not, let’s start:
How to install Android M Developer Preview on Sony Xperia Z2 Tablet:
- For the start, take the Android M Developer Preview by accessing this link;
- Also download Gapps from here;
- Connect your Xperia device to the PC using USB cable;
- Transfer the downloaded files to the phone’s internal storage or to the SD card and be careful not to forget the location;
- Remove the USB cable;
- Switch off the smartphone;
- Turn the phone on while pressing Volume Up and Power buttons together at the same time;
- Like that, you will enter into recovery mode;
- Apply a full data wipe by choosing wipe data/factory reset;
- Perform a cache wipe by selecting wipe cache partition;
- Perform a wipe of dalvik cache by selecting advanced and wipe dalvik cache;
- Return to the main recovery and select install zip from sdcard,
- After that, choose zip from sdcard;
- Go to Android M ROM zip, select it using the Power button;
- Confirm the installation;
- Repeat the process to install the Gapps package as well;
- When the installation is completed, select reboot system now to reboot the Sony Xperia device.
If something went wrong and you didn’t manage to complete the procedure, then let me know in comments and I will try to help you fix this as soon as possible.


User forum
0 messages