How to Install Android M FreeXperia ROM on Sony Xperia T2 Ultra
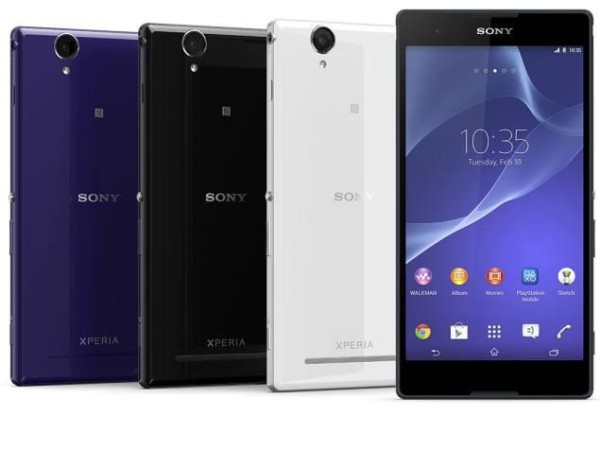
Is Google’s Android M Developer Preview something that you are dreaming of? I totally understand you as long as it comes with interesting features and the best part is that devices in Sony’s Open Device program can run a preview build of Android M which was released on Nexus handsets a few weeks ago.
Therefore, here I am with a detailed guide on how to install Android M FreeXperia on your Sony Xperia T2 Ultra, but I want to be clear about something from the very beginning: it is not suitable for a daily use, but I am sure that developers who love testing apps might be quite interested.
Sony’s Open Device program allows developers run clean versions of Android from the Android Open Source Project, but there are a few things that you must be aware of: this procedure will void your warranty (here you can learn how to restore it) and you should follow the given steps at your own risk. If something bad happens, you are the only one to be blamed and as long as the FreeXperia ROM is in development stage, so don’t be surprised to discover that bugs are highly likely.
Even more, before proceeding, you have to enable the USB Debugging option from Settings > Developer Options, unlock the bootloader and install the latest CWM or TWRP Custom Recovery for your handset. You must also save what’s important for you as this operation will delete all your videos, photos, contacts, call logs, text messages, apps, internet settings, passwords and so on and keep in mind that the operation only works on rooted Sony Xperia T2 Ultra devices.
Make sure your device has more than 60% battery left, or else it might turn off when you expect it the less and prepare the PC for this procedure as well by installing the appropriate USB drivers there.
Learn How to Flash Android M on Sony Xperia T2 Ultra:
- The first thing that you have to do is to download the Android M Developer Preview file by accessing this link;
- Then, you must take Google Apps from here as well;
- Connect your Sony Xperia phone to the computer via its original USB cable;
- After that, transfer the two files into the root folder of the handset’s SD card memory;
- Remove the cable;
- Then, turn off the device;
- After that, turn the device on while pressing Volume Up and Power buttons together at the same time;
- After entering the Recovery mode, you have to clear select ‘wipe data/factory reset’;
- Also clear the cache memory, so choose ‘wipe cache partition’;
- Select ‘advanced’ and tap ‘wipe dalvik cache’;
- Return to the main recovery in order to install the Android M Developer Preview from SD card;
- Repeat the above process to flash the Gapps package on your Sony device;
- Go to the main recovery menu and select reboot system now.
This was the entire procedure! Let me know if you need more details or if you do not understand one of the steps from above and you’ll receive an answer as soon as possible!



User forum
2 messages