Install Android N 7.0 Developer Preview 2 on Google Nexus 9 3G

Android N is the most recent iteration of the Operating System that we all love so much. A lot has changed over the years and Android gets better and better, so I know that you must be excited about the fact that you can experience the pre-release Developer Preview straight on your Nexus 9 3G without any hassle.
Well, it’s true that with Android N, there is a beta program which you can register on and get the latest updates straight on your tablet. However, I know that many of you don’t like the registration idea or simply want a method to skip the waiting, so in this tutorial we will focus solely on installing Android N 7.0 Developer Preview 2 on your Google Nexus 9 3G manually.
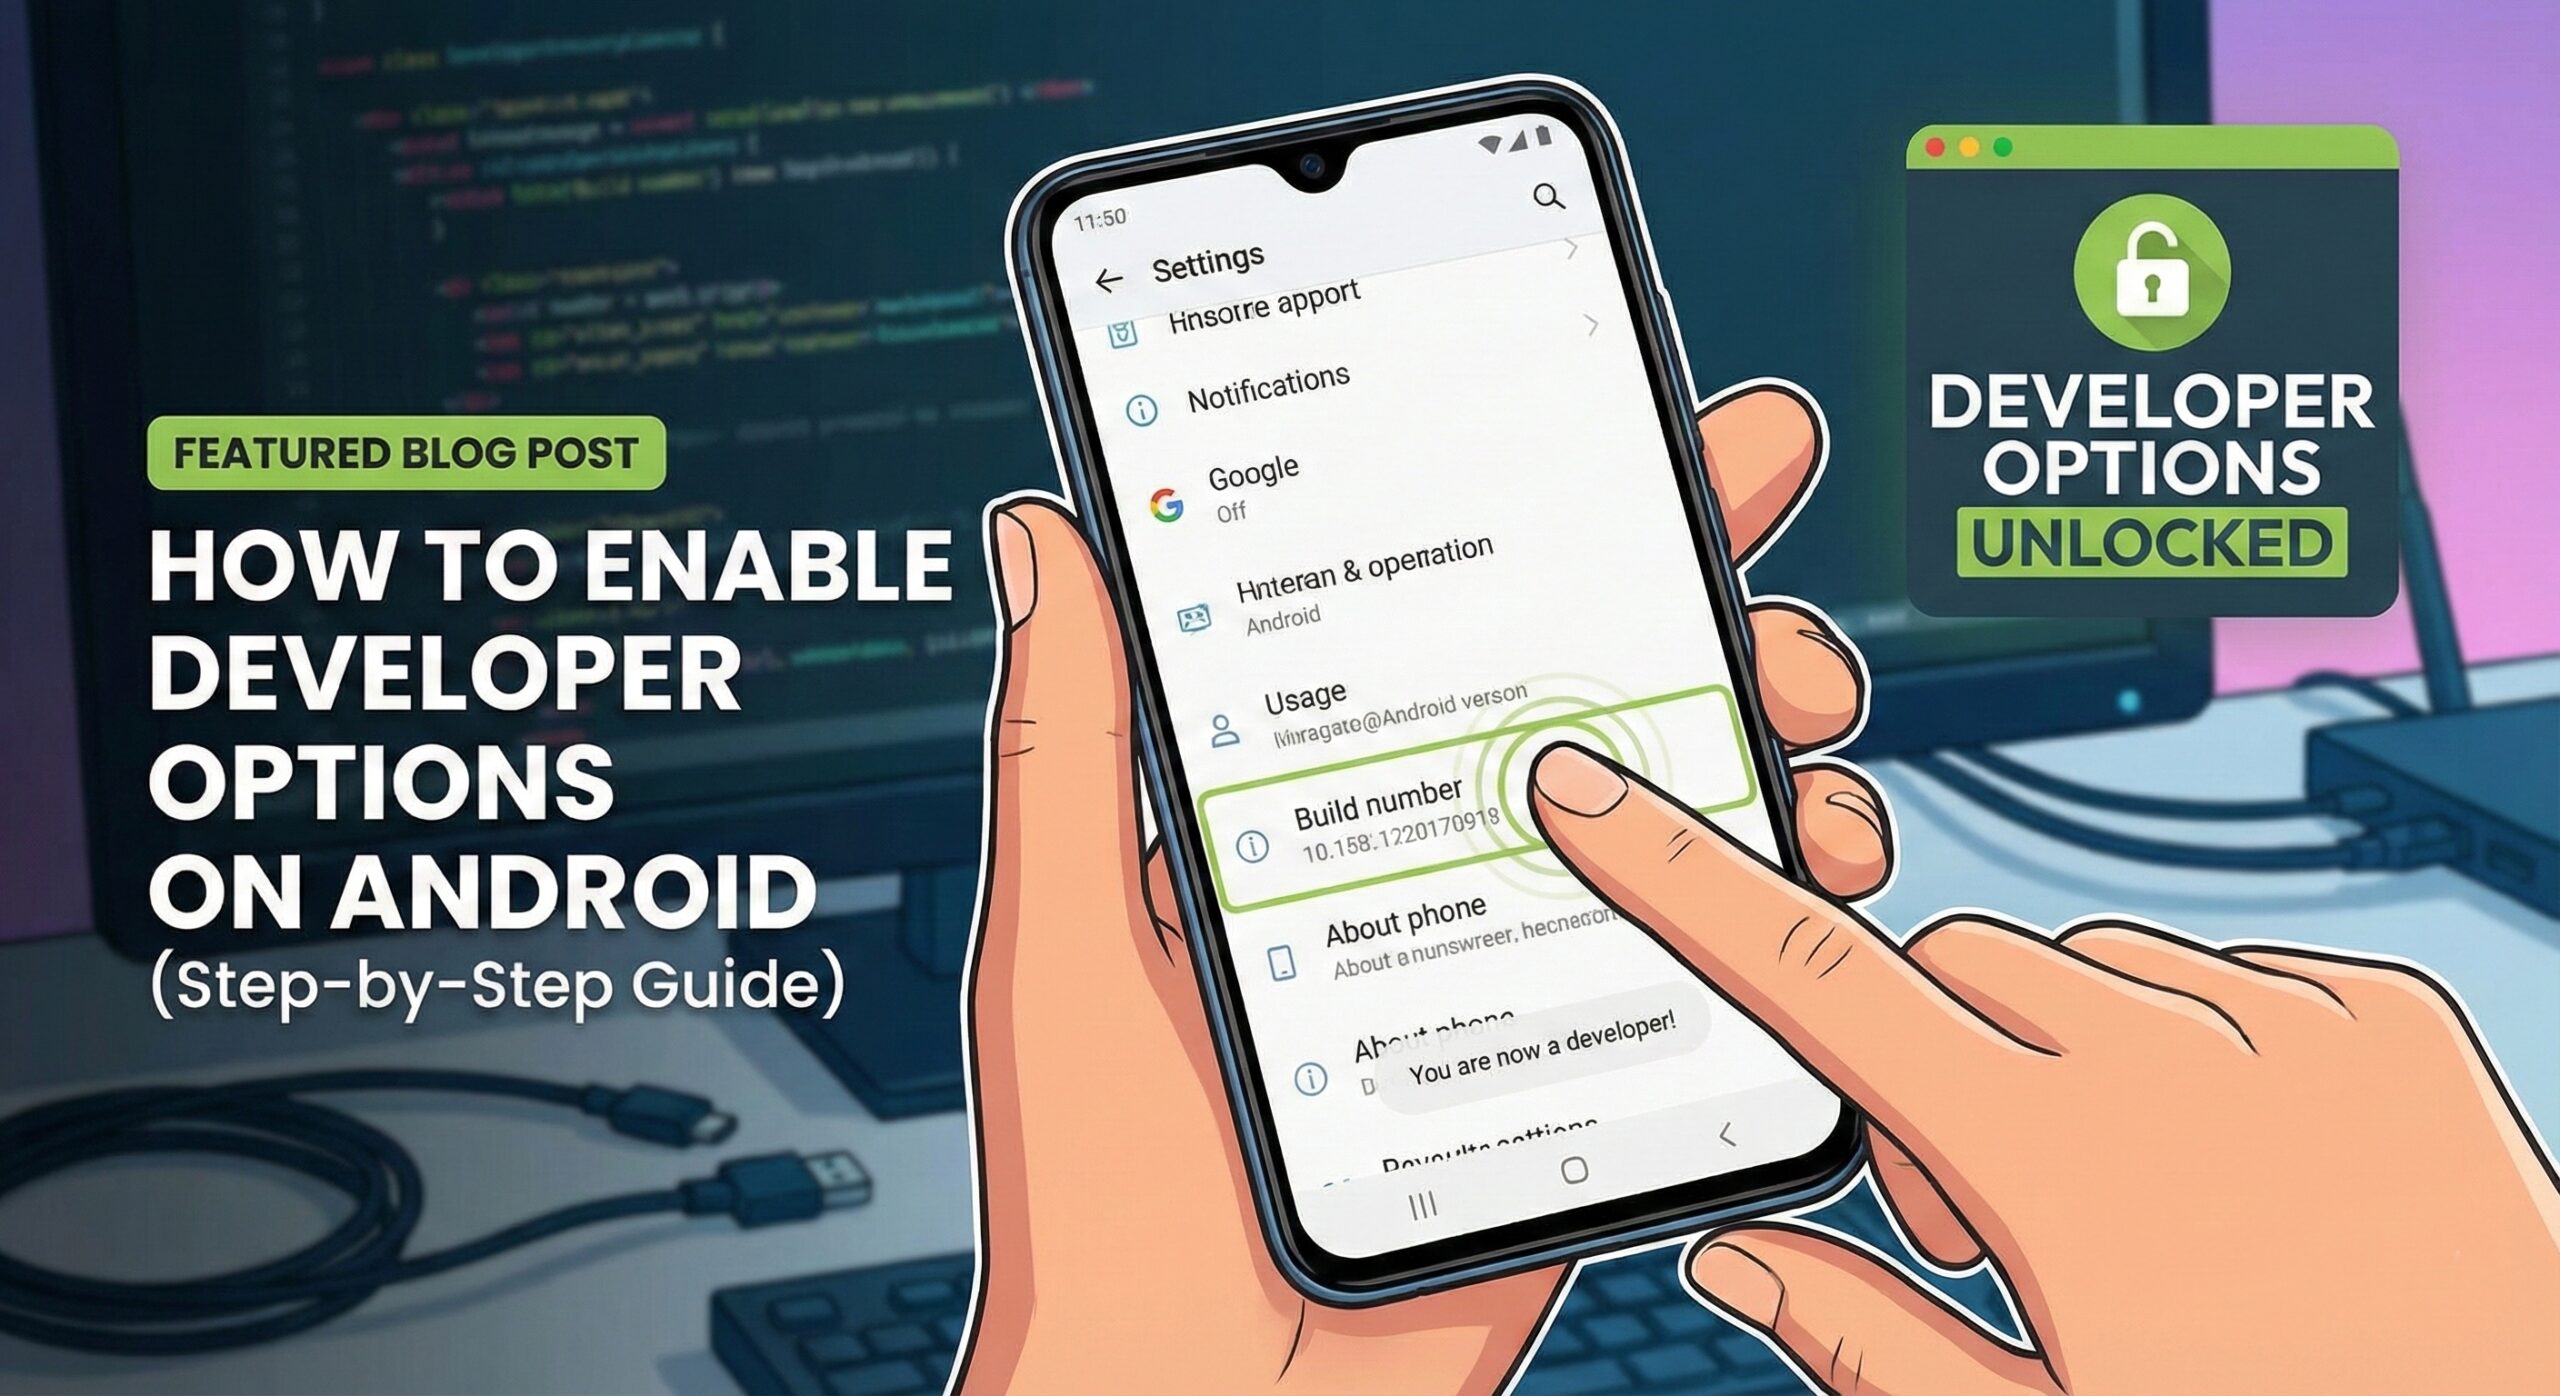
What should you do to get prepared? Well, enable USB debugging from your tablet’s settings – go to Settings > About Device > Software info. Then, scroll down to the build number and tap that number for around 7-times until the Developer option appears.
Use a computer or laptop that runs in Windows OS, with a perfectly working USB serial port if you want to succeed and prepare the original USB cord too. Then, plug in the charger to make sure that the battery is able to face such a procedure and don’t forget to setup the Android SDK for your PC. If you setup Android SDK, you will make sure that your tablet is detected by the computer and that you will be able to complete the factory image installation at your first attempt.
Download Android SDK from here and install it on your PC. After doing that, go to its installation directory and launch the SDK Manager. You must use the SDK Manager in order to download and install all the required SDK packages and usb drivers and then, look for the platform-tools folder under the SDK installation directory. The ‘platform-tools’ is where you will have to copy the Nexus 9 Android 7.0 N installation files at a later time.
And if you have to use this post only with the Google Nexus 9 3G tablets, just as it’s better to warn you from the start that you will lose any custom recovery that you might have installed, as it will be replaced with a stock Recovery. This is the price to pay for wanting the Android N 7.0 Developer Preview 2, but I think that it’s a fair trade!
How to Install Android N 7.0 Developer Preview 2 on your Google Nexus 9 3G:
- On your computer, download the Android N 7.0 Factory Image archive by entering here;
- When the first step is completed, extract the archived contents and save them on your computer;
- Place the extracted Android N installation files in the platform-tools folder;
- This is the folder you’ve obtained while setting up the SDK Manager above;
- Turn off the device;
- Boot the Nexus 9 in Fastboot Mode;
- Now, establish a connection between the tablet and your computer;
- Go to the platform-tools folder where you’ve extracted the files earlier;
- Launch the flash-all.bat installer script;
- Confirm the flashing process, then wait for all files to be installed;
- At the end, the tablet will reboot in normal mode, but be prepared for this procedure to take longer than you are used to.


User forum
0 messages