How To Root Galaxy S7 with CF-Auto Root

Rooting is a procedure that many Android users cannot live without. With rooting, you can use Titanium Backup to restore all of your apps and data, disable bloatware, block ads in apps with the help of ad blockers, install amazing custom ROMs and custom kernels on your device for faster and better performance, kill background process automatically, therefore increasing the battery life of your handset and much more. Do you want all these for your Galaxy S7 too?
You can achieve it by using the CF-Auto Root and here I am to guide you. Let me remind you that this guide is likely to wipe out all data of the phone, so create a backup and include there all your important contacts, call logs, SMS messages and so on. Make sure that you have Samsung’s USB drivers installed or else take them now and don’t forget to prepare the original cable of your device for later connecting it to the computer.
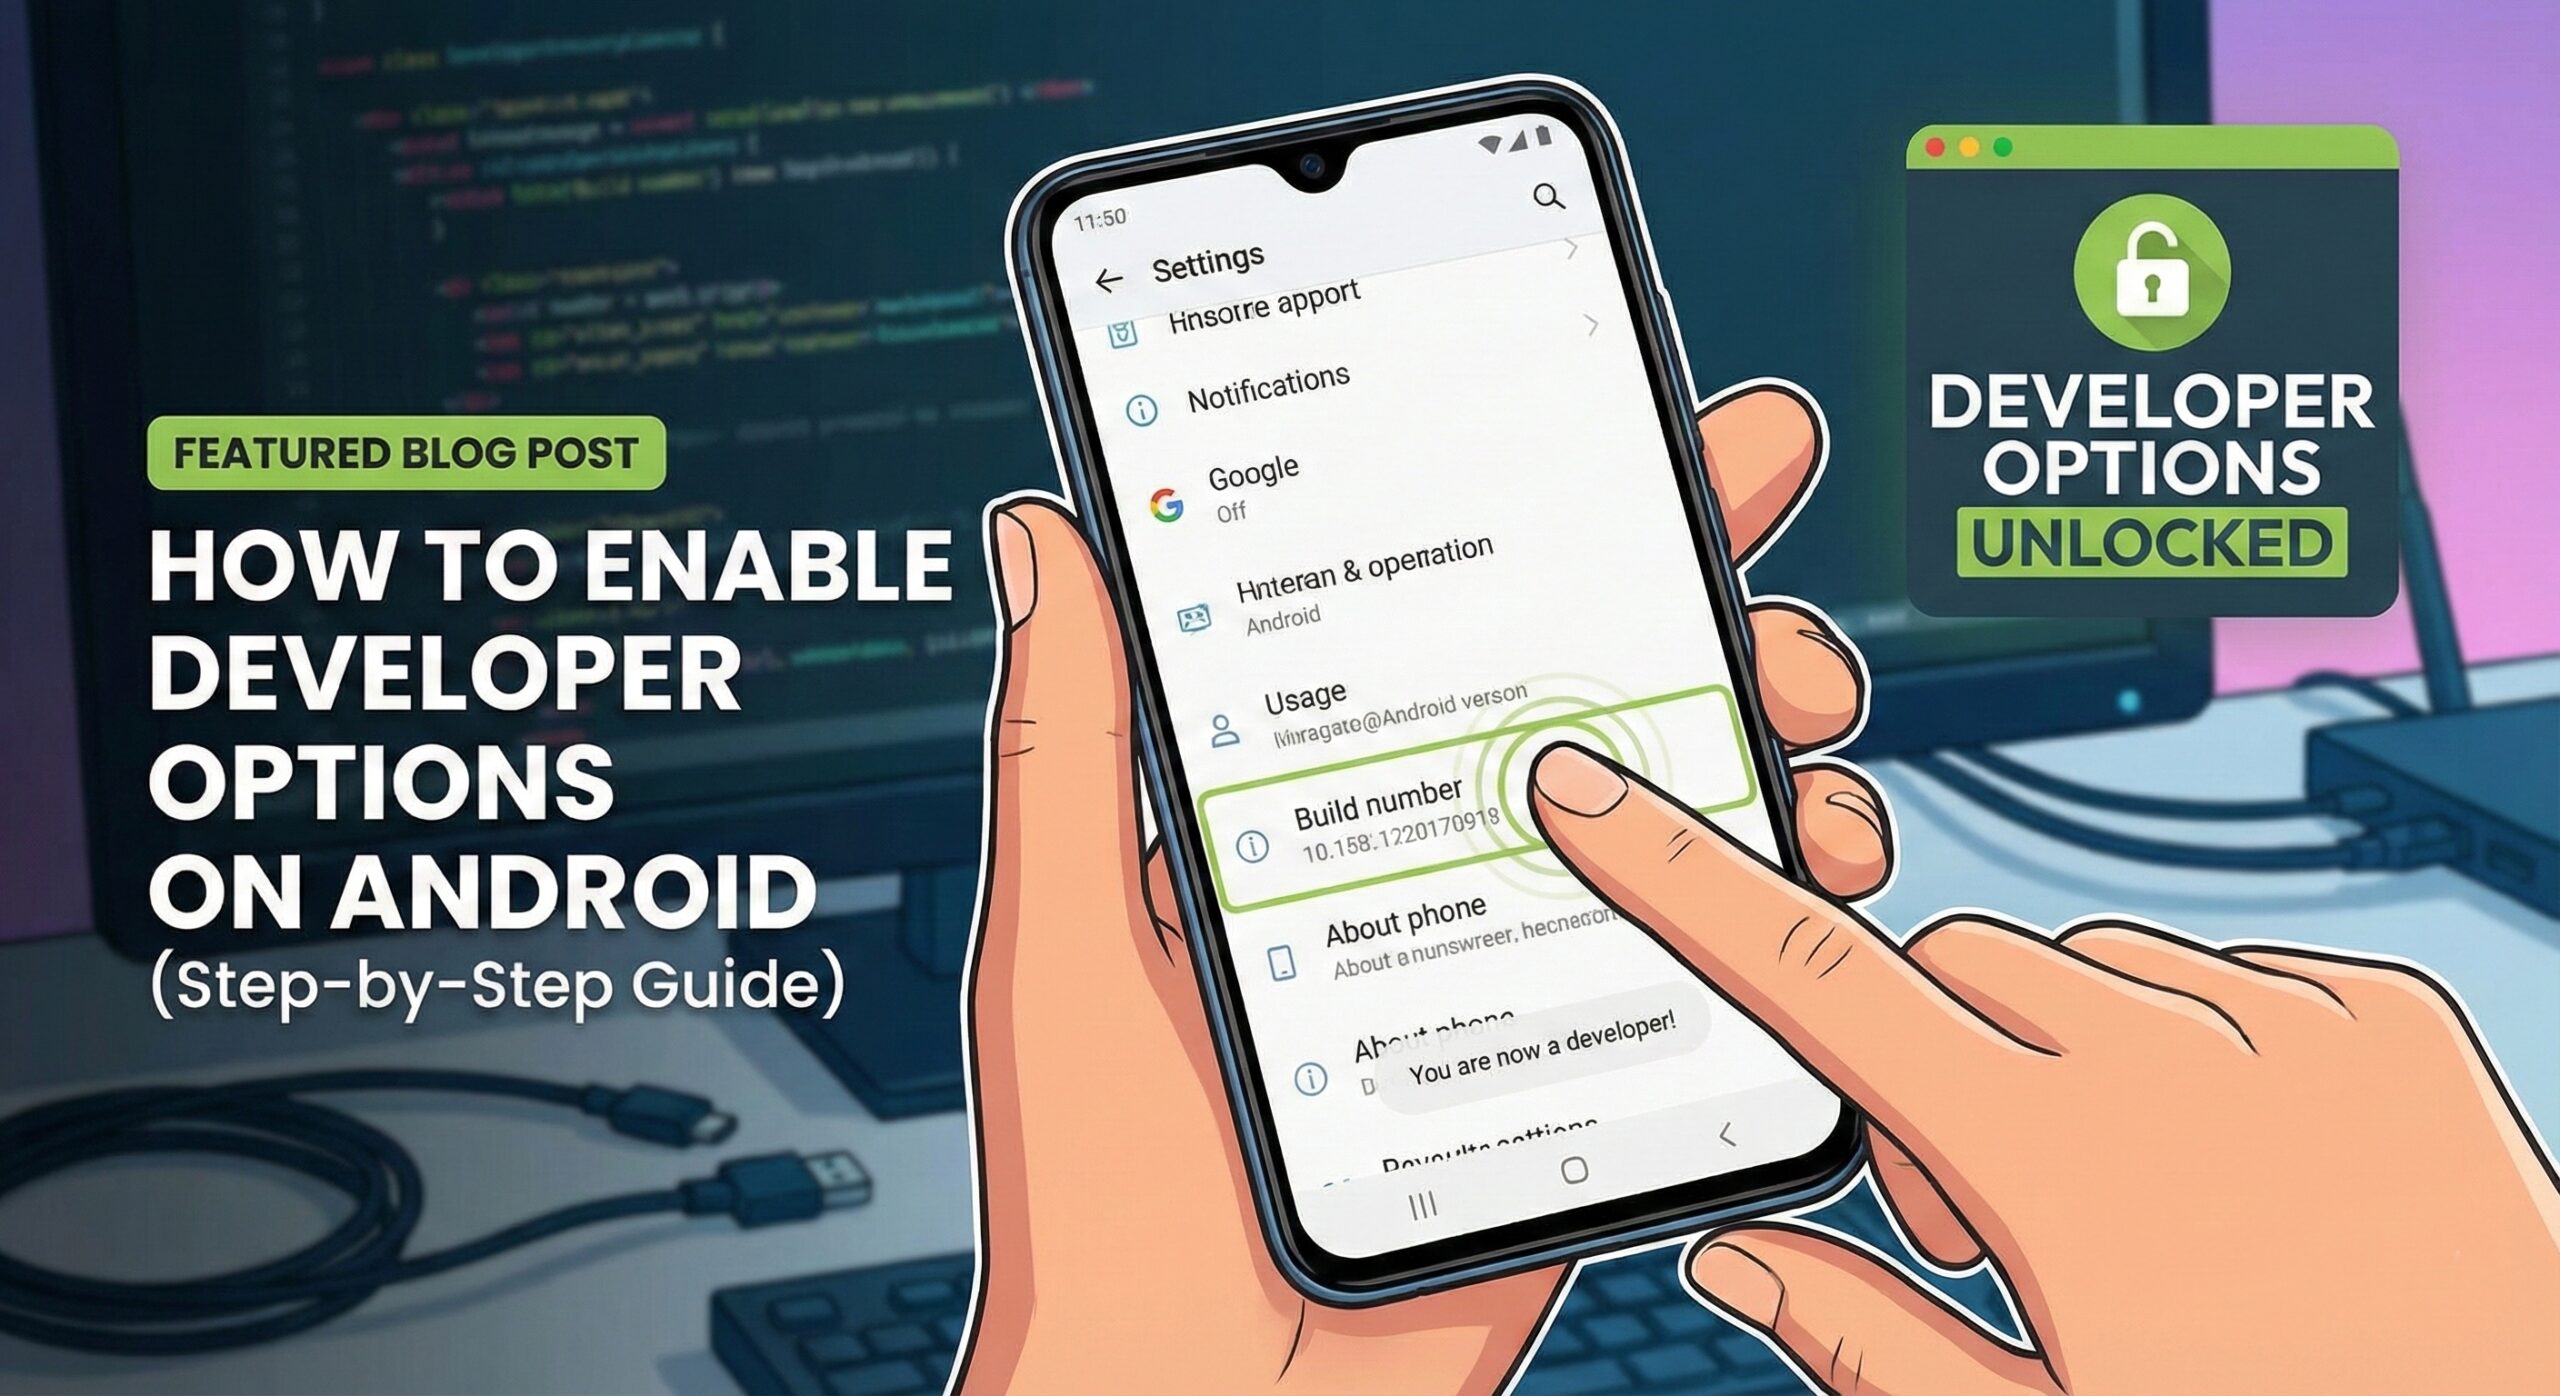
Another important aspect for rooting to be possible is to enable USB debugging on your Galaxy S7, so access Settings > About device and tap the build number for about 7 times. This will enable developer options in settings, therefore you can open developer options and enable USB debugging.
Your flagship should also have above 80% battery to avoid any potential shutdown during the rooting process due to lack of battery and don’t tell me that I haven’t told you that this procedure will void trip the Knox warranty and will invalidate your warranty. Even more, there is always a risk that you’ll brick your device, though it is unlikely if you follow the procedure as it is presented, without adding any personal touch this time:
How To Root Galaxy S7 with CF-Auto Root:
- Download Odin (the latest Odin 3.12.3 version) from here;
- Open this CF-Auto-Root page;
- While being there, press Control + F or Command + F;
- You have to wait for the search bar to appear and then, type your phone’s model number to locate its Auto Root file;
- Do not hesitate to download CF-Auto-Root file according to your device very carefully’
- Extract it to get the .tar.md5 or .tar file;
- Open Odin.exe from the folder you extracted;
- Click on the “AP” tab and choose the unzipped CF-Autroot.tar file;
- Make sure that the only options ticked are F.Reset Time and Auto-Reboot;
- Switch off the Galaxy S7 and then, enter the device in download mode by holding the Home, Power and Volume Down buttons together for a few seconds. If it asks you to press any button to continue the process then press the particular button;
- Connect your S7 to the PC using the original USB cable while it is in Download mode;
- When the phone is connected successfully, Odin will display an Added message, along with a blue or yellow indicator in the ID:COM box;
- Double check everything and only after that, feel free to hit the Start button in Odin;
- Odin will now flash CF-Auto-Root. Once done, it will reboot your device;
- Disconnect your device, let it turn on completely and check SuperSu in app drawer once it boots up.
You can verify root access by installing the Root Checker application from this Google Play Store link. There are also cases when the phone simply cannot boot into recovery. If you are also in this situation, then redo the entire process. If you find the phone is still not rooted, once again perform the tutorial, but this time ensure that the Auto Reboot option in Odin is not checked. Then, don’t hesitate to pull out the battery to turn off the phone and press the Volume Up, Home and Power buttons together to boot the phone into recovery mode. This will start the install process to root the phone.


User forum
0 messages