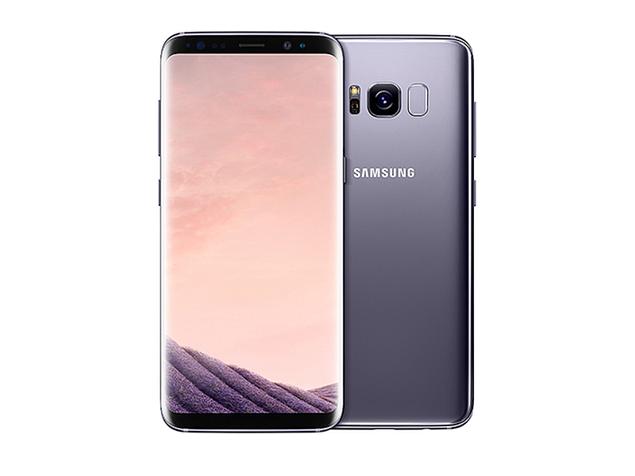
Install TWRP Recovery on Samsung Galaxy S8

Developers over at TeamWin have released the first TWRP build for both Galaxy S8 and I bet that you won’t leave things this way. TWRP is a custom recovery which replaces the phone’s stock recovery and it has much more features than the stock one. It can flash custom files, perform system backups, restore backups, flash ROMs, and much more.
The Galaxy S8 and S8 Plus come in two variants, one with Exynos and one with the Snapdragon chipset. As Samsung has already released Exynos’ source code, developers at TeamWin have released TWRP for Exynos variants of the phones.
If you have the international variant of the S8 phone with the Exynos chipset, don’t hesitate to apply the steps from below and install TWRP on your phone. Therefore, here are the compatible versions Samsung Galaxy S8 (dreamlte):
- SM-G950F
- SM-G950FD
- SM-G950L
- SM-G950N
Is it OK to install the TWRP build? Then, keep on reading!
How to get ready:
- Install the latest Samsung Galaxy S8 USB drivers in order to make it possible for your phone to communicate with the computer;
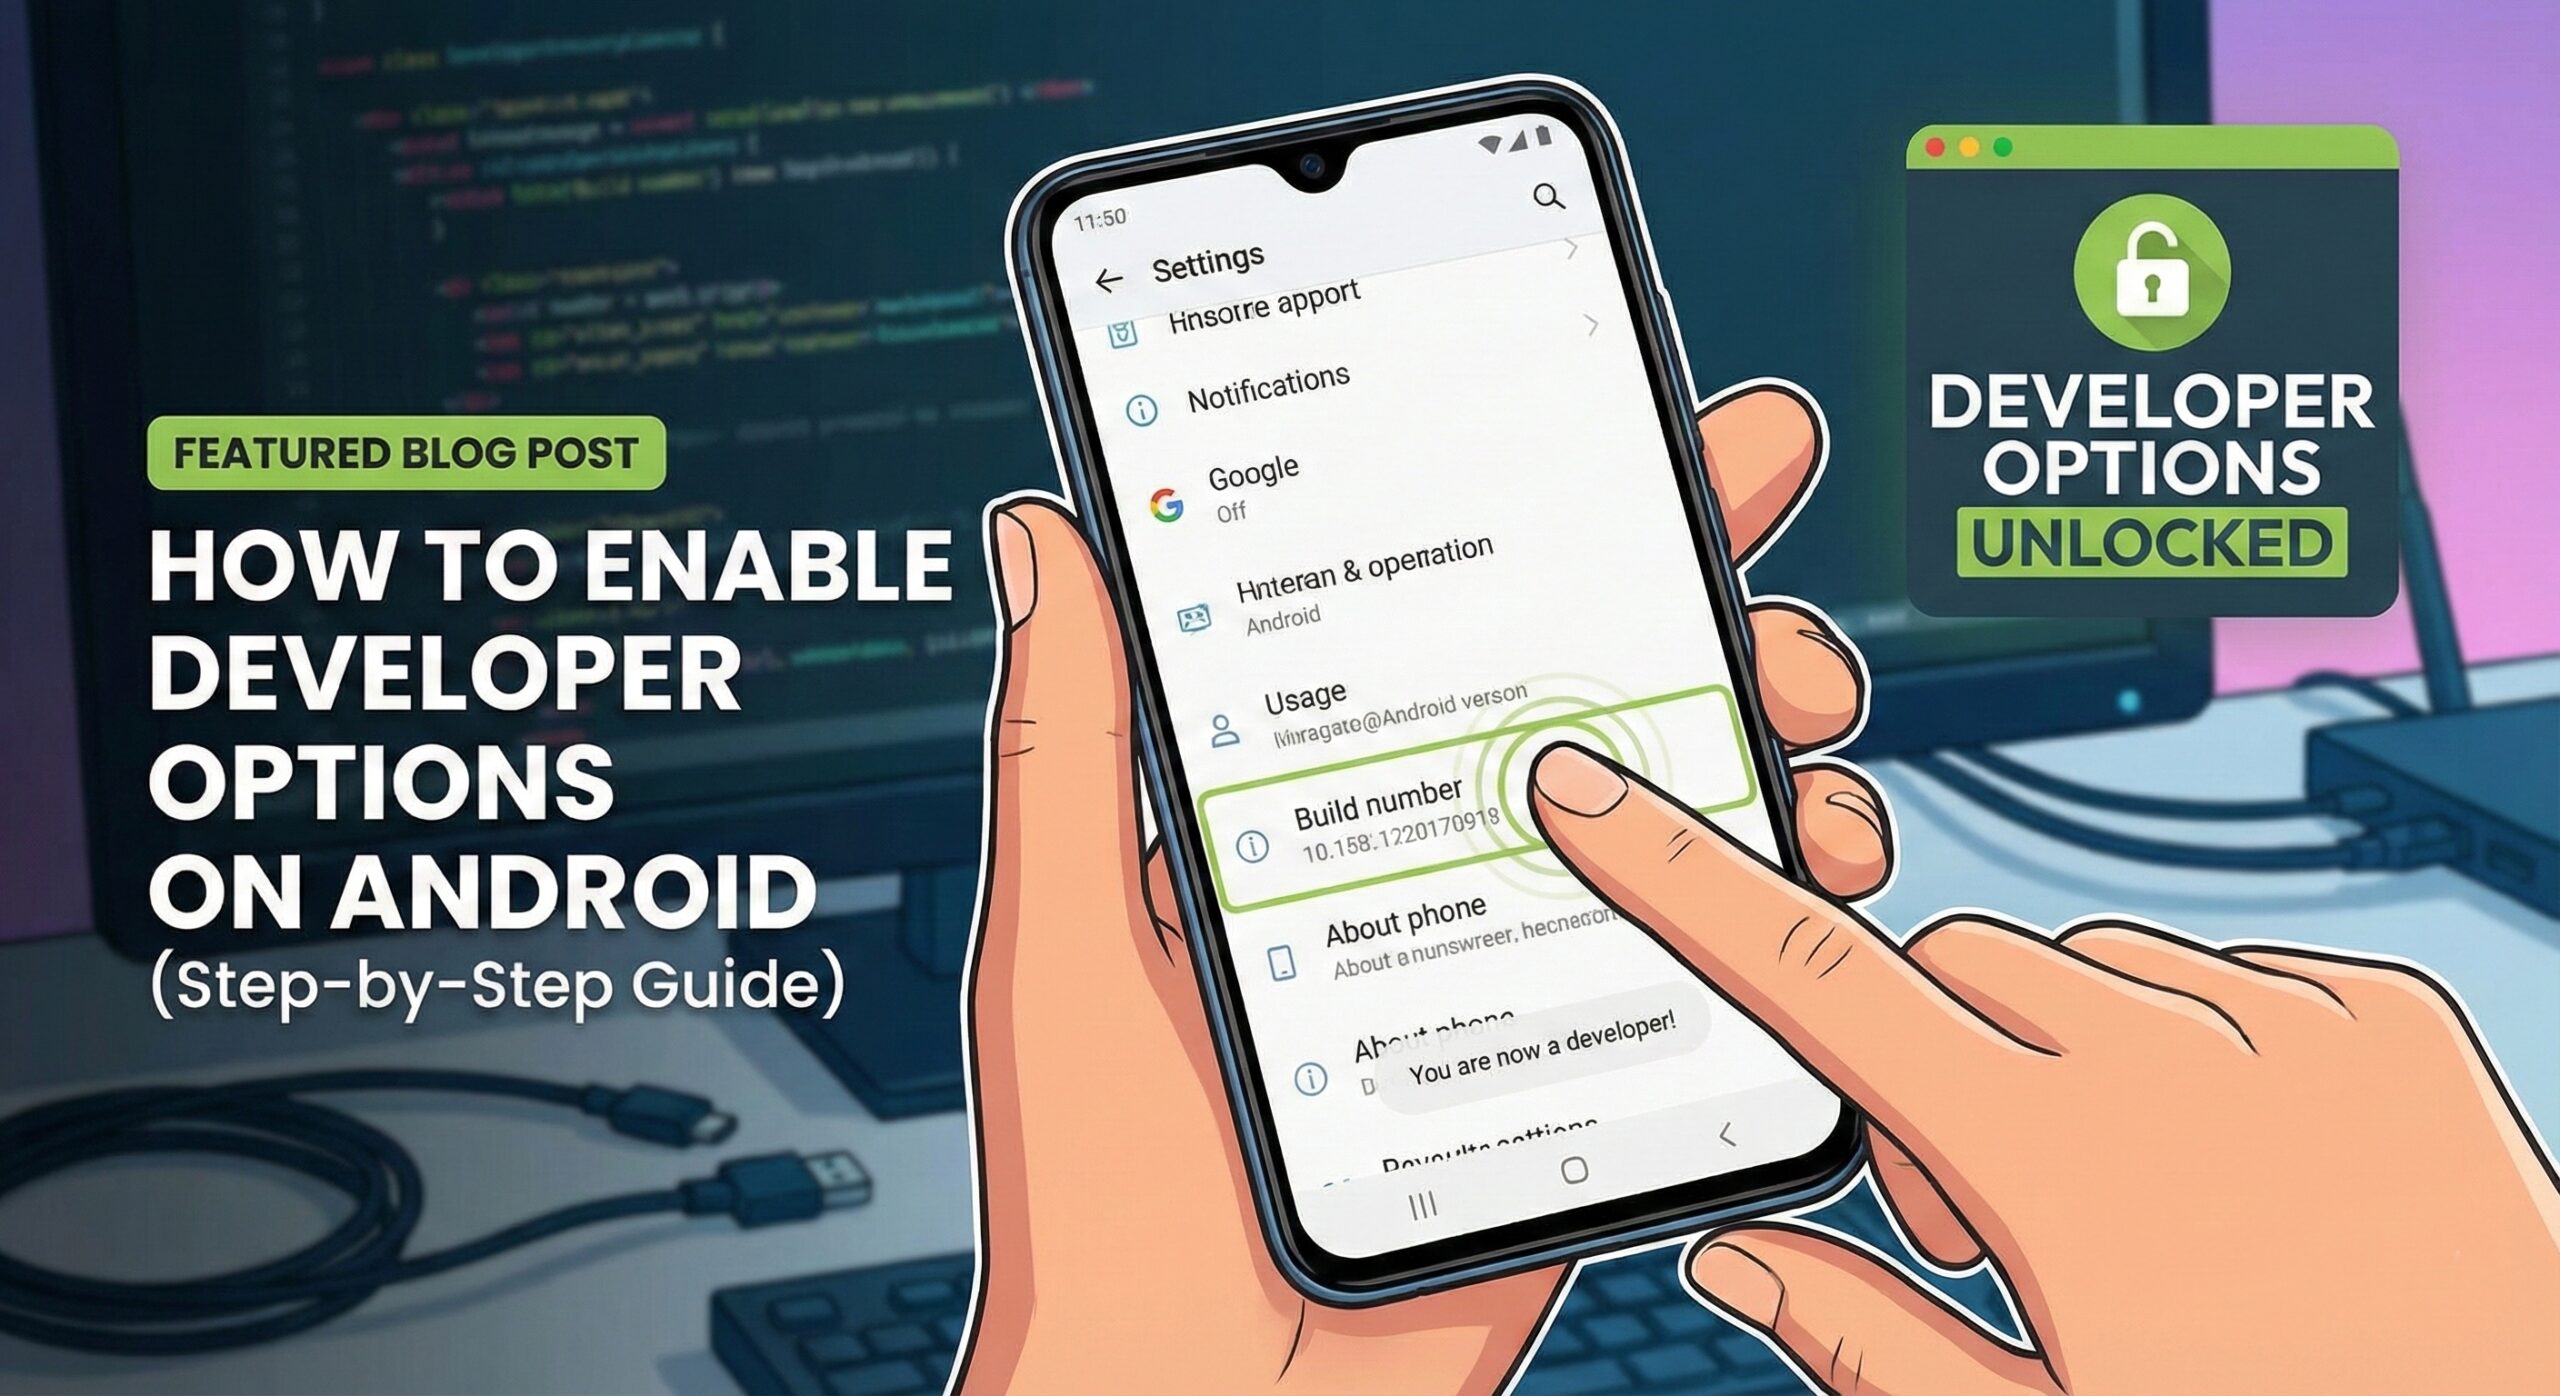
- First enable Developer Options before doing anything else, so go to Settings > About Phone > Software Information and quickly tap on Build Number several times;
- Enable OEM Unlock. Go to Settings > Developer Options and tap on OEM Unlock;
- Make sure your Samsung Galaxy S8 smartphone has at least 60% battery life. If something goes wrong or the phone gets stuck, you don’t want the phone to turn off.
Note that you must follow the steps correctly otherwise you may brick your device. I am not responsible for any damage to your phone.
The Galaxy S8 variants are still very new handsets, therefore their kernel sources haven’t yet been released by Samsung. The result is that the currently available TWRP recoveries are not fully functional at this point. The issue is with some features such as MTP, but there is no reason to worry about.
Install TWRP Recovery on Samsung Galaxy S8:
- Take the wrp-3.1.0-1-dreamlte.img.tar from here;
- Also download the Odin 3.12.3 zip file;
- Unzip the ODIN zip file and open the extracted folder;
- Turn off your handset;
- Press and hold Bixby + Volume down buttons and then press the Power button;
- The phone will boot into download mode right away;
- Connect your phone to your computer using the included USB Type C charging cable;
- If you have the appropriate drivers installed, your device should be detected, and you should see Added!! in the ODIN Log box;
- Launch Odin. One of the boxes below ID:COM should be blue at this point;
- Click on the AP tab in the ODIN window;
- Select the TWRP recovery.tar file that you downloaded for your device;
- Click start and wait for the TWRP installation process to finish.
- If the flashing completes successfully, you will see the box above the ID:COM port light up green, along with a PASS message.
I hope that this is exactly what you are seeing now too. However, if there is any question in your mind, use the comments section or the contact form and let me help you. I will gladly do that!


User forum
0 messages