How to Flash Android 7.1.1 Nougat on Sony Xperia Z3 Plus (E6553)

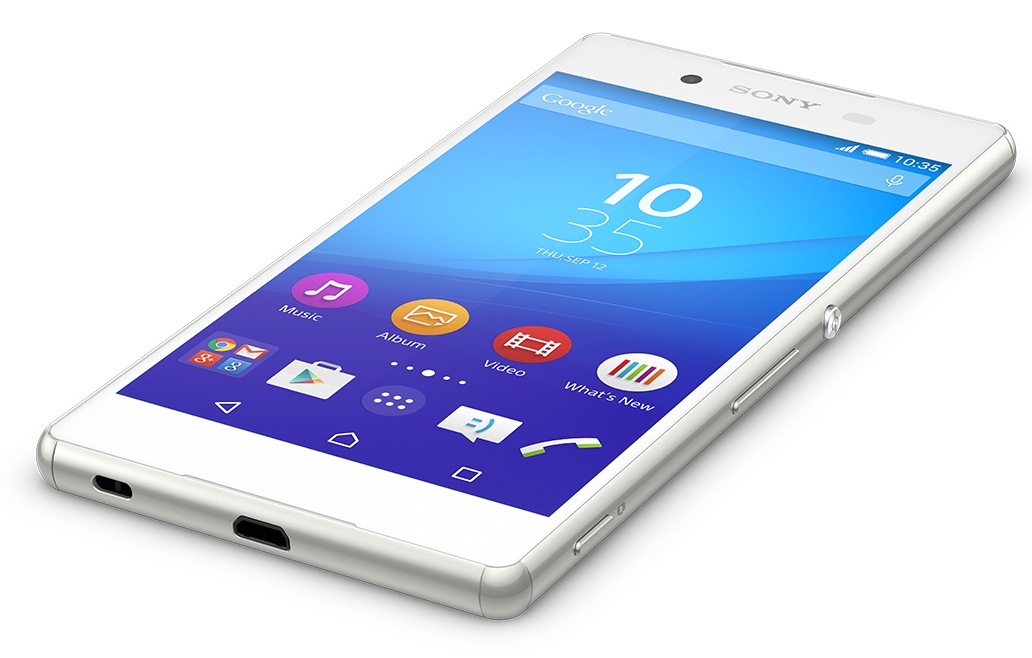
Sony Mobile has started to roll out the Android 7.1.1 Nougat firmware update for the Xperia Z5 range and I am sure of the fact that this is what you were looking for. Google originally released version 7.1.1 almost seven months ago, and took Sony a long time to prepare the update for those devices, but I am glad that this is finally happening. Here I am to show you how to flash Android 7.1.1 Nougat on Sony Xperia Z3 Plus (E6553) and inform you about the system’s software update features.
Well, I am talking about the latest security enhancements, improved general performance and stability, better Wi-Fi connection stability when connected to 5GHz DFS channels, improved sound stability with Bluetooth headphones using LDAC, updated Time Zone data, as well as a fix for a major issue: the Chinese keyboard is not shown when the Camera key of the Bluetooth headset SBH56 is used. And there is even a new Sony Assist panel on the home screen of the new Xperia Home Launcher 10.2.a.2.60, so don’t waste any more time!
You can have all these on your Sony Xperia Z3 Plus (E6553) right away!
How to Flash Android 7.1.1 Nougat on Sony Xperia Z3 Plus:
- If you are using a device with multiple users, don’t hesitate to double check that you are logged in as the owner;
- Drag the status bar downwards to open the Notification panel;
- Then, you have to scroll down and choose the desired system update;
- Up next, just tap Download;
- When the download is finished, open the Notification panel again if it is closed, then tap Install and follow the on-screen instructions to complete the installation;
- If no new software is available, there is a chance of not having enough free memory on your device. If this isn’t an issue, let me remind you that it takes time for the update to reach to all handsets, so you can manually download the update;
- Start by talking the appropriate Android 7.1.1 Nougat 32.4.A.0.160 version:
1294-9984_32.4.A.0.160-R2E_Customized_US.ftf
1295-3975_32.4.A.0.160-R2E_Customized_GEL.ftf
1295-0592_32.4.A.0.160-R2E_Customized_RU.ftf - Grab the unofficial Sony flashtool from here and set it up in case of not already having it;
- Note: Sony also provides an official flashtool for Xperia devices. It is meant for users who have unlocked their bootloaders and migrated to a custom ROM but wish to come back to the stock Sony ROM, yet is limited in functionality;
- Transfer the downloaded ftf firmware to the flashtool firmware folder;
- Launch the flashtool and let it sync;
- Once ready, you have to click on the flash icon on flashtool and select flash mode;
- A new window appears with a list of firmwares in your flash tool firmwares folder. You should see the 32.4.A.0.160 firmware listed here on the left;
- On the right side of the window under Wipe, tick Data, cache, and appslog;
- In case of using flashtool v0.9.19.10 and older, make sure you tick the SIMLOCK option as well;
- Click the Flash button at the bottom right;
- You’ll see the message “Preparing files for flashing”;
- Power off your Sony Xperia phone;
- Then, plug in a USB cable into your PC;
- When prompted on the screen, press and hold the Volume down button on your phone;
- While holding the Volume down button, plug in the other end of the USB cable into your Sony handset.
When flashtool detects your device, that is if you’ve connected it properly, the flashing will immediately begin.


User forum
0 messages