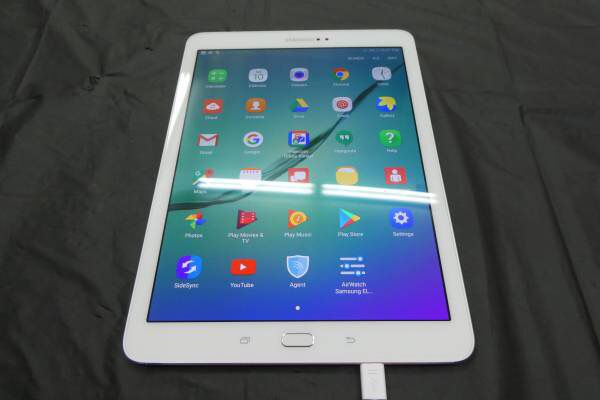
How to Root Verizon Galaxy Tab S2 SM-T818V

While some prefer just a few simple steps that can give them a rooted device within minutes (with KingoRoot or other tools, of course), others aren’t afraid to get their hands dirty. I don’t know which sort of an Android user are you, so here’s a guide on how to root your Verizon Galaxy Tab S2 SM-T818V by CF-auto-root which is both safe and fast at the same time.
If your device is running the Nougat 7.0 firmware, then you can use the following guide to root your Galaxy Tab S2 SM-T818V. Rooting is often performed with the goal of overcoming limitations that carriers and hardware manufacturers put on some devices.
Thus, rooting gives the ability or permission to alter or replace system applications and settings, install Custom ROMs from your recovery, run specialized applications that require administrator-level permissions, enable superuser access, which means you can use your device to its fullest potential. Are you ready for all these and more?
Getting ready:
- Make sure that the USB drivers for your Android device are installed on the PC;
- Then, enable USB Debugging;
- I also recommend to take a complete backup and only then, proceed to the actual steps of this operation;
- You must have the latest Odin Tool on your PC, along with Samsung’s Galaxy USB Drivers;
- Properly charge your Galaxy Tab S2 SM-T818V handset.
As a last warning, you have to follow the below guide exactly or else it may lead to brick your device. I will not be held responsible for any kind of damage occurred to your device while following this tutorial. Do it at your own risk.
How to Root Verizon Galaxy Tab S2 SM-T818V:
- First of all, download CF Auto Root for Samsung Galaxy Tab S2 SM-T818V. You will find both CF Auto Root tar file and Odin tool in it;
- You need to boot your Galaxy device in the Download mode by pressing the Volume Down button, Home, and Power buttons together at the same time, until you see Download mode as being active;
- When you enter the Download mode, you will see a yellow triangle giving you a warning. It’s time for you to press Volume Up key to continue;
- Open Odin tool from the unzipped folder;
- Connect your Samsung Galaxy device to your computer;
- When the device is connected, you will get the message “Added!” on Odin;
- Click on the AP option and select the CF Auto Root tar file;
- Click on the button Start to start the flashing process and wait patiently.
If you encounter any problems in following the above guide, feel free to ask your questions in the comments section below.


User forum
0 messages