Learn to Add a Gmail Widget on Android

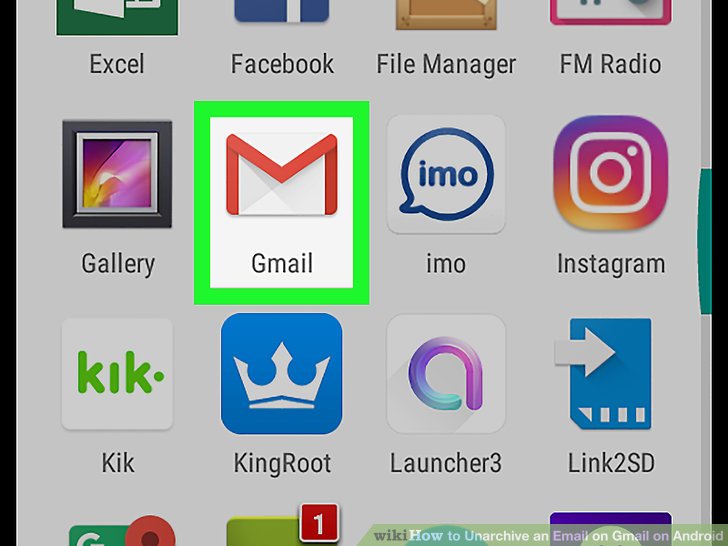
Email is one of the oldest forms of online communication and yet, it’s nowhere close to the end of its glorious days. In fact, it’s a service many of us continue to use every single day. There are tons of email services and email apps that accompany them, yet Gmail remains out favorite option, right? As you know, it comes pre-installed on most Android devices, thus, you probably already have it.
The app supports multiple inbox settings, multiple accounts, it supports most email services, including Yahoo, Microsoft Outlook, and others, it’s fast and reliable and its recently added features come as a confirmation that we don’t need to look for any alternatives.
I don’t know what you think, but emails widgets play an important role too, especially when it comes to saving some precious time. Anything that prevents you from opening the inbox even once is a nice addition and speaking of that, Gmail currently has no less than two widget options available by default – either a view of your incoming mail from the account and label of your choosing, or the ability to add a label icon to your homescreen to jump directly to that account and inbox when you tap it.
Note: Before starting, you should make sure you’re up and running with the latest version of Gmail by opening up the Play Store app and checking for updates.
Learn to Add a Gmail Widget on Android:
- At first, you have to tap and hold on an empty space on one of your home screens;
- Then, choose the option to insert a widget;
- Do not hesitate to scroll through your widget list to find the Gmail widget. Tap and hold it, then drag it onto an available home screen. When you let go, you will be asked to choose the account and inbox that the widget will display;
- Once you’re finished, feel free to resize the widget by tapping and holding it.
Wasn’t this really easy? Keep an eye us for more similar guides.


User forum
0 messages