How to Enable USB Debugging on Lenovo K5
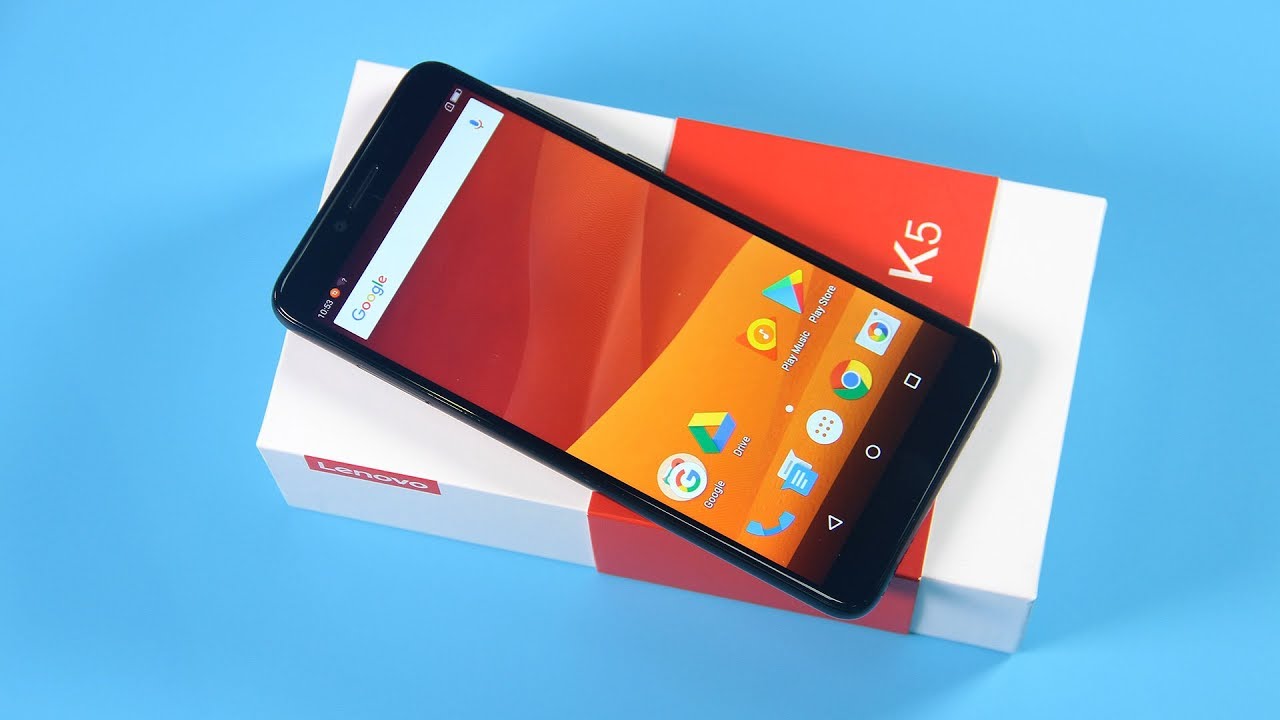
If you ever want to go beyond the basics on your Android phone, unlocking the hidden Developer options menu is the first thing you should try out. Then, USB Debugging is waiting for you. This allows Android Studio and other SDK tools to recognize your Lenovo K5 device when connected via USB, so you can use a debugger, restore files or transfer data between two phones.
You’ve already found these terms on many of our guides, right? Usually we disclose how to do it in that spot rapidly, but today I am here to clarify what this means. Only a few taps are standing between you and enabling USB Debugging on your Lenovo K5 device. And you have no reason to be worried about. I remember a while ago USB Debugging was considered a big threat to the security of your personal data when left enabled all the time. Things have changed a lot though these days.
Google developers resolved this issue, and now USB Debugging security is no sort of problem. All new USB Debugging connections have to be approved by the user of the phone. In other words when you connect your phone to a new PC, a window will show up asking if you want to allow USB Debugging or not. So, no more surprises are ever allowed.
How to Enable USB Debugging on Lenovo K5:
- On your phone, go to the Settings menu;
- Under the Settings option, select About phone;
- Scroll down the screen and tap Build number several times until you see a message. This should say “Developer mode has been turned on” (if you haven’t done that already);
- Hit the Back button as you must now select Developer options;
- In Developer options page, drag the switch to right to turn it on. The color should change to green and you are good to go. USB debugging has been activated. As straightforward as this.
And be sure that you can disable it in the same way if you ever change your mind.


User forum
0 messages