How to Install SD Card Fix File for T-Mobile Galaxy Note 3 to Improve Backup

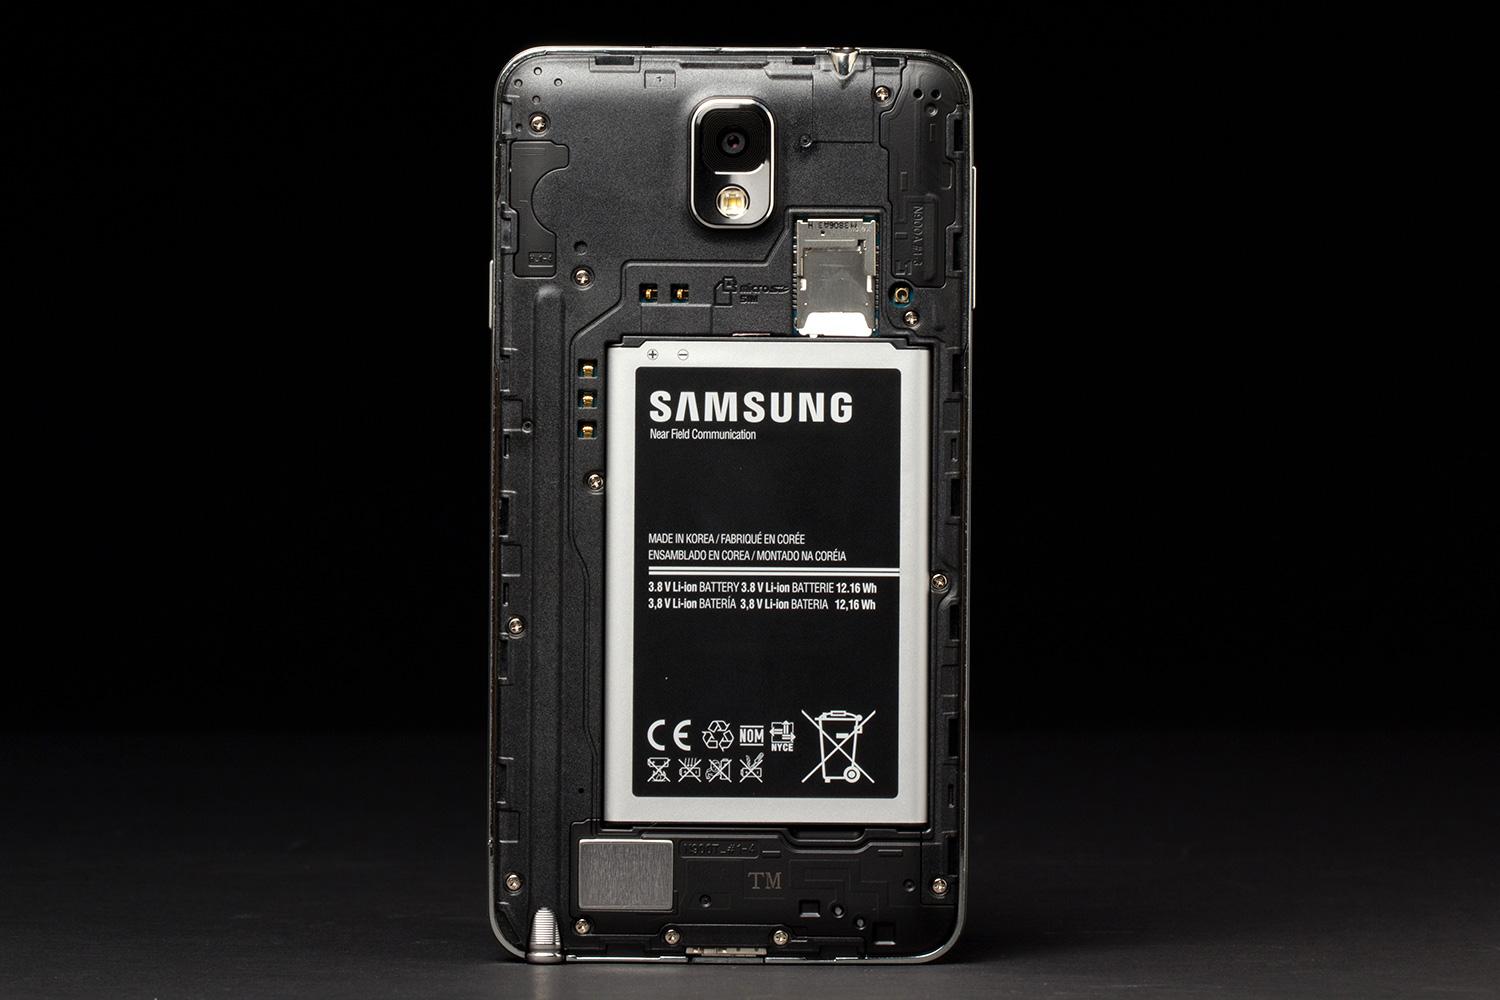
When installing different apps and other important programs on your Samsung device, especially on your Galaxy Note 3, one needs to know how can back-up all the info on the device`s external SD card in order to work properly and not worrying about losing them. This tutorial is meant to show you how to install your external SD card fix file for your Galaxy Note 3 purchased under the T-Mobile carrier. A proper installation will lead to a better working apps like the Titanium Backup app that takes care of all your apps and info.
We will show you a complete guide on how to install your external SD Card fix file for your Galaxy Note 3, followed by some step-by-step guides for CWM and TWRP Recovery that will also help you successful install the SD card fix file.
But before we proceed with this useful tutorial, please make sure that your battery is at least 50% charged, so that the installation process will be successful carried out. More than that, you must follow the steps precisely, as we will not be held responsible for damaging your Galaxy Note 3.
How to install external SD card fix for Galaxy Note 3
- Make sure you check the model number of your device. Before you start the installation process, you need to check the model number of your device, otherwise you will risk damaging it. Just look on the box your Galaxy Note 3 came packed with. That must be SM-N900T! This model number is only intended for the Galaxy Note 3 devices rolled out under the T-Mobile carrier alone!
- Backup all your data. After reviewing the number model of your device, it is time to move on with backing all your data, as you might lose any important apps or files. You might also want to hit the Tips button to learn a few things about how to back-up your data.
- Proceed installing the CWM/TWRP/PHILS Recovery. This step is intended for those who don’t have installed on their Note 3 the latest version of CWM or TRWP recovery. In case you do, than you might want to proceed with the next step ahead. Otherwise, you can also hit the CWM button as well as the TWRP or the PHILS recovery to see how you can install them on your device. Only after that you will be able to move on with the installation.
- Installation Guidelines. Now that you have the three files installed with their latest version, we have to carry on with some installation guidelines. First, you will have to download the SD CARD FIX FILE and then transfer it to a specific location on your phone without losing track of it. After downloading it to your phone, make sure you access it and proceed with the installation process. You can do that by using either ClockworkMod (CWM) or TWRP recovery. In case you find it difficult, do not forget to look over again the two files that you have previously installed on your device; instructions on how to use both CWM and TWRP can be easily followed. Otherwise, you might find relevant the two guides below we have also prepared for you to safely and successfully install the zip.file with the SD CARD FIX FILE.
How to use CWM Recovery to flash SD card fix file
Before we showed you how to use the CWM recovery to flash the SD CARD FIX FILE on your Galaxy Note 3, you might want to take a look at this video that could simplify things for you. In case you can`t manage to do that, you can always rely on our step-by-step guide below.
- Boot your device into the recovery mode with the help of the QuickBoot app, in case you are already rooted. In case you aren’t, make sure you:
- Switch off your device.
- Press and then hold Volume Up + Home + Power keys at the same time and keep them that way until the Note 3 logo appears on the screen.
- Get in Recovery Mode and press the Volume buttons to use your way Up or Down and select an option by using Power button.
- In case your device quits unexpectedly, it is important for you to use the Nandroid Backup to restore your previous status. To make sure you have it on your device, just hit the Backup and Restore and select Backup.
- Now you will start installing the SD card Fix File by selecting Install Zip, then Choose zip from SD card, and access the location where you previously download the zip file and select it.
- Reboot your Galaxy Note 3 by going back to the recovery main menu and hit the Reboot System Now.
Now you have successfully installed the SD card fix file on your device with the help of the CWM Recovery mode.
How to use TWRP Recovery to flash SD card fix file
You can also try installing the SD Card Fix File by using the TWRP recovery by basically following the same steps, but with some slight modifications along the process. Just follow the steps above and you will not have troubles successfully install the SD card fix file.
- Just like with the CWM recovery, boot the device into recovery mode and use the QuickBoot app to carry on in case you are rooted. If not, switch off the device, press and then hold the Volume Up + Home + Power buttons until the Note 3 logo will have appeared on your screen.
- Create the same Nandroid Backup to restore your previous status in case something goes wrong. To do that, go to Backup, then hit Backup and Restore and carry on with the process by Swiping to confirm backup.
- Install the SD card fix file by taping on the Install feature, go to the location where you previously saved the zip file and tap on it. At the bottom of your screen just perform a swiping on the Swipe to Confirm flash and roll on with your flashing.
- Reboot your Note 3 by going back to the Recovery main menu and taping on Reboot, then System to reboot your device.
This is it guys, you now have successfully installed your SD card fix file with the help of the TWRP Recovery mode.
Conclusion
The tutorial we have just partaken all together was meant to show you how to successfully install the necessary SD Card Fix File on your Galaxy Note 3, just by following a simple guide on that matter. The tutorial also provided you with some simple guidelines on how to flash your SD Card Fix File by both using the CWM and the TWRP recovery modes. So, it should be just a simple follow-up process on your way to a successful flash of the SD card. Also, do not to forget to first check your number model; also mind that no other models under no other carriers accept T-Mobile should be used for flashing the SD Card. Wait for your turn, and eventually there will be other tutorials to show you how to install your device under a certain carrier.
With the hope that you have found this tutorial useful, we will keep you posted on other guidelines with other interesting flashing for your device. In case you have any questions or just want to express your opinion on the article, feel free to do that in the comment section below.


User forum
0 messages