How to Flash Adam Kernel on Samsung Galaxy S6

If you are looking for a method to improve the performance of your Samsung Galaxy S6 SM-G920F smartphone, I have more than once solution: you can install a custom ROM such as CyanogenMod, AOKP, ParanoidAndroid and more, you can choose one of the latest custom mods for this model, apply one of the solutions which fix specific issues with the phone’s firmware (learn How to Fix Galaxy S6 GPS Problems, Fix Screen Rotation Problems or Galaxy S6 Overheating Problems, Easily Fix Galaxy S6 Bluetooth Problems and more) or flash Adam kernel on your device.
Installing a custom kernel is strongly recommended as long as the Linux kernel on the Galaxy S6 is the one responsible for everything that happens on your device from basic operation such as initiating a phone call all the way to deciding what happens when a certain part of the digitizer is touched.
The kernel known as Adam that I have already told you about is a stock kernel built from Samsung sources, rooted with the latest SuperSU, while SeLinux is set to Permissive Mode.
The developer didn’t want to add a long list of features to the kernel, but this is why I actually like Adam kernel a lot: is very simple with a few power efficiency tweaks which will help this Samsung phone run smoother than ever before, being prepared to offer you the chance to enjoy unique features such as Busybox pre-installed, Init.d support – For further Customization, SELinux set to Permissive mode, AutoRoot with SuperSU (which means that you won’t have to manually root your Galaxy S6) or improved battery performance.
If you want all these, then keep in mind that you need a rooted Galaxy S6, with TWRP recovery installed on top of it or the procedure won’t work (use the appropriate tutorial for your version: Flash TWRP Recovery on Various Galaxy S6 Versions (China, Korea, T-Mobile, US Cellular and more), How to install TWRP Recovery on Sprint Samsung Galaxy S6 or Install TWRP Recovery on International Samsung Galaxy S6).
You must also charge your Samsung phone to at least 60% so that you won’t run into problems while flashing, not to mention that you must also backup all your data although flashing this kernel is safe. You never know what might happen, so it’s better to be prepared.
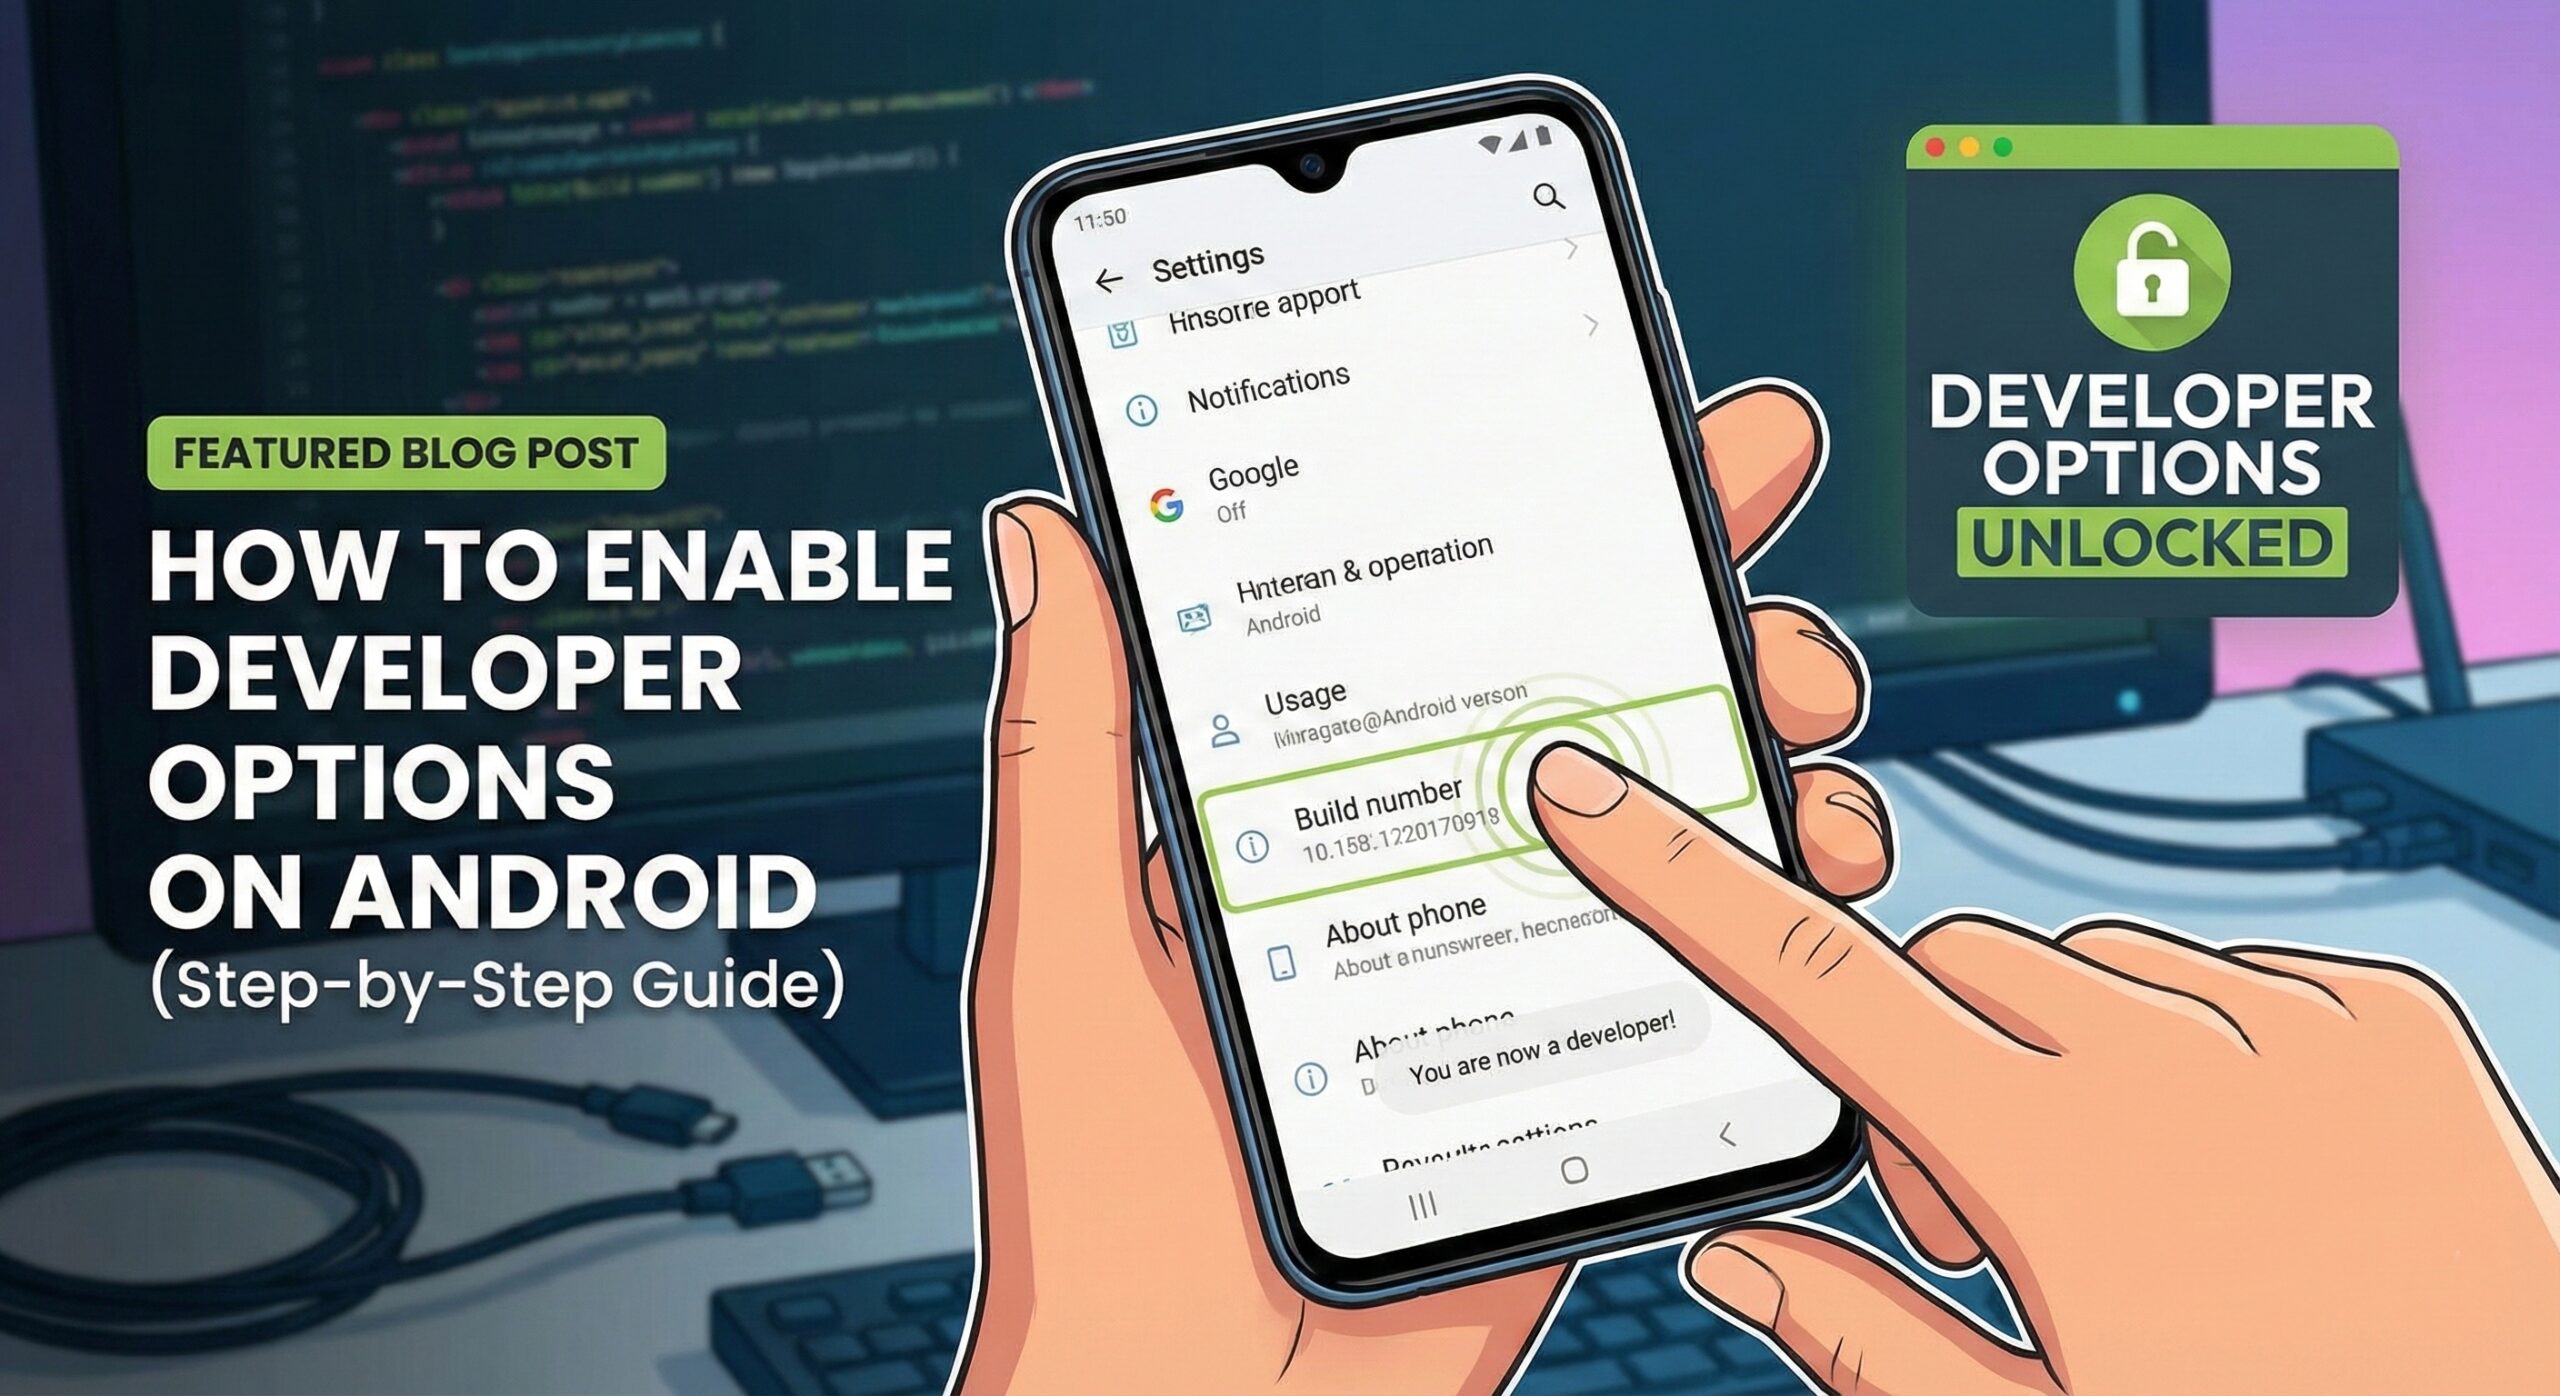
Don’t forget to enable USB Debugging, so go to Settings> About> Build number and tap it no less than 7 times to unlock Developer options. Then, go back to Settings> Developer options and tick the USB Debugging option. Also keep in mind the fact that Kernels are hardware specific, so it is better to check your device model number be entering to Settings. You will find your device model number and if it is not SM-G920F, then the procedure isn’t for you.
And yes, this tutorial is risky and might brick your Samsung Galaxy S6, so newbies should stay away. If you feel confident, then act carefully and make no mistake. I am not responsible of what might happen to your smartphone, but you are!
How to Flash Adam Kernel on your Galaxy S6 G920F:
- Download the latest Adam Kernel ZIP file from here on your PC;
- Connect your Galaxy S6 to the PC with the USB cable;
- Transfer the file;
- Turn off your Samsung Galaxy S6;
- Then, you must boot into the recovery mode by holding down the Volume Up+Home+Power buttons at the same time;
- When you see the Samsung Galaxy S6 logo, release the Power key, but keep the Volume Up+Home buttons pressed until the TWRP menu appears;
- Tap on the Install button;
- Go to the Adam Kernel ZIP file that you’ve transferred in the previous steps of the procedure;
- Swipe to flash the Kernel and have patience;
- At the end, reboot your Galaxy S6 smartphone.
Have you succeeded? Do you enjoy your Samsung Galaxy S6 on top of the latest Adam Kernel? Let me know if you like it!


User forum
0 messages