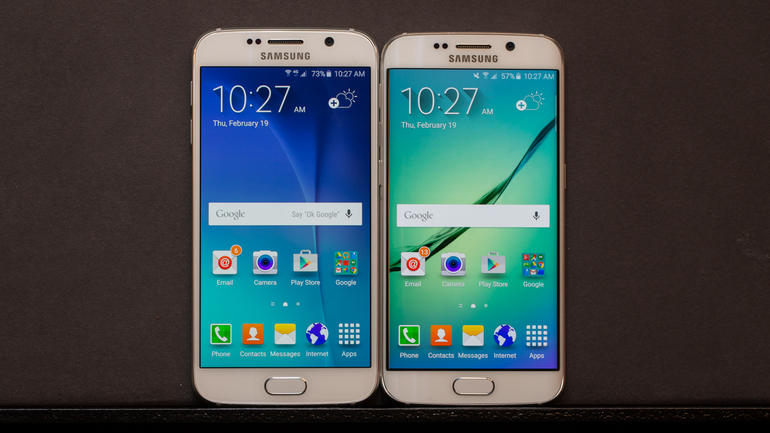
Install TWRP Recovery on International Samsung Galaxy S6
4 min. read
Updated on

Do you want to update your Samsung Galaxy S6 with a custom ROM firmware or to make a Nandroid backup before applying other custom procedures? In such a case, it’s obviously that a custom recovery image will be required, so here we are to show you how to easily install TWRP Recovery on the International model of Samsung Galaxy S56.
However, before proceeding, we want to be clear about the fact that the advantages list is much longer than that. By installing TWRP recovery on the Samsung Galaxy S6, you will also be able to perform operations such as hard resetting it, fixing your bricked smartphone, customizing its looks, flashing a custom kernel, improving the performances of your phone, and not only.
After all, TWRP recovery, like any other custom recovery image, can be considered a link between your Android device and its internal system, so why not taking advantage of what it can offer?
TWRP recovery is a custom app developed and offered by third party devs, so installing it is not an official procedure. This means that you will lose the warranty of your Galaxy S6. Even more, this tutorial and the mentioned TWRP recovery file are compatible only with the SM-G920F (International- European) version of the SGS6; therefore, do not try the steps from below for any other model.
Preparatory steps:
- Disable the security protection from your PC;
- Prepare the original USB cable;
- Make a backup of your important data just for safety. You never know when something could go wrong and your data might get wiped out while flash TWRP Recovery on this Samsung Galaxy S6 device;
- You must also enable USB Debugging on your Galaxy S6. In order to do so, go to Settings> About> Build number and don’t hesitate to tap it 7 times to unlock Developer options. After that, simply return to Settings> Developer options and tick the USB Debugging;
- Install the latest Samsung USB drivers on your PC;
- Installing TWRP recovery using adb shell or a terminal emulator app is possible only on a rooted Galaxy S6 smartphone, therefore ensure root access before jumping to action;
- Make sure your Galaxy S6 has more than 60% battery left before you start the procedure.
With the help of this tutorial, you will be able to choose one of the three different methods that can be applied for flashing TWRP recovery on your Galaxy S6. This is your decision to take! In any case, follow the guide carefully and only at your own responsibility!
How to Install TWRP Recovery on Samsung Galaxy S6 using TWRP manager app:
- Download this APP called TWRP manager by using this direct link;
- Open the app;
- Tap on Install TWRP;
- Select you Samsung Galaxy S6 device;
- It’s time to tap on Install TWRP recovery;
- The most recent TWRP software will be downloaded and installed automatically, so sit back and relax!
How to Install TWRP Recovery on Samsung Galaxy S6 via Odin:
- Download Odin;
- Install it on your PC;
- Also take the TWRP recovery.tar file from here;
- Power off your device;
- Enter in Download mode;
- Connect your Samsung Galaxy S6 to your computer via the original USB cable;
- Use the PDA tab to browse and select the tar file that you downloaded and flash it on your smartphone.
How to Install TWRP Recovery on Samsung Galaxy S6 using adb shell or a terminal emulator app (Root Required):
1. Download the most recent image file from here;
2. Place it in the root of your /sdcard folder and rename it to twrp.img;
3. It’s time to open ADB shell or Terminal Emulator App and Run the commands:
‘su
dd if=/sdcard/twrp.img of=/dev/block/platform/15570000.ufs/by-name/RECOVERY’
We hope that we could be helpful with this guide! And if you have any other related issue on your Samsung Galaxy 6, then post it in the comment area and wait for our answer!


User forum
0 messages