Easily Install Android M on Sony Xperia E3

Do you want to install Android M on your Sony Xperia E3? The Developer Preview of Android M has its own bugs and its features are limited for now, but I am also aware of the fact that waiting might not be your strongest point.
Thus, for the moment, you can enjoy Adoptable Storage Devices, Fingerprint support, Mobile payments, new Power and charging features, New App permissions and not only, so the idea of an improved Sony Xperia E3 performance and testing Android M is more than tempting.
Anyway, note that this update operation will void your Xperia E3 warranty (you can learn How to restore it) and keep in mind that I am not going to be held responsible if you damage or brick your Sony device while trying to flash the Android M ROM.
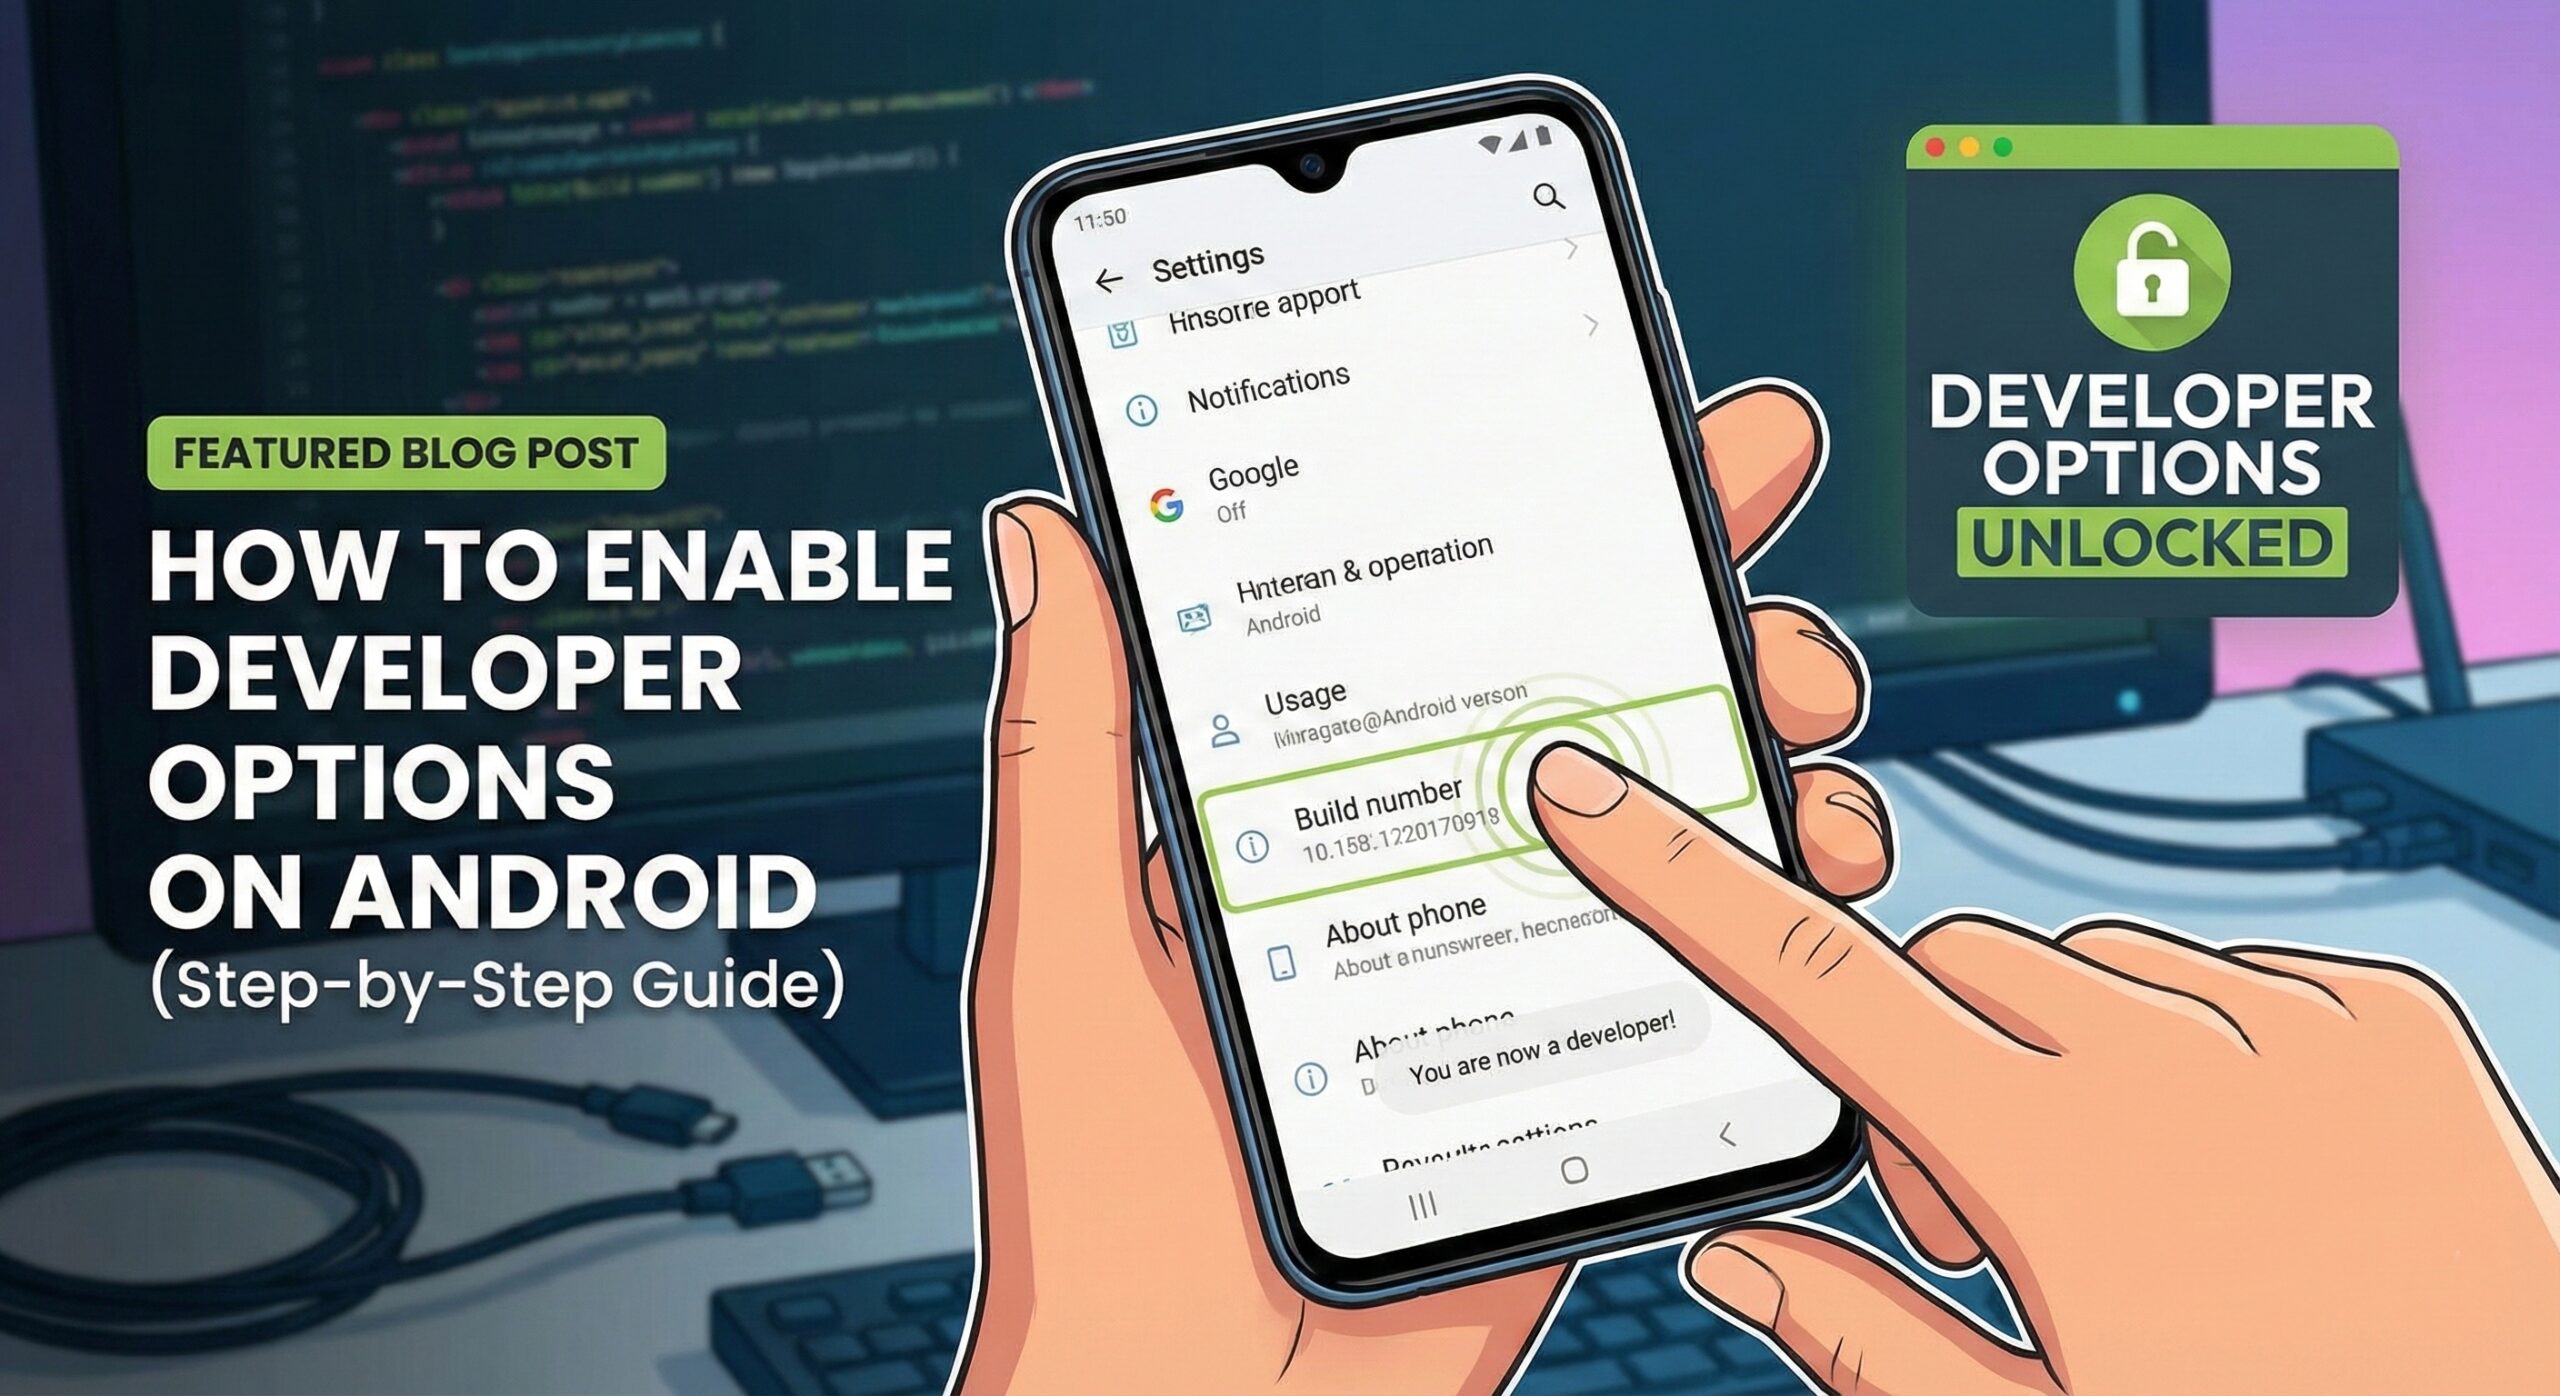
Do it at your own risk and follow the steps properly or you might end up in an unfortunate situation. Before proceeding, enable USB Debugging on your from Settings > Developer Options, unlock bootloader on your Sony Xperia device, install the most recent CWM or TWRP Custom Recovery for your handset and do not forget to root it.
Make sure your device has more than 60% battery left, or else there is chance of getting it temporarily bricked if the installation process is interrupted. And do not forget to save what’s important for you from the internal storage memory of your Xperia E3 phone. In order to do that, you can use cloud storage services or dedicated backup and restore apps from Google Play for saving your photos, videos, contacts, call logs, messages, apps, internet settings, passwords and accounts and to continue using them even after the procedure ends.
Do you have installed the appropriate USB drivers on the PC? If not, your smartphone will not be recognized by the computer.
How to Easily Install Android M on your Sony Xperia E3:
- Download the Android M Developer Preview file from here; place the file on desktop;
- Then, also take Gapps with the help of this direct link;
- Connect the smartphone to the computer via its original USB cable;
- Move the files to the phone’s internal storage;
- Remove the USB cord;
- Then, it’s time to switch it off;
- Now, you must enter the device into recovery mode by pressing the Volume up and Power buttons;
- Do not hesitate to choose wipe data/factory reset;
- Also perform a cache wipe by selecting wipe cache partition;
- Then, go back to select advanced and tap wipe dalvik cache;
- Return to the main recovery and select install zip from sdcard;
- Then, you must choose zip from sdcard;
- Install the Android M ROM zip file;
- Do the same for the Gapps package;
- At the end, you have to restart the device by selecting ‘reboot system now’ seen in the recovery menu.
If you face any issues, then tell me all about them in the comments below. And if you prefer using a more private method, don’t forget that you can also share your experiences by using the contact form.
You can also:
- Install Android M Developer Preview FreeXperia on Sony Xperia Z2;
- Install Android M Developer Preview FreeXperia ROM on Xperia Z1;
- Learn How to install Android M Developer Preview on Sony Xperia Z2 Tablet from here;
- Flash Android M on Sony Xperia Z3 using FreeXperia ROM;
- Install Android M Preview on Nexus Devices;
- Learn How to Install Android M Preview FreeXperia on Sony Xperia Z3 Compact with the help of a step by step guide.


User forum
0 messages