Manually Fix a Stuck Button on your Android Smartphone or Tablet

Having an Android smartphone or tablet is a joy, but sometimes things tend to get more complicated than you might imagine. Do you always take good care of your device? Before thinking that your precious Android device is safe, just think of the fact dust, oil, grime and so on that your hands have picked up can easily get transferred over to your phone or tablet.
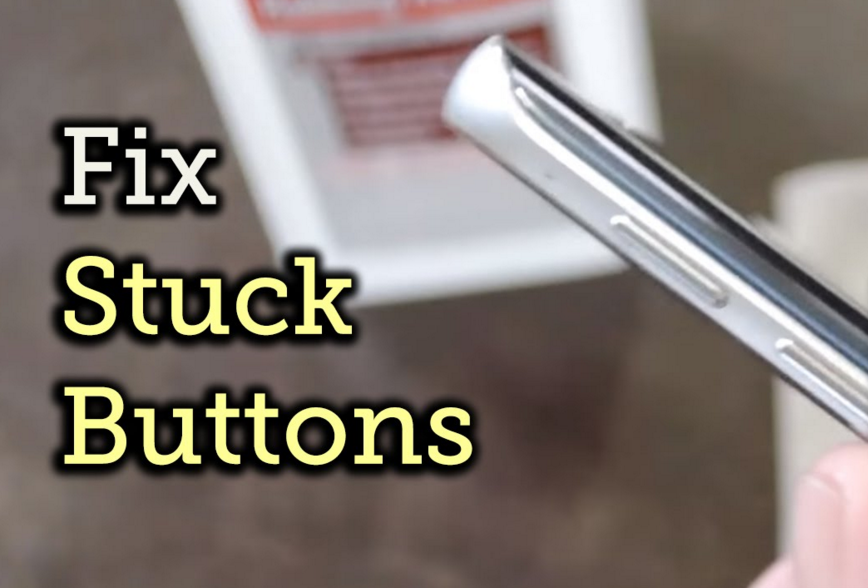
What’s the risk in such cases? The physical buttons on these devices can easily become “stuck” buttons as they are physically hard to press.
So, you are not imagining things, but it’s time to take action. Before thinking that the button might be mechanically broken, let me tell you that there’s not always the case to replace parts.
A simple cleaning should take care of your problem and here I am to show you how easy is to fix a stuck button on your Android smartphone or tablet.
Fix a Stuck Button on your Android Smartphone or Tablet:
- Prepare some isopropyl alcohol, Q-tips (or any cotton swabs), as well as a canned air duster;
- Turn off your Android device;
- You must also remove the battery, if possible, just to be on the safe side;
- You must dip your Q-tip into some high-percentage isopropyl alcohol and then, use it to clean the sides of the stuck button on any surface that sticks out from your phone;
- As a tip, you should turn your Android device upside-down while you work so that gravity will prevent any alcohol from seeping into your device;
- Up next, you have to clean the part of your phone or tablet that the button protrudes from. This is not always a simple thing to do as long as the button usually fills this gap entirely. However, if you press down on the stuck button, your Q-tip should be able to have a better effect on cleaning this area too;
- Now, you have to hold one side of the button down and use the alcohol Q-tip to clean the inside of the frame where your button is placed;
- Don’t forget to also hold down the opposite side of the button and clean the area that your finger was previously blocking;
- Let’s move to the next step of grabbing some canned air and putting the nozzle parallel to the stuck button;
- From here, give it a few quick bursts of air to help free up any remaining debris;
- Now, check the button. Do you notice any improvement?
Do share your experience with me and with other users by using the comments area from below and don’t forget that you may have to repeat these steps until the sticky button is back to normal.
Also read:
- How to Fix Notification LED Issues on LG G4;
- Learn how to Fix Black Screen Issues on Google Nexus 6 by using this guide;
- How to Fix Green LED light blink on LG G4;
- From here read the guide on How to Fix File Permissions on any Android Device;
- Fix Overheating Issue on Android Devices with Snapdragon 810;
- How to Fix Disappearing Mobile Data Toggle Issue on Galaxy S6 Edge with the help of this operation.


User forum
0 messages