Easily Fix your Damaged / Bricked Android device
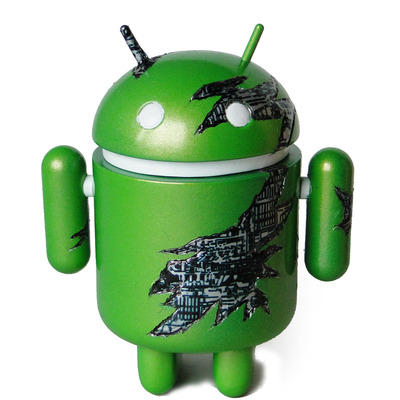
Like most new Android users you downloaded a lot of apps, you eventually rooted your smartphone / tablet and installed powerful apps and a custom ROM. Then something went wrong and your device became useless. Sounds familiar? Yes, it is all about „bricking” Android device or damaging your Android Operating System. The cause can be file corruption, installation of some tricky apps or the Android smartphone. You can first perform a hard reset from the System Start menu – hold Volume Down, Home or another button while turning on your device. After applying this method the phone has the settings from factory.
Most devices “brick” when they suffer a hardware abuse – falling hard, getting dropped, a custom ROM is incompatible with the device type, Google apps vanish after a custom ROM is installed, custom ROM does not match with the installed kernel, some error from the full data wipe / factory reset / cache wipe after flashing with a custom ROM.
It is good to know that there isn’t a universal method to debug / troubleshoot your Android smartphone / tablet. There are lots of methods.

How to hard reset your Android Device:
- Power off your handset.
- Press and hold your phone’s Volume Down button, then press the “Power button or hold down the “Home” key while pressing the “Power” button.
- Press Volume Down button and scroll down to the “Clear Storage” or “Factory Reset”.
- Press “Power” or “OK”.
- Press Volume Up and wait for the reset process to finish.
- Restart device.
You can also unbrick your Android device with one click, by downloading OneClick Unbrick app.
How to fix Android OS with a boot loop issue:
First, after installing a new ROM over an existing one without first deleting the files associated with the previous ROM your handset enters in a boot loop. The only solution is to format the Cache Partition in recovery mode.
- Shut down / turn off your phone.
- Boot into Recovery mode – hold down the volume down button and then press the power button does it.
- Use volume keys to navigate the menus, and power button to select the menu items.
- Scroll down to “Advanced”.
- Choose “Wipe Dalvik Cache” option.
- Return to the main screen.
- Choose “Wipe Cache Partition”.
- Choose “Wipe Data / Factory Reset” to delete all your settings and apps, using the correct ROM.
- Reboot your device.
How to fix freeze issue during boot:
If your handset gets stuck in a boot loop, you are having a problem. But, luckily for you, this problem can be resolved quickly. All you have to do is to follow the steps from above – from the section “How to fix Android OS with a boot loop issue”.
How to fix “boot into recovery mode” each time your device is on:
- Format a memory card using a FAT32 system.
- Copy a new ROM onto the memory card.
- Insert the memory card back into damaged Android smartphone / tablet.
- Boot into recovery mode.
- Go to Mounts and Storage.
- Choose Mount SD Card.
- Choose the ZIP file from the SD memory card.
- Select Install option and hit Yes.
- If this method fails, unroot device and install stock ROM.
How to flash bricked Android device using Odin:
- Download the stock firmware of your phone.
- Download Odin from your favorite source.
- Extract odin.zip.
- Load Download Mode ( Volume Up key + Home key + Power key ).
- Connect USB cable to your PC.
- Remove and reinsert the device battery.
- Hold down Volume Up and Volume Down keys.
- Insert USB cable into your device.
- Click Start in Odin.
- Run Odin.exe.
- Check “auto-reboot”-uncheck all options.
- Click PDA and select the TAR you downloaded.
- Tap device button and choose the file named “MODEM”-if the file is missing ignore.
- Hit CSC button and choose the file named “CSC”-ignore if absent.
- Hit PIT button and choose the .pit file.
- Enable Auto Reboot and Reset Time options in ODIN.
- Choose the files to be flashed or installed on your device.
- Hit Start in ODIN.
- The handset auto reboots. Done.
- Learn how to use Odin for other operations by using our dedicated step by step guide from here.
Update:
In addition to what we have talked during this step by step tutorial you might also need to use:
- How to hard reset Galaxy Note 3
- How to hard reset Galaxy Note 2
- How to hard reset Galaxy S3
- How to hard reset Galaxy S4
- How to hard reset HTC One
- How to hard reset LG G2
- How to hard reset Moto X
- How to hard reset Moto G
- How to hard reset Xperia Z
- How to hard reset Google Nexus 5
If your Android device is still bricked, that means that the hardware is damaged and you have to repair it or to buy a new one.



User forum
39 messages