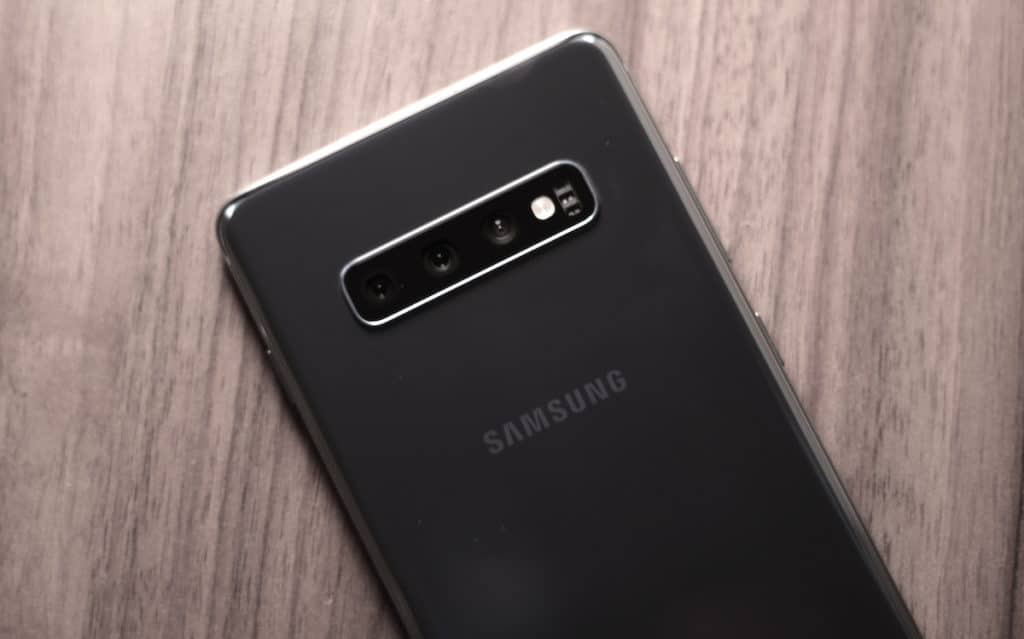
How to Shoot RAW Photos with your Galaxy S10

The Galaxy S10 comes with not one, not two, but three different cameras at its back and we have all got used to the idea. We’ve all been there – you just want to take an image of a something and you have to take a few steps back just to fit it into the scene. Thankfully, ultra-wide-angle lenses mean you can capture even more details and that’s what S10 is all about.
The Samsung S10 is also the first phone to support HDR10+, a high dynamic range format. That feature optimizes the color and contrast of videos to make them more life-like. And you just have to say “Smile”, “Sheese”, “Capture”, or “Shoot” and your Samsung S10 automatically take a photo using voice command. These are only a few of the things that crossed my mind, but the list is so much longer.
While the rear cameras on the Galaxy S10 series are impressive, you have the chance to take even better photos by shooting in RAW. As you might already know, RAW photos serve more picture clarity and maximum possible details that can be captured from a camera.
You should be aware of the fact that the images are usually higher in size, yet it’s a small price to pay if you want the very best. This is what you are after, aren’t you? You’ll find the feature under Save options in Settings, so waste no more time.
Here’s how to capture RAW images on your Samsung Galaxy device:
How to Shoot RAW Photos with your Galaxy S10:
- Open the Camera app on your Galaxy S10;
- Tap the Settings button located on the top-left corner;
- Now, inside Save options, all you have to do is to enable the RAW copies (Pro) option;
- Whenever you want to shoot photos in RAW on your device, you will have to switch over to Pro mode which can be done by swiping left in the camera app.
If you want to see more detailed images, and have creative control of the editing then taking photographs in RAW can be very rewarding. Have fun with that!


User forum
0 messages