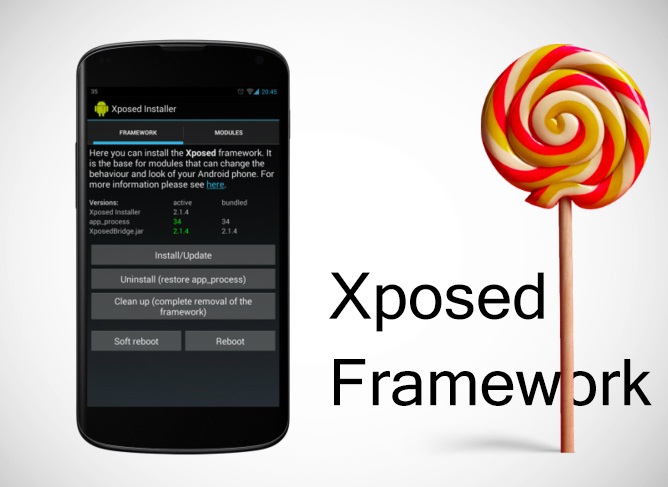
Fix Xposed Framework Installation on Nexus 6
3 min. read
Updated on

Despite of the fact that Xposed Framework (v. 3.0) for Android 5.0 Lollipop has been released, there is something that you should know from the very beginning. It is not compatible with all devices running Lollipop and one of the most disappointing exceptions is none other than the Google Nexus 6.
Do you own this smartphone as well? Then, it’s time for a change and we are here to guide you all the way!
Let us tell you that it is simply pointless that if you try to install the Xposed on your Nexus 6, it will not work. This is happening due to the SELinux kernel and we have two solutions for you: one of them is waiting. Keep in mind the fact that the Xposed Framework for Android 5+ is still in alpha release, but the developer rovo89 tries to fix this issue soon.
However, if waiting is not your thing, then don’t hesitate to choose one of these following guides and things will change. So, all users who cannot wait have the chance to follow the below methods to install Xposed Framework on their Google Nexus 6. As you can see, there are no less than four different methods, but we cannot tell you which one is the best method for you as long as the result may vary on different ROMs.
Fix Xposed Framework installation on Nexus 6 (Method 1):
- For the start, you have to set SELinux to Permissive. If your kernel is not permissive by default, it’s time to take SELinux Mode Changer root app from here;
- Then, while rebooting, enable the Xposed modules you want;
- From inside the Xposed app, it’s time to perform a soft reboot;
- Once the device boots, Xposed should be functional and ready for use!
Fix Xposed Framework installation on Nexus 6 (Method 2):
- Download the script that can be found here;
- Extract the file to the root of your sdcard;
- Type the following commands with the help of a Terminal Emulator:su
cd /sdcard/
sh initd.sh - Then, you must reboot the smartphone and enjoy the changes.
Fix Xposed Framework installation on Nexus 6 (Method 3):
- Flash either of these following files (Zip 1 or Zip 2). Both of them do the same thing to the previous method, but we find this procedure as being even easier;
- Flash the chosen zip file from recovery;
- Then, reboot your device. Everything should be working with no problems!
Keep in mind the fact that all ROM/Kernel configurations do not support init.d scripts.
Fix Xposed Framework installation on Nexus 6 (Method 4):
You can fix Xposed Framework installation on Nexus 6 by flashing a kernel that has been set to permissive by default. Here’s what you have to do in such a case:
- Don’t hesitate to download LeanKernel modified by Imoseyon to be permissive; use this direct link in order to do that;
- Now, you have to flash it via custom recovery;
- At the end, simply reboot the device and tell us how it works.


User forum
0 messages