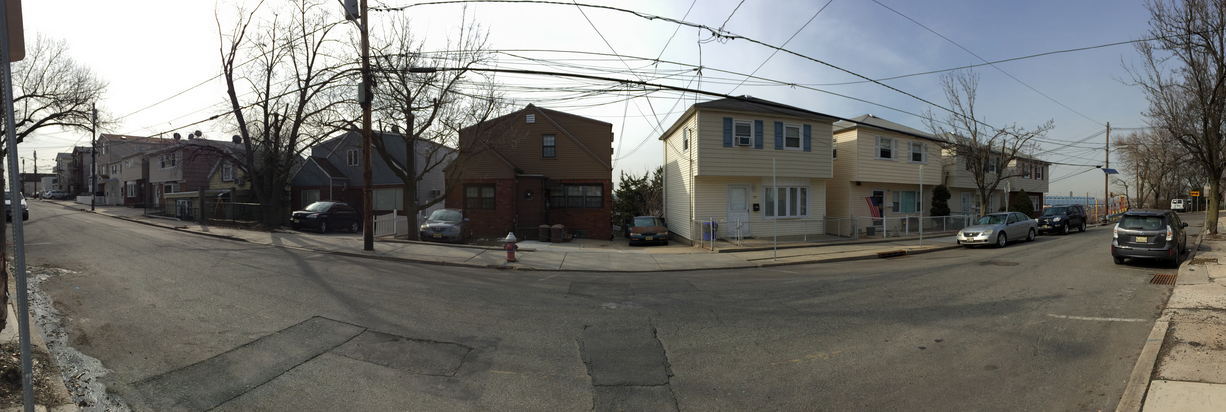
Take HTC One M9 Panoramic Photos
3 min. read
Published on

Are you tempted of the idea of taking a HTC One M9 panoramic photo? For the uninitiated, a panorama is nothing else then a series of images stitched together to form a single wide-angle shot. It’s generally found as an option in your camera application, and you take a panorama by moving your phone so that it’s able to capture much more than just a single field of view.
Panoramic photos look great and they are perfect for taking pictures of landscapes or even big groups of people, but I must warn you about the fact that they can take a little bit of practice. Here’s what you have to do and even if you won’t succeed from the first time, don’t give up:
Take HTC One M9 Panoramic Photos with ease:
- Open Camera from the lock screen or Home screen;
- Tap on the Mode icon;
- Then, you have to go to Panorama;
- It’s time to tap on Menu > Panorama plus indicator;
- Then, you must tap once again on the Panoramic icon to switch to Sweep panorama mode;
- When you’re ready to take the shot, tap scenes panorama stop icon;
- Pan left or right in either landscape or portrait view, as you want;
- You must hold your HTC One M9 phone as smoothly as you can to automatically capture frames;
- The camera will stitch the frames into a single photo.
The second type of panorama is 360, where you have the possibility to take photos of everything around you – up, down, left and right. This will then build up a 360-degree shot and when you view it on the phone, you can rotate your device to get a 360-degree view of your surroundings.
Take a Pan 360 Photo:
- Open Camera from the lock screen or Home screen;
- Tap on the Mode icon;
- Then, select Panorama;
- On the Viewfinder screen, tap menu icon to show the camera options;
- Tap the panoramic icon;
- Then, you have to tap panorama plus indicator icon to switch to Pan 360 mode;
- Hold the HTC One M9 device at the face level as long as like that you’ll have more space to capture scenes above or below you;
- When you’re ready to take the first shot, center the white box within the Viewfinder markers;
- The HTC One M9 camera automatically captures the frame;
- To take succeeding shots, pan HTC One M9 up, down, left, as well as right;
- As you pan in one direction, you’ll see a new white box, so you have to center the white box again within the Viewfinder markers;
- you have to pan repeatedly until you get your desired frames;
- Photos taken with the Pan 360 are indicated by the panorama plus indicator icon found in Gallery.
Do you like the final result? Keep in mind that some camera features are not available when you’re in this mode, such as zooming and avoid capturing scenes with moving objects, not to mention that you must keep a distance of at least five meters (16 feet) from the actual scene.


User forum
0 messages