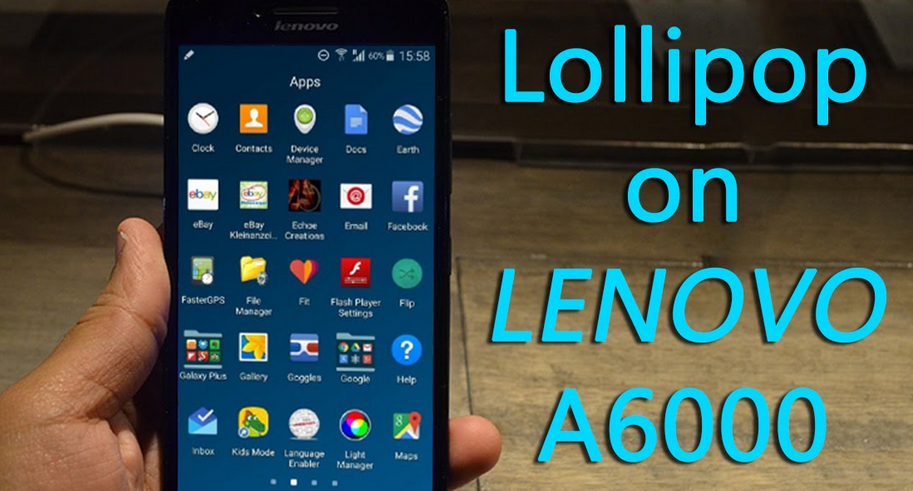
How to Install Android 5.0 Lollipop OS on Lenovo A6000
3 min. read
Updated on

Are you excited about the fact that Lenovo A6000 is ready for the most recent Android 5.0 update? If the OTA fails to appear, I say that it’s time to take action and feel free to use the guidelines from below in order to manually install the Lollipop firmware on your Android device right away.
However, I want you to know from the very beginning the fact that this method is only working for un-rooted Lenovo A6000 devices; even more, you cannot be successful if you have already flashed a custom ROM firmware. In such conditions, your device must be running on stock KitKat firmware and the internal system must be locked or else this Lollipop update procedure is not for you.
Before getting to the actual Android 5.0 update procedure, take a NANDROID backup on your Lenovo A6000, which creates a full restore point for your smartphone, just in case that the new ROM doesn’t boot in normal mode.
Therefore, don’t forget about your contacts and call logs, your texts and precious images or videos, your audio files, calendar info, important passwords, IMEI / NVRAM data (read this guide on How to Backup and Restore IMEI / NVRAM Data on Android Devices), internet settings and so on and also enable the USB debugging mode.
A computer is necessary too, so you must temporarily turn off the antivirus or any other software related tool that might interfere or completely stop the updating procedure and prepare the original USB cord as well.
No less important, you have to check your Lenovo’s A6000 battery charge level in order to be sure that it is over 60%. This prevents the smartphone from powering off during the Android 5.0 Lollipop installation; therefore you avoid the risk of bricking it. As for your warranty, there is no reason to be worried about as long as I am talking about an OTA release, so be sure of the fact that you won’t lose the warranty of your Lenovo A600.
How to Install Android 5.0 Lollipop OS on Lenovo A6000:
- For the start, take the Android 5.0 package from here on your PC;
- Connect your Lenovo smartphone with the computer by using the original USB cable;
- It’s time to move the Lollipop package on your phone’s SD card;
- Remove the cable;
- Power off your phone;
- Up next, enter recovery mode: in order to do that, just press and hold Volume Up and Power buttons for a few seconds at the same time;
- From the main menu of recovery, choose the Update option;
- Select the Android 5.0 Lollipop firmware file;
- Follow on the screen prompts and resume the update operation;
- At the end of the procedure, from the main menu of recovery, you just have to select “reboot system now”.


User forum
0 messages