How to Solve Sensors Problems on Xiaomi Mi 4 Running on a Custom ROM
3 min. read
Published on

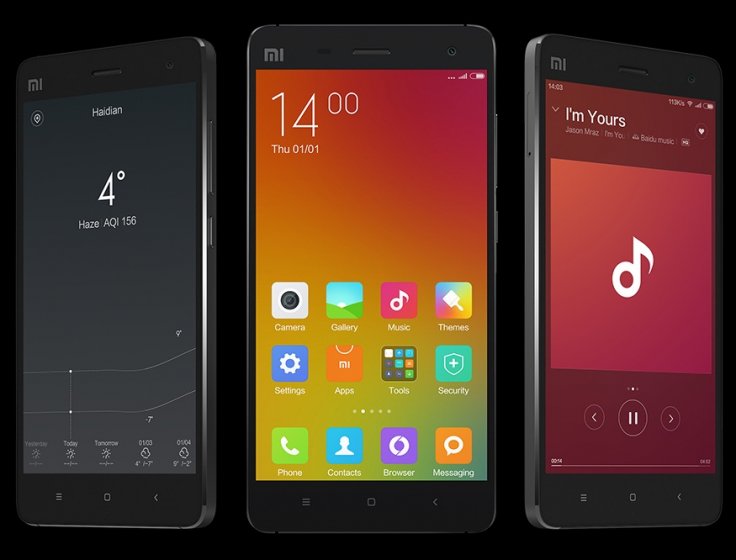
The Xiaomi Mi 4 smartphone was launched in the summer of the last year, but don’t you imagine that people don’t use it anymore. On the contrary, it has powerful technical specs combined with the exclusive MIUI ROM (which stands for Mi User Interface) and you probably already know that this user interface developed by Xiaomi Tech is a stock and aftermarket firmware based on the free software Android operating system loved by the public.
And with such a success, there is no surprise to see that the handset received various custom ROMS based on CyanogenMod and other such communities. Things look good so far, but many users have reported sensors not working, as well as various bugs while on a custom ROM. Are you one of them as well? Then, my advice is to keep reading as long as here you can find a solution that will help with the sensors on your brand new ROM.
To do so, here is a persist image file that needs to be replaced with a new one. The new persist will help you get the sensors back, but before moving to the actual guide, you have to think of the safety of your precious data. That is why you have to take a backup, to be prepared for any situation and I also hope that rooting is not a problem.
Make sure you have root access on your device or else completing these steps becomes an impossible task. We at AndroidFlagship are not liable for any damage to your device, so understand that you are the only one that can be held responsible if you brick or damage it in one way or another.
How to Solve Sensors Problems on Xiaomi Mi 4 Running on a Custom ROM:
- Take the Persist image file from here;
- Put it in your device’s internal storage;
- Here you can also find the Terminal Emulator for Android; Download it and grant root access when prompted;
- Open terminal emulator app and enter the following commands:
su
dd if=/dev/block/mmcblk0p22 of=/sdcard/persist.img - Next, you will get a persist.img file in your storage;
- Transfer the file somewhere safe;
- Then, you have to place the persistnew.img file where the former persist image file was;
- Now, you must open the terminal emulater app again and enter this command:
dd if=/sdcard/persistnew.img of=/dev/block/mmcblk0p22 - At the end, just reboot the system.
At the end, check your sensors and let me know if there’s still an issue. For that, you can use any sensor testing app like Sensor Box.


User forum
0 messages