
How to Dual Boot CM 13 and TouchWiz ROM on Samsung Galaxy S6
![]() 3 min. read
3 min. read
![]() Published on
Published on
Share this article

Improve this guide
Are you the owner of a Samsung Galaxy S6 smartphone? Then, I bet that you are more than tempted to give a try to CyanogenMod 13 (CM13) Nightly ROM which promises a complete Android 6.0 Marshmallow experience on a custom ROM. However, the stock TouchWiz ROM isn’t at all a bad choice either, so this time, I get your confusion.
What can you do in such a case? Let me tell you from the start that there is a solution for you problem: my advice is to dual-boot both of them and use the one you like the most. When you get tired of a ROM, it is only up to you to switch to another one without having to wipe all your data and put your Galaxy S6 in any danger. How do you find this idea?
I know that this sounds tempting, but note that backing up your data is still recommended. If something goes wrong, you can easily restore the backup later, so in Recovery, choose Backup and Restore and tap Backup. Then, to successfully dual-boot on your Samsung Galaxy S6, you will need a custom recovery such as TWRP or PhilZ, CyanogenMod 12 CM13 ROM, as well as the Dualboot Patcher program.
Read and apply:
- Easily Root Verizon Galaxy S6 G920V with PingPongRoot tool;
- Root SM-G920I Samsung Galaxy S6 Device using CF-Auto-Root and Odin;
- Easily Root International Galaxy S6 with CF-Auto-Root;
- How to Root T-Mobile Samsung Galaxy S6 using CF-Auto-Root;
- Easily Root SM-9200 Galaxy S6 (Hong Kong variant);
- How to Root T-Mobile Samsung Galaxy S6 using CF-Auto-Root.
And in order to dual-boot TouchWiz and CyanogenMod 13, your Galaxy S6 handset needs to be rooted or the procedure cannot be completed. And don’t worry if you don’t know the steps; here I am to help you all the way:
How to Dual Boot CyanogenMod 13 and TouchWiz ROM on your Galaxy S6:
- From here you must take the CyanogenMod 13 ROM;
- Here you can also find Marshmallow Google Apps;
- Turn the phone off;
- Then, boot into recovery mode by pressing the volume up, home and power keys;
- Perform a full Nandroid backup;
- Take the Dualboot Patcher APK by accessing this link;
- Install it on your phone right away;
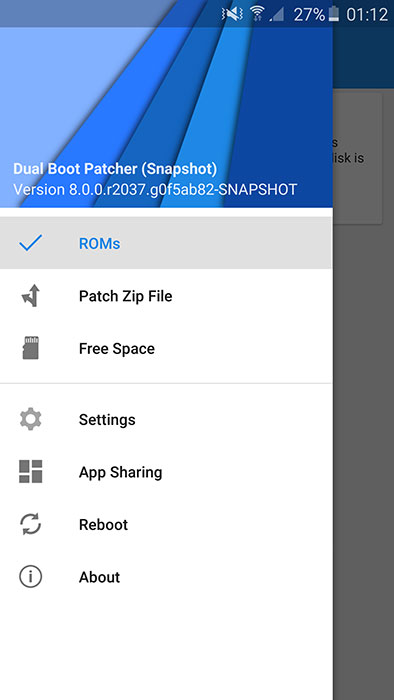
- Up next, open the app and go to ‘ROMs’;
- A window will appear asking you to set the kernel; set it with no hesitation;
- On your phone again go to ‘Patch Zip File’, select CyanogenMod 13 and Gapps and patch them to install in data;
- Do not forget to select ‘zerolte’ in the device section;
- Turn the phone off and boot into recovery mode;
- Now, tap on the Install button. Choose the CM13 ROM file that you coped earlier to your phone’s SD card from the list;
- Confirm the installation on next screen by swiping on the ‘Swipe to Confirm Flash’ option and the firmware installation should begin;
- Then, do the same for Gapps;
- Restart your phone;
- You must also install Dualboot Patcher on the new ROM;
- Go to the ROMs section and you will be able to choose between TouchWiz and CM13 to boot.
Enjoy!


User forum
0 messages