Take a Galaxy S7 Edge Screenshot
3 min. read
Updated on

Anyone that has used a Samsung Galaxy device in the past, will probably be right at home and know what to do as a new Galaxy S7 Edge owner.
However, if you’re an Android convert leaving the iPhone or never owned a Samsung Galaxy smartphone, then I am sure that you need a little bit of help.
It’s time to start with the basics, such as how to take a screenshot on the Galaxy S7 Edge flagship. You might need this function more than you imagine, so let’s take a quick look at the methods Samsung uses for taking a screenshot on this S7 model:
Take a Galaxy S7 Edge Screenshot by using the hardware keys:
Taking and saving a screenshot on Samsung smartphones by using the hardware keys is not at all complicated:
- Open the screen that you want to capture;
- Press and hold Power and Home buttons together at the same time;
- Briefly push and hold both buttons and let go;
- At that point, you’ll see and hear the screenshot capture. Bes sure that the device saves whatever was being displayed;
- Then, in order to view all of the screenshots, just go to Pictures > Screenshots and here they are!
Like on previous Galaxy devices, you can use just one hand and swipe from the right edge to the left, sliding slowly and deliberately. This is the best method for those of you who are not too good on using two hands for the two-button method previously descried or for the users who don’t like the classical hardware keys procedure.
Take a Galaxy S7 Edge Screenshot by using gestures:
- First of all, activate gestures by entering into Settings > Motions;
- Find Hand Motions in the Motion menu;
- Check the Palm Swipe to capture;
- The, go to the screen that you want to take a screenshot of;
- Now swipe the edge of your hand from right to left or left to right, horizontally;
- Just like in the other method you’ll hear the shutter sound and see a short on-screen animation.
This method is enabled by default, but you can turn it off in the settings if you prefer, or if you find you’re accidentally taking screenshots. Here’s how to do it:
- Go into the settings menu;
- Scroll down to “Motion”;
- Then, choose “Motions and gestures”;
- Tap “Palm swipe to capture”;
- Hit the toggle button from on to off.
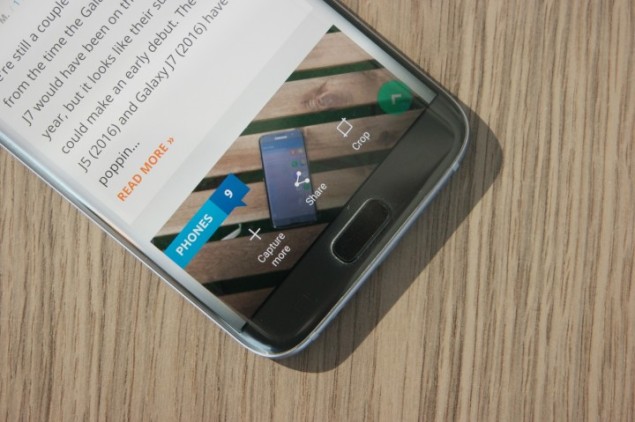
From Advanced settings, you also have the chance to enable Smart capture which shows additional information after you take a screenshot. After taking a screenshot, you can instantly edit or share it. But along with sharing and edit, this toggle also allows you to take a scrolling screenshot. Yes, it seems that the Korean manufacturer has a great trick up its sleeve that makes taking screenshots just a bit easier.
- Take a screenshot just as before;
- Tap the “Capture more” option to scroll down and grab more of the screen;
- Keep on tapping until you’ve got what you need.
Let me warn you from the start that these screenshots can get very large, but Samsung helps with this issue. Single-screen grabs are output at full resolution — 1440×2560, but once you start adding them, the width is downscaled to 1080px, and the whole smash is saved as a JPEG and instead of a PNG.


User forum
0 messages