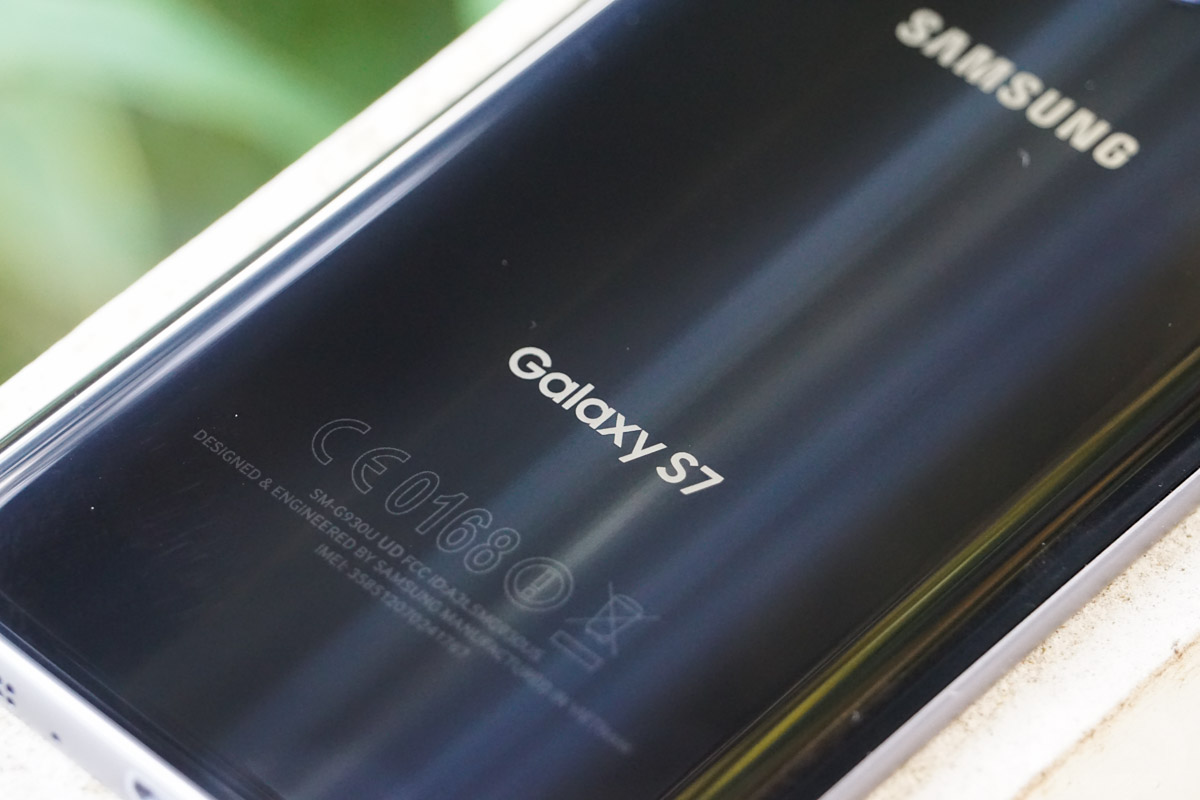
How to Root your AT&T Galaxy S7
3 min. read
Published on

The truth is that root is no longer a basic necessity, but for fans of custom ROMs and those who can’t live without in-depth tweaking, root is stil a must. I don’t know about your preferences, but let me take a guess. I can only assume that this is what you also have in mind for your AT&T Galaxy S7. I am not here with a negative answer telling you that you cannot do it, but quite the opposite, those passionate members of the Android development community are never taking a break.
Take the example of this AT&T version of the Galaxy S7 which has been rooted by XDA member br3w3r in collaboration with princecomsy and chainfire. So, in this article, I going to show you a step-by-step guide on how to root this precise Samsung Galaxy S7 version.
Make sure that you follow the guide carefully without missing a single step, otherwise your device may get bricked. And even if you make no mistake and you pay full attention, there is something that you cannot prevent from happening: rooting your device will void manufacturer’s warranty. Proceed at your own risk as long as the AndroidFlaghip team or the developer cannot be held responsible for any loss of data or damage to your Galaxy S7 device.
Even more, I want to remind you that the actual rooting procedure depends on battery, so please make sure that your Samsung Galaxy S7 has at least 70% battery remaining. Before proceeding with the guide given below, also make sure you backup everything off your device as you may lose all your data during the rooting process and don’t forget to check out the “USB Debugging” and “OEM Enabled” options, it must be enabled.
Install Samsung’s Galaxy S7 USB drivers on your computer too and let me be clear about something: this root method was tested on the AT&T Galaxy S7 version, but a couple of XDA members claim that it worked on the T-Mobile versions, and theoretically, it should work on other carrier versions as well.
How to Root your AT&T Galaxy S7:
- Download Odin on your PC by accessing this link;
- Start Odin.exe;
- Then, download the Samsung_G935x_QC_Rooted_BOOT.TAR custom boot image for your device; use this link;
- Turn off your device;
- Enter it into Download mode. For that, hold “Volume Down + Home + Power buttons” together for a few seconds. Warning message will be appear, to continue press the listed button;
- Connect your device to your PC using the USB cable. Then, you will immediately get a Added message in the log of Odin and you will see a blue button;
- Press the AP button in Odin; this will open a window for browsing the .tar file;
- Select the tar file you have downloaded before;
- Confirm your action by taping OK;
- The rooting process will not take more than 30 seconds;
- Once it is completed, you will receive a “PASS” message with a green ring on Odin and immediately the device will reboot;
- That’s it! Ypu can disconnect your Galaxy S7.
Have you completed the procedure? If you are like me and want to double check everything, do not hesitate to verify if your device is properly rooted or not using a Root Checker application.


User forum
1 messages