How to Synchronize iTunes with Android with iSyncr Free
3 min. read
Published on

It doesn’t really matter if you like Apple’s products or not, but you cannot deny the fact that iTunes revolutionized the music world. In such conditions, a major selling point for Apple’s devices is their seamless syncing abilities with iTunes, so if you’ve been a long time user of an iPod, iPhone or iPad, then it’s normal to have all your precious digital music collection tied up inside iTunes.
I am glad that you have discovered the amazing Android world, but I also get your worries about your music. Does that mean that you can’t sync your music from iTunes? Don’t you even think about such a dark possibility as long as you can sync your iTunes music with your Android devices.
Here I will discuss a simple method to sync your music from the iTunes library to your Android device. You can all do it with the help of an app known as iSyncr and I can tell you from the start that the setup is incredibly simple. This supports USB sync or transfer over your local wireless network, and is as simple as a one-click solution.
All you practically have to do is to install the Android app, grab the desktop companion, and either connect the USB cable or enter your IP address. Once the Android app and the desktop companion communicate, a scan of your iTunes library begins automatically and you are one step away from having your music collection on Android. That’s how simple it is and I can prove it to you:
How to Synchronize iTunes with Android:
- Take the iSyncr Free app from the Play Store on your Android device; use this direct link;
- Then, continue your adventure by taking the PC suite of the application (iSyncr Desktop) on your computer. The application is available for both Mac and Windows PCs, so use the link here provided;
- Is your library already synced with iTunes on your PC. To do so just either transfer your music from iPhone to PC (it will sync with iTunes by default) or choose File > Add folder to library from the iTunes menu. This will sync the music you have on an existing folder to your iTunes library;
- Verify that you give both private and public permission to iSyncr Desktop;
- You may also have to add a port to your firewall. For that, don’t hesitate to open the firewall settings;
- Open the iSyncr Free App on your Android device;
- Up next, select WiFi as your option;
- Choose your PC;
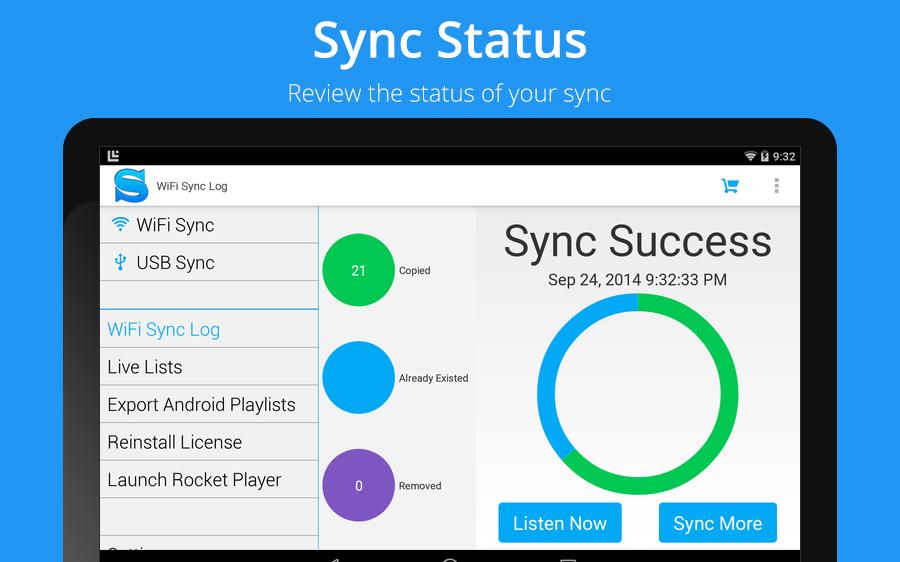
- Then, you have to choose the desired files that you want to synchronize and be sure that the transfer begins immediately after that.
No less important, let me remind you that the iSyncr Android app comes in Lite and Pro versions. As always, the choice is only yours, but be sure that the $4.99 upgrade gives you the best: I am talking about access to things like multiple iTunes account support and more feedback on your phone about what is actually happening during the sync process.


User forum
0 messages