
How to Use the Galaxy S7 Selective Focus Camera Mode
![]() 2 min. read
2 min. read
![]() Published on
Published on
Share this article

Improve this guide
Samsung has done a great job with its latest Galaxy S7 handset and if you don’t believe me, just take a look at all the improvements and new features packed into this recent Galaxy S phone. For example, do you know that Samsung pre-installed no less than 15 camera modes (10 for rear camera, 5 for front camera) in Galaxy S7?
It has been a lot of talk about the Pro mode which allows you DSLR–type manual control of exposure, ISO, white balance, as well as shutter speed in order to capture more accurate photos and in order to help you click better photos even in low light conditions, the Korean manufacturer has even though about enabling a special Multi AF function on its Galaxy S7 smartphone that offers responsive and fast autofocus performance.
However, you should not forget about Selective Focus as well. This is something Samsung’s Galaxy flagship phones have boasted since the Galaxy S5. The idea is that the Galaxy S7 takes lots of photos with one push of the shutter button, switching between near and far focus as it goes. With that done, you also have the possibility to easily change the focus of your photo after it’s been taken, from the S7 Gallery app.
Some complain about the fact that it takes a while for the camera to shoot all of the photos in sequence, but you can effectively switch between near and far focus with just a tap. In fact, the entire procedure is not at all complicated. Here’s what you must do:
How to Use Galaxy S7’s Selective Focus Camera Mode:
- From the front screen, you have to choose Apps;
- Then, go to Camera;
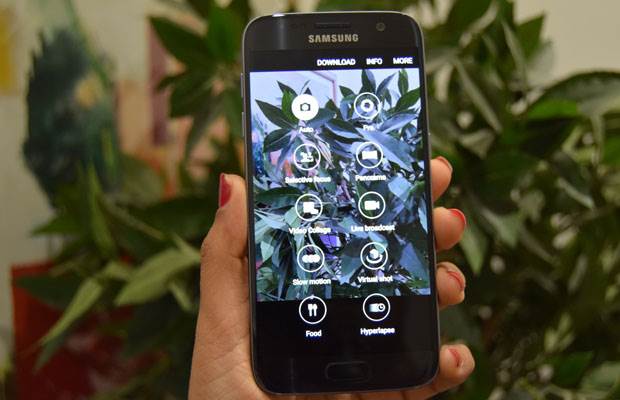
- In Galaxy S7 camera preview screen, choose MODE;
- Choose Selective focus;
- Select a location on the screen where you would like your camera to focus;
- Choose Capture;
- Once the image has been taken, choose Preview;
- Select the picture to change which focus you would like. You must choose between Near focus which can focus on things in the foreground, Far focus which focuses on things in the background, as well as Pan focus which can make the entire picture in focus;
- Then, in order not to lose your work, don’t forget to choose Save or Save As.


User forum
0 messages