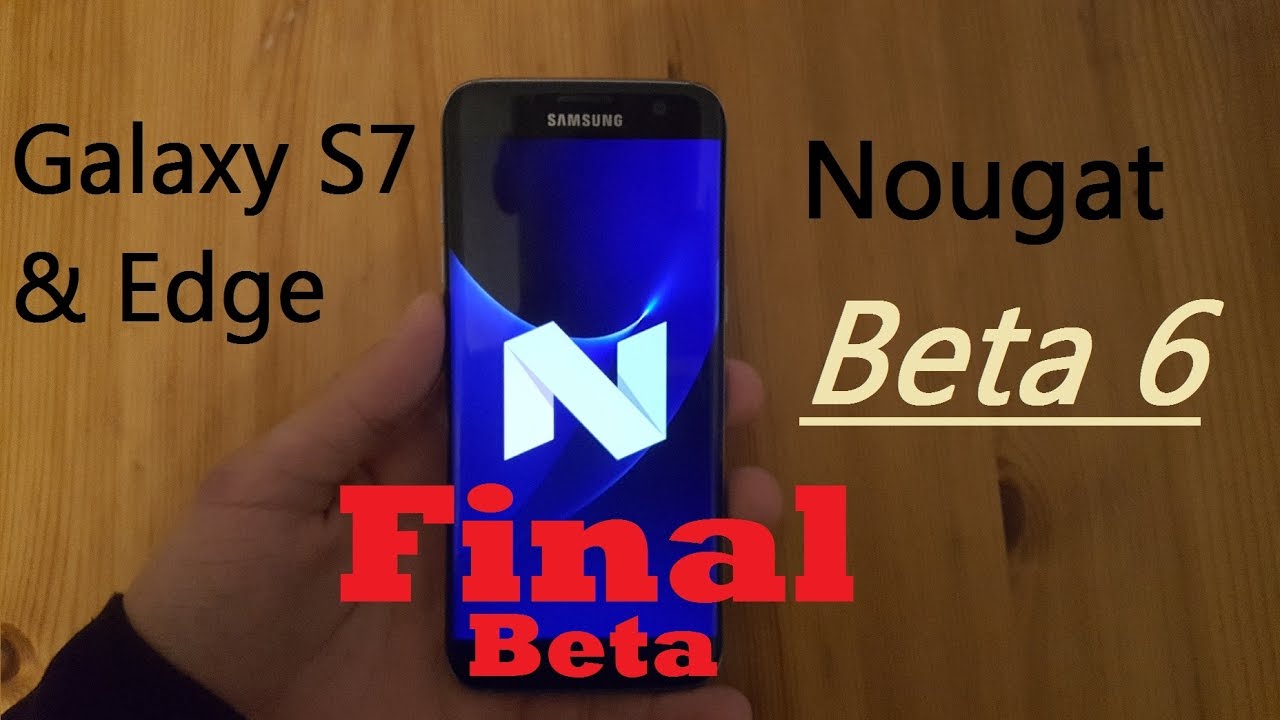
How to Install Android 7.0 Nougat Beta 6 Final ROM on Galaxy S7 Edge
3 min. read
Published on

Last year, we announced that we had a beta Android 7.0 Nougat firmware that we’ve installed on a Galaxy S7 Edge and you probably know all about the bugs and the issues that come along with it. That’s how things always are at the beginning, but the situation is different now since we are talking about the Android 7.0 Nougat Beta 6 Final ROM which can be installed on your Galaxy S7 Edge.
Therefore, if you want to install this new ROM version on your smartphone, I can assure you that you’re in the right place, since we made a quick tutorial about this!
There are though some important details you should take in consideration before starting the installation process if you want to complete the guide with no errors.
The firmware you’re about to install is just for the S7 Edge (SM-G935F) version, so even if it sounds tempting, don’t try installing it on another device. It will only lead to bricking it! Make sure Developer Options is turned On, that OEM is Enabled and that you already have the TWRP (hero2lte) installed on your S7 Edge. I don’t like to be the one spoiling all the fun, but you must flash TWRP Recovery before getting to the actual guide.
At the end, check your battery level and make sure it’s at least 60%, in order to prevent an accidental shutdown in the middle of the procedure. And let me remind you that I cannot be held responsible for any damage you could make to the device. However, if you follow the steps correctly, I can assure you that you will face no issues.
How to Install Android 7.0 Nougat Beta 6 Final ROM on Galaxy S7 Edge:
- First of all, the BETA-6.G93xF.XXU1ZPLN-v6.0.by.ambasadii.zip is waiting for you here;
- Then, you must transfer it to the external SD card;
- Take Odin v3.12.3 from here too;
- Also take no-verity-opt-encrypt-2.2.zip by accessing this link;
- Save all these on your phone by using the original USB cord;
- Boot into Recovery, so hold Volume Up + Home + Power at the same time;
- Release all the three buttons when the screen flashes and you see the usual warning sign;
- Press the Volume Up button to continue to the main screen of the Recovery mode;
- Now, my advice is to immediately create a Nandroid backup and be prepared for anything;
- Then, go to Wipe and select Format Data;
- Choose the option that says ‘Yes’ and swipe right to allow data format;
- Return to the main screen and select the reboot option;
- Then, click on recovery;
- Confirm ‘Allow Modifications’, if asked by the recovery;
- Up next, select the Install option;
- Then, navigate to the location where the no-verity-opt-encrypt-2.2.zip file is currently placed;
- Click on the file and swipe right to flash it;
- Once again reboot into recovery;
- Now, feel free to go to Wipe»Advanced Wipe;
- Choose Check Data, Cache, System, Dalvik Cache;
- Swipe in order to confirm the Factory Reset;
- You can finally go to the TWRP’s main screen and select the Install option for the ROM;
- Select it and swipe right to flash it. Note that this shouldn’t take more than 10 minutes;
- Wait for the process to complete and then, just reboot your phone.
If you have any questions about this process or encounter any issues, feel free to contact us, using the comments area from below or the contact form! Just as always, we are here, ready to help you!


User forum
0 messages