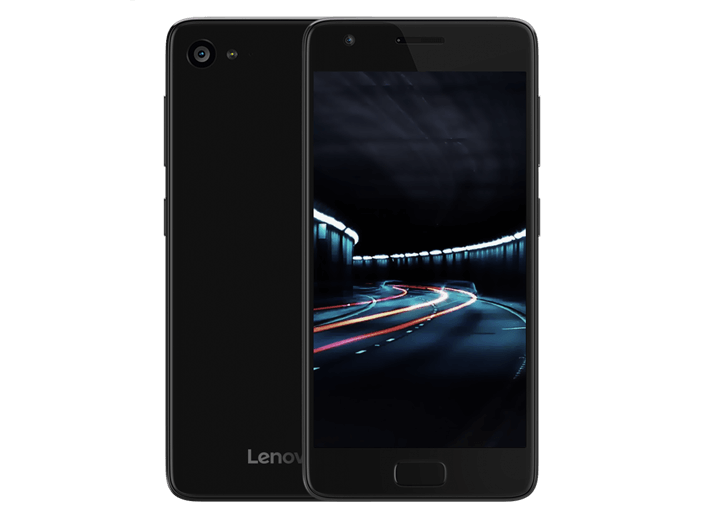
Learn to Flash TWRP Recovery on Lenovo Z2 Plus
3 min. read
Published on

Lenovo is one of the manufacturers who managed to gain an unexpected popularity with its affordable Android smartphones and Lenovo Z2 Plus is an example of wise choice for those who want something reliable that doesn’t cost a fortune.
It’s true that you don’t have the latest Android gadget, but who says that you are not supposed to get the very best too? The TWRP Recovery for your Lenovo Z2 Plus is available and it can be used to root the device with no hassle.
Yes, I am here to guide you all the way, but not so fast! You have no chance to complete such a procedure unless you are properly following all the preparatory steps. They are a must!
First of all, back up your important data on your Lenovo Z2 Plus to a safe place if you want to keep on using it. I am talking about call logs, texts, market apps, contacts, images, audio files, videos, internet settings, saved passwords and the list goes on, so I don’t have to encourage you picturing your phone without any of these. Avoid such a frustration by doing the right thing at the right time!
After that, enable the USB Debugging and OEM Unlock options from Settings > Developer Options and install the appropriate Lenovo USB Drivers on PC before installing TWRP recovery. Yes, you still have to prepare a computer, a notebook, or a laptop for the operation, along with the device’s original cord. Even more, your PC must have ADB installed and configured. For that, take the Minimal ADB tool by accessing this link and I also have to remind you the fact that your Lenovo phone shouldn’t run low on battery.
Check the battery’s status right away; you know that if the power is too low the installation process might cause a sudden shut down on your handset, so take no chances!
Learn to Flash TWRP Recovery on Lenovo Z2 Plus:
- For the start, you have to take the TWRP Recovery from here;
- For your own convenience, I recommend you to rename it to recovery.img;
- Then, it’s time to move it in ADB folder;
- Next, connect your phone with the computer via USB cable;
- On your PC, go to the ADB folder; from there you will have to launch a cmd window;
- For the cmd window: press and hold the Shift keyboard key while right clicking on any blank space;
- Reboot your phone into fastboot mode by typing the following command:
adb reboot bootloader - Your device will reboot into fastboot mode;
- Now, you can finally flash the TWRP Recovery by entering this command:
fastboot flash recovery recovery.img - That’s it! You have installed TWRP recovery on Lenovo Z2 Plus phone!
However, this is just the start! I strongly suggest you to visit our site and do some research on how to get the best out of your handset, how to install the latest apps and entertain yourself with some special games that everyone is talking about these days.


User forum
0 messages