Install Android 8.0 Oreo Firmware on Moto X4
4 min. read
Published on

Moto X4 is the latest addition to Google’s Android One program in the US and users have nothing else but nice reports about the handset. Even more, just a few days ago, there have been multiple reports about Android Oreo update being rolled out to the Moto X4 users in the United States.
Following that, now the Moto X4 Android Oreo Update is rolling out to several users in India, yet this is always a matter of having patience and waiting and I know that not all of you feel comfortable with that.
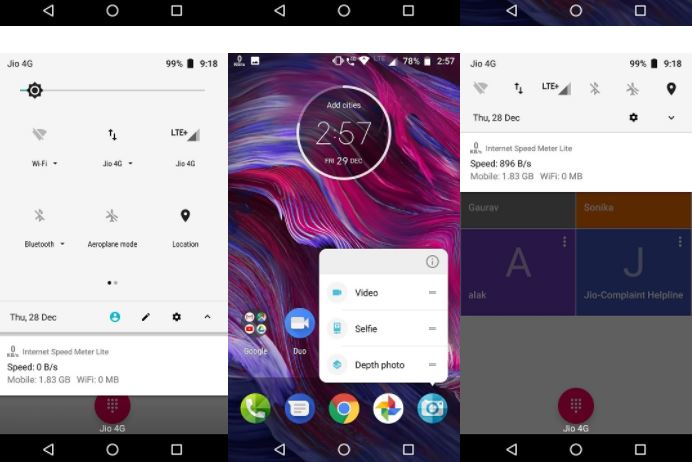
At this point, users can install Android 8.0 Oreo Firmware on their own Moto X4. The latest Moto X4 Oreo build brings all Android Oreo Features such as Picture-in-picture modea, floating Navigation dock, home screen shortcuts, PIP mode, and lots of new features and settings, not to mention all the necessary bug fixes.
If this is what you also want for your phone, you can follow the below guide to download and install Android 8.0 Oreo on your Moto X4.
Understand that:
- The operation detailed below may erase your data so it is advisable to take a complete backup of your phone for safer side;
- Make sure that your Moto X4 has an unlocked bootloader;
- Download and set up ADB and Fastboot on your computer;
- Make sure your device is charged above 80% in order to prevent a disaster from happening;
- Follow the steps correctly otherwise you may brick your device;
- This firmware file is only for Moto X4. Don’t try this on any other device. And even if the described procedure has been tested, understand that you do it at your own risk. No one will take the blame for you in case of making any sort of mistake.
How to Install Android 8.0 Oreo Firmware on Moto X4:
- Here you can find the Android Oreo firmware for the Moto X4: PAYTON_OPW27.57-40_subsidy-DEFAULT_regulatory-DEFAULT_CFC.xml.zip;
- Take it right away and extract the downloaded firmware zip file on your desktop;
- Then, you must copy the contents of the file to the ADB and Fastboot folder;
- Enable USB debugging on your phone;
- Turn off your Moto X4;
- Then, reboot it into the Bootloader Mode by pressing and holding the Volume down + Power keys at the same time for just a few a few seconds;
- Connect the handset to your PC via the original USB cable;
- Navigate to the ADB and Fastboot folder where you copied the firmware files and open the folder;
- Open a command prompt window from inside the folder: Hold down Shift Key + Right click on the empty space on the folder and select ‘Open command window here’ or ‘Open PowerShell Window here’;
- When the command window is launched, type the following commands in the same sequence as presented here. Please note that if you have installed normal Fastboot, you need to use “fastboot” before all commands. In case you have installed minimal Fastboot (or mfastboot), then use “mfastboot” before each command line:
mfastboot flash partition gpt.bin mfastboot flash bootloader bootloader.img mfastboot reboot-bootloader mfastboot flash modem NON-HLOS.bin mfastboot flash fsg fsg.mbn mfastboot erase modemst1 mfastboot erase modemst2 mfastboot flash bluetooth BTFM.bin mfastboot flash dsp dspso.bin mfastboot flash logo logo.bin mfastboot flash boot boot.img mfastboot flash system system.img_sparsechunk.0 mfastboot flash system system.img_sparsechunk.1 mfastboot flash system system.img_sparsechunk.2 mfastboot flash system system.img_sparsechunk.3 mfastboot flash system system.img_sparsechunk.4 mfastboot flash system system.img_sparsechunk.5 mfastboot flash system system.img_sparsechunk.6 mfastboot flash system system.img_sparsechunk.7 mfastboot flash system_b system_other.img mfastboot flash oem oem.img mfastboot erase carrier mfastboot erase userdata mfastboot erase ddr
- At the end, reboot your Moto X4.
- Congrats, you have completed the process!
This is the easiest way to Install Android 8.0 Oreo on your Moto X4 and flash it manually. If you have any questions or doubts, then comment below.


User forum
0 messages