How to Activate Galaxy S9 Camera Grid
2 min. read
Updated on

The S9 made quite an entrance with its special slow-motion technology. And that’s not all as long as Samsung has equipped the Galaxy S9 with a revolutionary camera set-up whose aperture can be changed, something which no smartphone in the market can offer at the moment, Samsung’s new camera interface introduced with Oreo has a clever swiping mechanism to switch between different shooting modes, not to mention that the new sensor and lens combination in the Galaxy S9 is extremely capable.
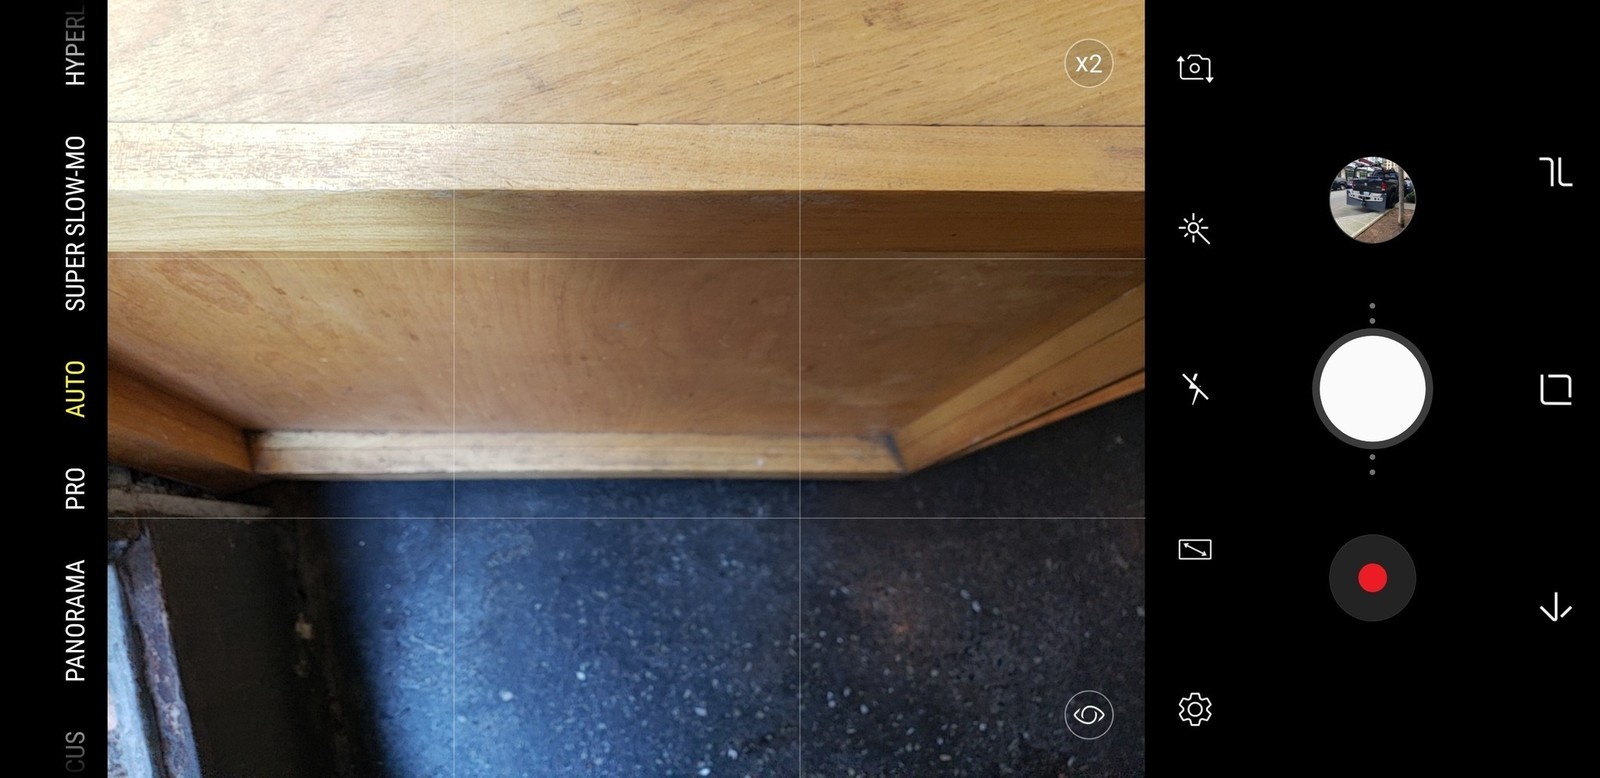
You know me; I usually recommend activating the Grid, making it easier to frame and compose your Galaxy S9 pictures. If you would like to use a help in the form of a grid in the camera preview, then this is also possible with the Samsung Galaxy S9 smartphone.
They will basically help you align horizons to get the perfect perspective on a shot, but also help you properly proportion a scene, so it inherently looks great. By having a simple grid on your viewfinder, you can get your subject set right where you want it, and have it well-positioned to have the rest of the shot complement it.
Here you can find where this camera setting is placed, so keep on reading:
How to Activate Galaxy S9 Camera Grid:
- The first thing that you need to do is to open the camera app in the upper right corner;
- Now, you must go into the camera settings;
- Scroll down in the menu that is displayed until you see the “Grid” option in the “General” section;
- Select the option and the following options appear: Off, 3 x 3, square. I know that most users like the “3 x 3” option, but the Korean giant also has a somewhat-odd “Square” option that simply frames in the center of the viewfinder as a square for moderate scene composition help.
It is up to you to choose the grid that suits best to you when you set the perfect perspective. You will then be able to see this raster in the camera live view.


User forum
0 messages