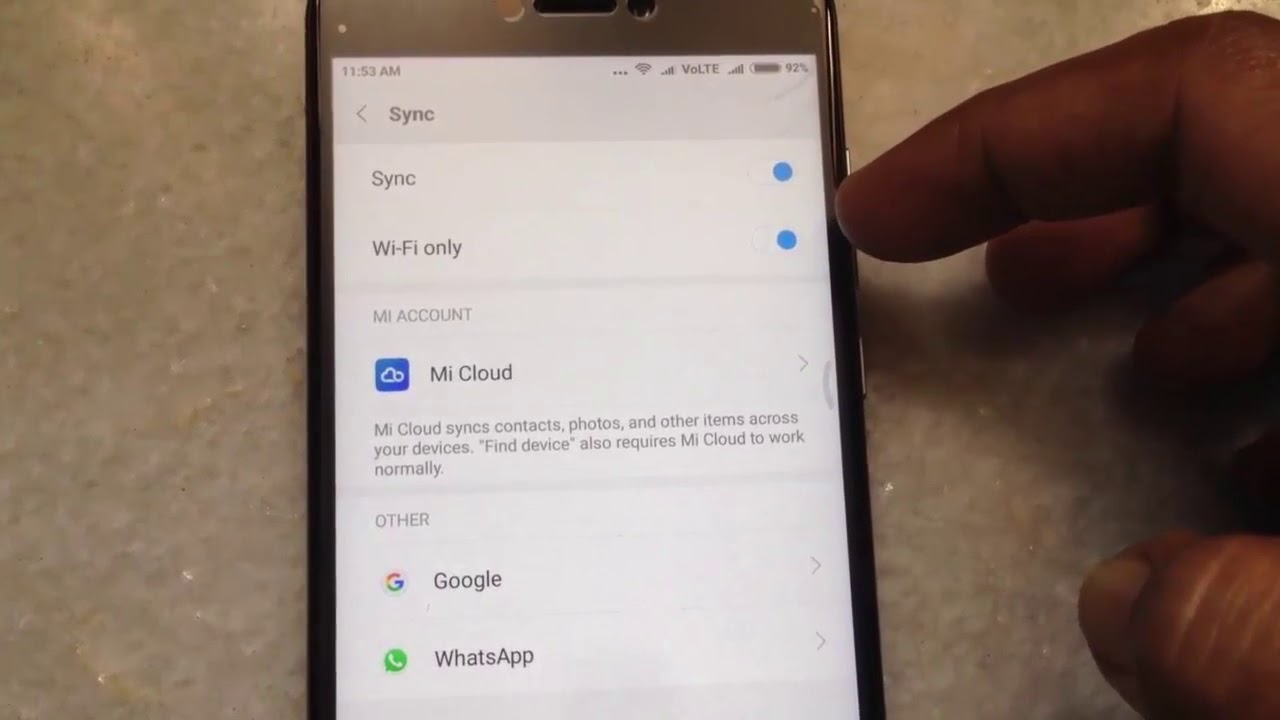
Learn How to get your Xiaomi Google Contacts to Sync
2 min. read
Updated on

Even if Xiaomi devices with the international firmware are having Google services and the Play Store unlike their Chinese counterparts, things are still far from perfect when it comes to syncing contacts. Is this the problem that you are also worried about on your handset? Well, let me tell you from the start that the issue is caused by the custom version of Android that these smartphones use.
MIUI is a skin that personalizes Android in depth and it easily become one of the most popular manufacturer skins in the world. I love that it is constantly adding new and exciting features that augment the core experience, the way that MIUI looks and acts, but there is a major issue: there are times when the system does too much when it comes to preserving battery life or saving RAM and tends to block processes that it considers useless.
That’s what happens in this case too and I think that the problem has gotten to you too especially since Xiaomi does a great job of delivering the latest MIUI updates to its users. I get your anger, but here’s how to unlock contact sync on Xiaomi’s MIUI. So, waste no more time:
Learn How to get your Xiaomi Google Contacts to Sync:
- Go to Settings;
- Scroll to the bottom of the list as here you have to select installed apps;
- In the list, look for Google Contacts Sync;
- In case you can’t find it, you can download and install it from the provided link;
- Then, you have to install it like any other APK file and worry not – this is a trustworthy source;
- At this point, find the Google Contacts Sync app in the app settings and select it;
- it’s time to enable Autostart in the screen that appears;
- In the submenu called Permissions, enable these entries:
Modify and delete contacts
Read your contacts
Access accounts on device
Start in background
Under Battery saver, select No restrictions - At the end, restart the device and check to see if everything is synchronizing properly.
Are there any other tips and tricks you would like to see us cover? Has this tip solved your problem? Be sure to let us know in the comments!


User forum
0 messages