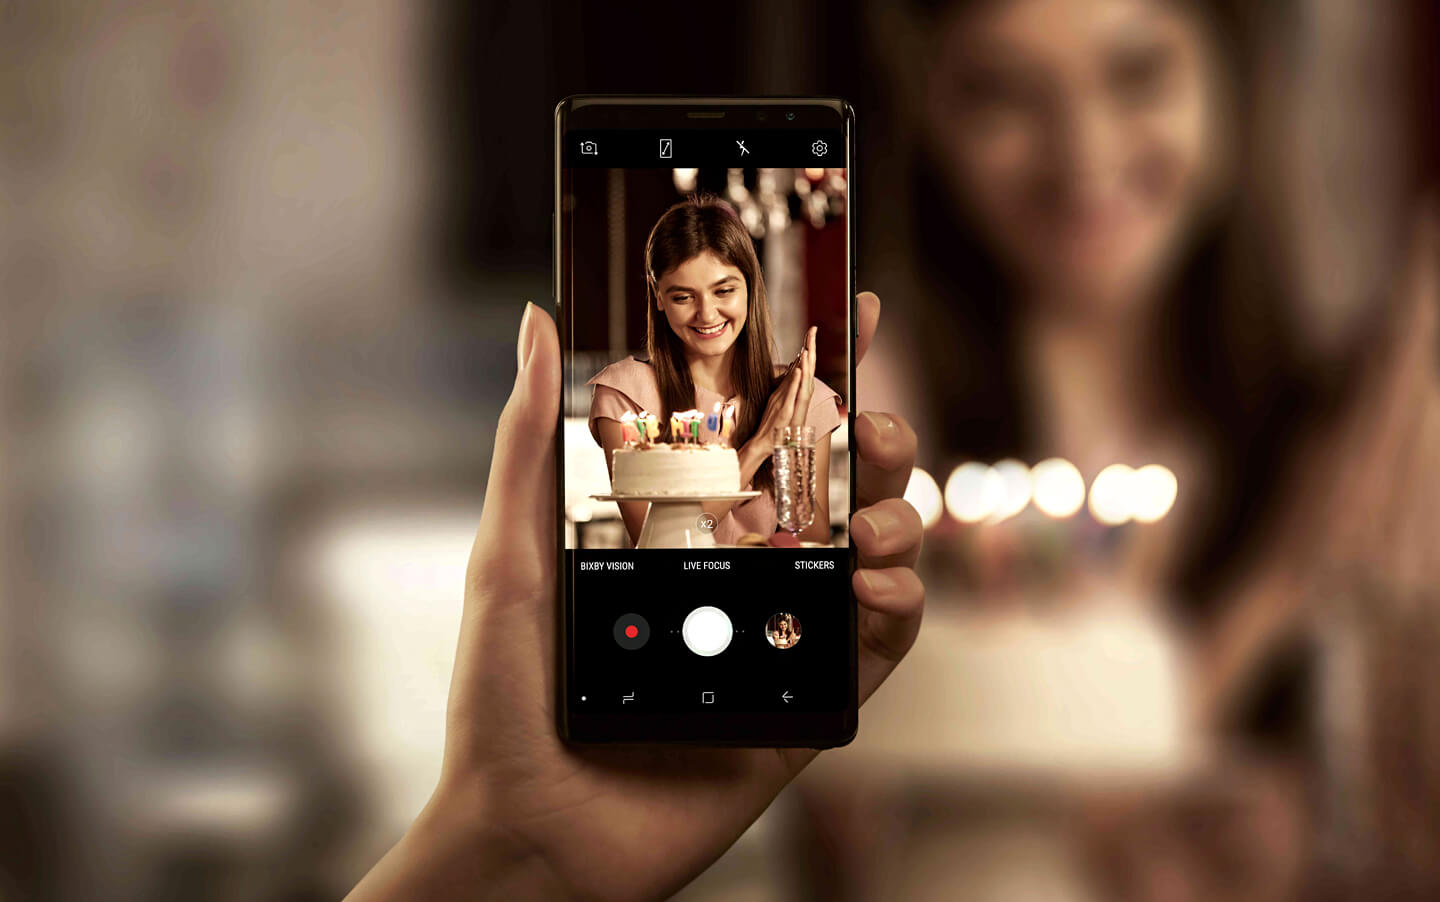
Enjoy Galaxy Note 8 Camera Dual Capture Mode
3 min. read
Updated on

Being Samsung’s very first smartphone to offer dual cameras, the Galaxy Note 8 managed to impress us all. One of those features that you have to try, assuming of course that you already are the user of this amazing handset is Dual Capture mode, which allows you to take two pictures at the same time.
I am talking about a standard wide angle shot, and another Live Focus version, which zooms in on the subject while applying a bokeh effect to the background.
Note that your Galaxy Note 8 won’t save Dual Capture photos as two separate files side-by-side. What it does is placing a toggle below the photo in the Gallery, letting you go back and forth between the Live Focus and normal versions with just a tap. If you love capturing photos and getting the best even from smartphone photography, then for sure you’ll use this Galaxy Note 8 Camera Dual Capture Mode quite often.
Shooting in Dual Capture modes is pretty simple, once you know how to access the feature, so let me guide you all the way:
Enjoy Galaxy Note 8 Camera Dual Capture Mode:
- Start the procedure by clicking the icon of the Camera app, which can be found on the Home Screen of your device;
- Now, it’s time to press the Live Focus Option placed just above the shutter button. This will automatically redirect you to the Live Focus mode, where you’ll be shown with a slider to adjust the strength of the depth-of-field effect;
- You can now notice the background blur used in the viewfinder in real time before you capture the image, but the Samsung Galaxy Note 8 enables you to include the bokeh in the Gallery app later on if that’s what you desire;
- At this point, you have to tap the Dual Capture icon up top, which should appear as a square with a dotted square behind it. This practically turns the icon yellow and informs you that the phone will save both images simultaneously. Now, you’ll receive two versions of every photo that you take;
- As I have already told you, The Samsung Galaxy Note 8 never stores Dual Capture images as two distinct files side-by-side. This works well in the Gallery, but not if you want to export the normal exposure specifically to a photo editing or library app. In such cases, saving them separately is a must, so don’t hesitate to select the Save As New File option in the top right corner;
- Then, when you tap it while looking at the standard image, that photo becomes its own file, which you can edit and share at your convenience.


User forum
0 messages