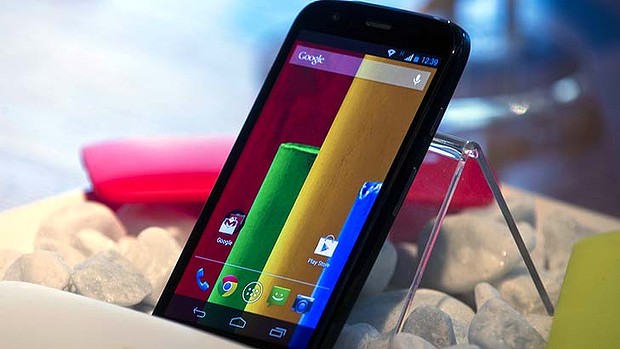
Install stock Android OS on Moto G / Downgrade Moto G to Stock Firmware)
5 min. read
Updated on

Do you want to downgrade your Moto G to stock Android OS? There are several reasons for needing to do such an operation, but since we are talking about a high end smartphone, we can only imagine that you want to tweak it. Or maybe you have just installed a custom ROM firmware and if you are disappointed about the buggy software, all you have to do is to downgrade your Moto G to Stock Firmware and the problem will be immediately solved. For that, you’ll need to use the UK GENERIC STOCK ROM file, but first of all don’t forget that you must review the risks and complete the preparatory steps which will help you understand what this procedure really involves.
Review the risks:
- Despite of being presented as a simple operation, you still need to be careful about what you do; you need to follow all the preparatory and installation steps , or else you can just end up with a bricked Moto G handset;
- This tutorial will perfectly function no matter if you have a rooted or an un-rooted model; the story goes the same for both single-sim and dual-sim devices;
- In order to install stock Android OS on your smartphone, you first need to unlock the bootloader of your Motorola Moto G (here you can find a step by step guide for this simple procedure that won’t take more than a minute).

You are the only one responsible for what it can happen to your handset; if you have never done any sort of custom operation before, think twice before following this procedure.
Preparatory steps:
- The model number of your Moto G must be XT1033/XT1032 (you can check that in the ‘About device’ section under Settings). If it isn’t, you cannot downgrade your Moto G to Stock Firmware; it simply won’t work or you’ll just damage your smartphone;
- Make sure that you have access to a computer or notebook and disable the antivirus protection or the antimalware due to the fact that they might interrupt the flashing process; when connecting it to your Moto G, use only the original USB cable;
- Verify if you have the proper driver installed on your computer; if not, use this link to get it;
- Back up all of your personal info, internet settings, contact lists, accounts and so on; they will be wiped out and you won’t be able to use them anymore if you skip this step; as a tip, you should know that the applications from Google Play are a great way for doing that;
- Before starting to install the stock Android OS on your Moto G, it must be at least 50% charged for avoiding any unpleasant later interruptions;
- Download the UK GENERIC STOCK ROM from here and save it on a new folder on your computer, preferably on Desktop.
How to install stock Android OS on your Moto G / Downgrade Moto G to Stock Firmware:
- Enable developer options by going into Settings, selecting About phone and taping on “Build number” seven times; you must also go into “Settings > Applications > Development > USB debugging” and enable the USB debugging option in order to be sure that you can safely connect your Motorola Moto G with the computer;
- Connect your Moto G to the computer with the original USB cable;
- Power off the handset and enter the Fastboot/Bootloader Mode;
- Extract all the files in a new folder and depending on the OS on your computer, follow the steps:
- For Windows based computers: you must run/execute flash-windows.bat in the folder that you have just created and follow the Press Enter to Continue on-screen instructions;
- For Linux based computers: you have to open Terminal window, type ‘cd ’ and now drag and drop the folder we extracted above in the terminal window; then press Enter, type ‘chmod +x flash-linux.sh’ and finally ‘sudo ./flash-linux.sh’;
- For MAC based computers: you must open Terminal window, type ‘cd Path-to-the-folder-extracted-above’ and press Enter; then type the commands ‘chmod +x flash-mac.sh’ and ‘sudo ./flash-mac.sh’;
- In all three cases the flashing process will start and your Moto G will automatically boot up; if not, go to the Recovery option on the phone using Volume Down Key and then select it with the help of the Volume Up Key;
- Your smartphone will automatically reboot and the process will be successfully completed.
Now that you know how to install stock Android OS on your Moto G, you can use the comments area from below for sharing your thoughts with us or asking for our help in case of anything goes wrong. We’ll immediately offer our support. And don’t forget to stay close as more tutorials suitable with your device (no matter what model it could be) will be soon developed.


User forum
3 messages