How to Edit the Map in Waze and Access the Waze Map Editor
4 min. read
Updated on

Waze involved the community and its input from day one, and editing the map for more accurate info is one of its biggest strengths.
In many countries, the Waze map imports publicly available road data, but in many cases, this data can get outdated pretty fast. That’s where the wazers come in.
Users can add new things to the map, edit the old ones, and keep the map updated and accurate.
If you also want to know how you can edit the Waze map, keep reading to find out all the info that you’ll ever need.
How do I edit my map on Waze?
1. Edit the Waze map from the app

There are a couple of ways to edit the map and add more information. The first step is to update the map from the Waze app on your Android or iOS device.
To do that, first, open Waze on your device, and then, in the bottom-right corner of your screen, tap on the orange bubble.
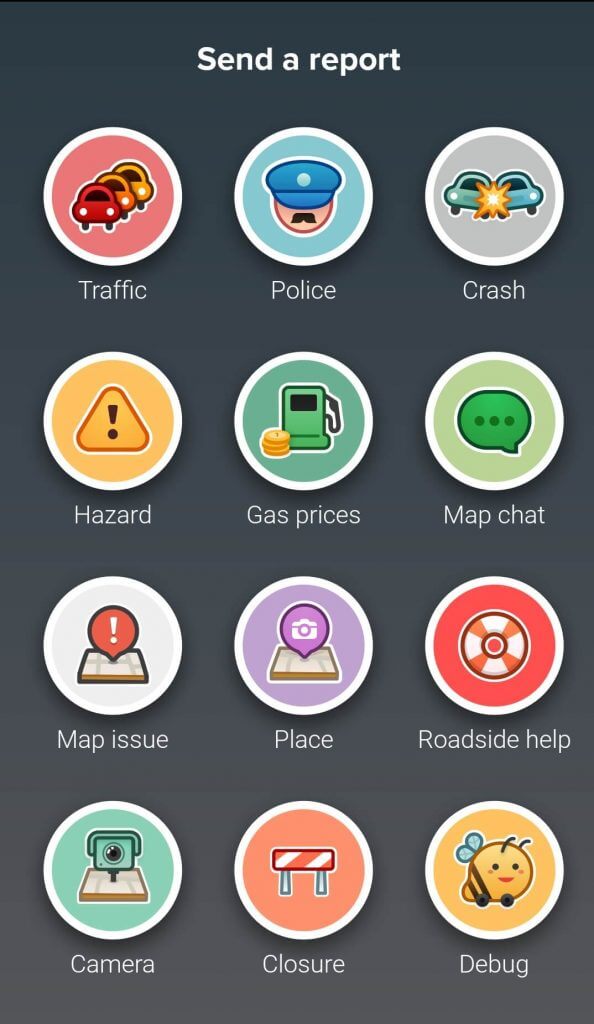
Now you’ll see a list of all available reports and changes that you can add.
From here, you’ll be able to add Traffic, Police, Crash, Hazard, and many other reports. To do that, you’ll just have to tap on the report you want to add.
As an example, let’s say that you want to send a Traffic report. Tap the Traffic icon and you’ll be presented with a couple of options. First, you’ll have to choose if the traffic jam is Moderate, Heavy, or Standstill.
This will inform other Wazers about the traffic situation from your current location.
Next, you’ll have the option to take a picture or add a comment, to offer more context to your report. After that, you just have to click on Send and your traffic report will appear on the map.
This process works similarly for the other traffic reports.
There is also the option to add a new place and ask for roadside help from other users, emergency services, or road assistance. When adding a new place, you’ll have to take a picture of it so that other Wazers can easily spot it.
If for some motive Waze is not updating your map, be sure that you have an active internet connection.
2. Edit the map from the Waze Map Editor (WME)

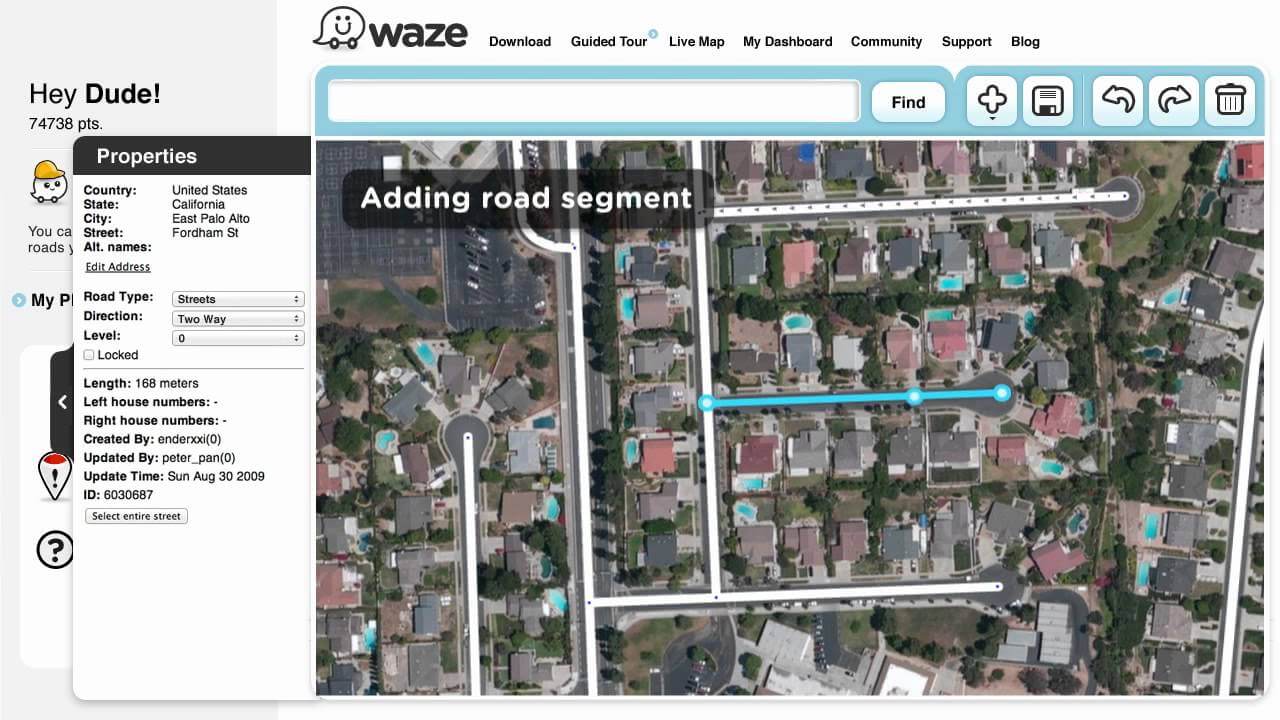
WME is the default editor for Waze since 2011. It has been updated since, and you can use it to change any information on the map.
Keep in mind that for now, WME is officially supported only on Google Chrome.
First, you’ll have to go to www.waze.com and in the top-right, click on the Live map. After that, in the bottom right, under the sharing button, you’ll see an orange edit button. Click on it.
Now you’re in the WME. You have the option to Log in or Try practice mode.
After that, you’ll have to go through some tutorials and learn how to properly edit the map. It is very important to learn the basics and watch the tutorials, so please don’t skip them.
After you’ve learned the basics, you can start editing. You’ll just have to log in.
Keep in mind that you won’t be able to edit or modify in any way objects that were previously edited by a user with a higher editing rank than you.
You can edit nearly any object in the editable area including adding/deleting/updating a road segment, renaming it or changing its direction, changing road turn restrictions, adding a park landmark or building an overpass, and much more.
To edit/create any object on the map, click on it or click on the item you want to create under the drawing button. For each item, you’ll have lots of options to choose from. After you’ve finished, click on the Save button.
For more settings and user preferences, click on the Settings tab in the left pane.
If you want to edit the map faster, there are also a lot of keyboard shortcuts that you can use.
Remember to check all the tutorials on the Waze Map Editor to learn how you can do specific things and create a more accurate and complete map for all Wazers.
If you have any other questions or suggestions, feel free to reach for the comments section below.
READ ALSO:


User forum
0 messages