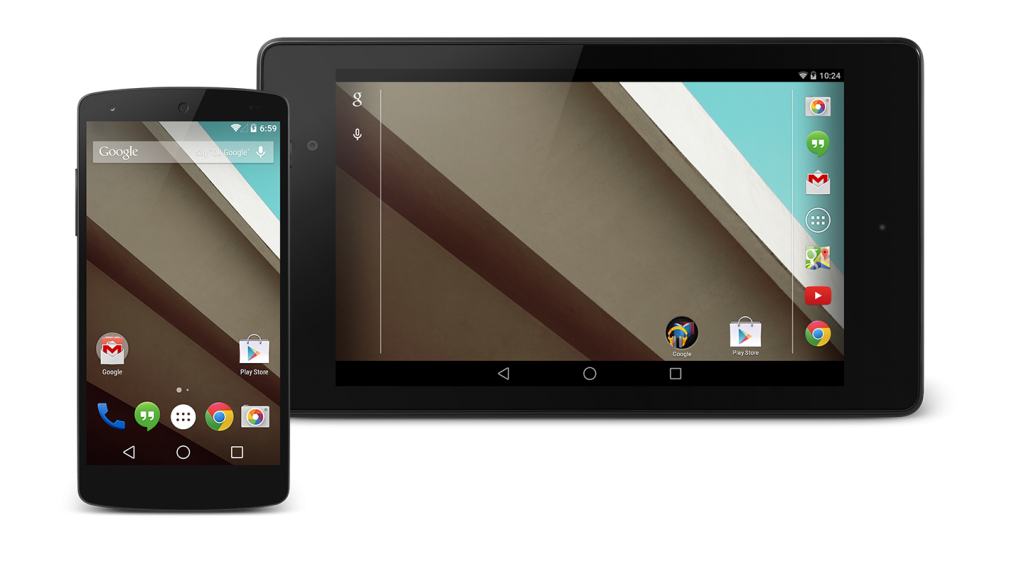
Root Nexus 5 and Nexus 7 2013 on Android L Developer Preview
5 min. read
Updated on

Do you remember that Super SU developer Chainfire has spotted a set of commits in the SELinux git letting us to believe that we’ll have some sort of a blockage of write access to /system partition on devices even with root access in all future versions of Android? Rumors are not always real and this is the best example of that. Android L developer preview doesn’t come with such an implementation, but it only has a change in the rooting script.
This doesn’t have to mean that we can no longer root Android L Developer Preview on Nexus 5 and Nexus 7 2013. The SuperSU app which we have been successfully used in these procedures for such a long time needs just a few changes some minor changes and it remains as helpful as before. So, are you ready to use the modified “SuperSU-v2.00 for Android L.zip” file?
We think that you are as long as rooting gives you additional options to your Nexus handset. After rooting it, you are free to delete all unwanted pre-installed applications, to install a new custom ROM, to access more advanced applications such as root call blockers, notification ads blockers or root memory managers and even to overclock the processor as long as this option will speed up the handset and make it faster than ever.
But do you know of what sort of risks we are talking about when it comes to rooting your Nexus 5 and Nexus 7 2013 with Android L Developer Preview?
We’ll guide through the procedure only after being aware of what might happen to your handset:
Review the risks:
- An unsuccessful rooting operation might brick your Nexus 5 / Nexus 7 2013 handset, so follow each step exactly as given and ask us if something seems to be wrong;
- On the other hand, if you succeed to complete the rooting operation, then you should know that it will void the warranty of this device. But if you have ever followed any of our tutorials, then you know that you can restore it by using this tutorial;
- This rooting operation can be applied only on these devices: Nexus 5 and Nexus 7 2013 with Android L Developer Preview, so it is useless to tell you that it is not compatible withany other Android handset;
- We cannot be held liable for any damage that might occur to your handset during or after applying the rotting operation. You are the only responsible for your device!
Preparatory steps:
- In the first place, you have to make a backup of your important data, so you can restore it later as long as this rooting operation will delete it;
- Don’t forget to enable USB Debugging mode by going to Settings > Applications > Development > USB debugging now;
- You will have to connect your Nexus handset to the computer, so verify if you have the USB drivers installed there or the procedure won’t stand a chance to work;
- You must also temporarily disable the security protection that might interfere with this operation; are you willing to take that chance?;
- You’ll flash the files on your Nexus device using either of ClockworkMod (CWM) or TWRP recovery. Do you have the most recent version already installed? Make sure that you do that in case of wanting to apply this guide;
- Also prepare the original USB cable of your Nexus 5 / Nexus 7 2013 handset;
- Have you verified the battery? In case of having less than 70% left, be sure that your Nexus device can turn off during the rooting procedure, so it is better to avoid that.
How to Root your Nexus 5 and Nexus 7 2013 with Android L Developer Preview:
- Download the SuperSU FILE from here, as well as the BOOT FILE for NEXUS 5 from here / NEXUS 7 2013 from here to your computer;
- After that, you have to transfer these files into your phone and remember their location;
- Now it’s time to boot your Nexus 5 / Nexus 7; in case of having a rooted device, just use the QuickBoot app. If not, power off your handset, press the Volume Down and Power buttons together until the device shows START written with a small arrow around it and then press Volume Down until it shows recovery option; after that, just press the Volume Up key to enter recovery mode;
- We recommend you to create a Nandroid Backup from recovery that could help you restore the current status;
- Install the Zip file by selecting Install zip » Choose zip from sdcard (or external sdcard, just as you have chosen the location in the first place) and then choose the SuperSU file;
- Do the same for the BOOT file;
- Reboot your Nexus device by returning to the main menu of recovery and selecting ‘Reboot system now’.
Your Nexus 5 / Nexus 7 2013 with Android L Developer Preview will reboot which means that you have completed the rooting procedure. Do you have any other question? The comments area is waiting for you!


User forum
0 messages