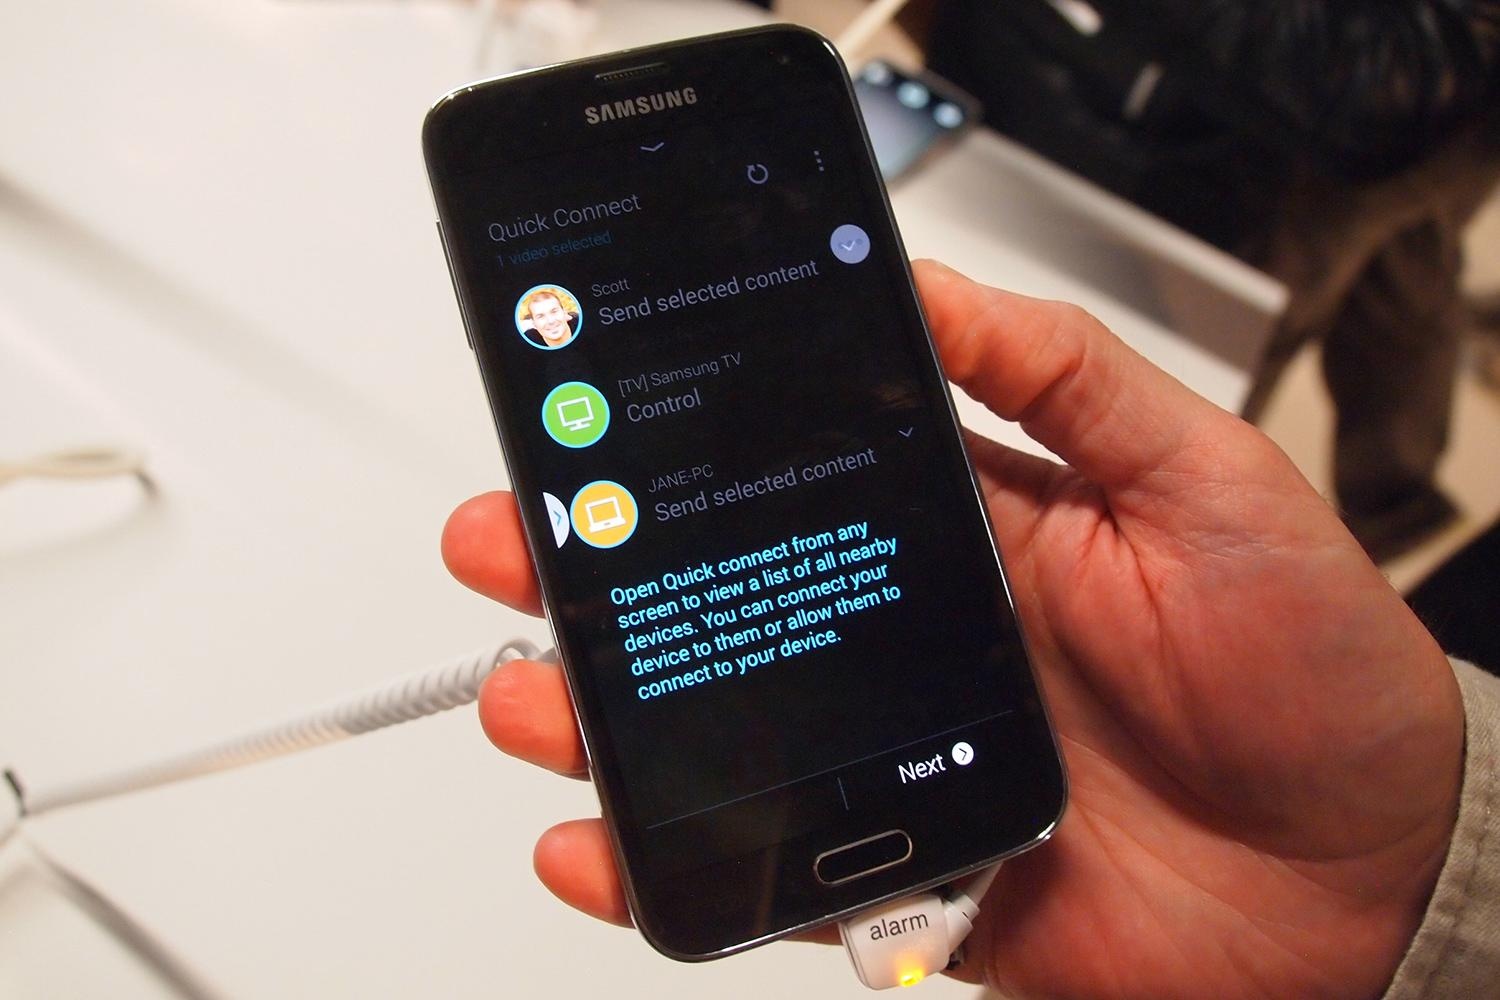
Galaxy S5: How to Share Content with Other Devices
4 min. read
Published on

We must tell you from the start that we see this sharing content with other devices feature as being one of the best that can be found on Samsung’s Galaxy S5. Just think of its advantages for a second! Thanks to this Quick Connect feature that we are talking about in this case, you have the possibility to quickly share your most important files with other Android handsets or even laptops and PCs around them via Bluetooth or Wi-Fi, as well as to stream to selected DLNA enabled TVs.
Quick’s Connect shortcut is always present on the notification bar of your Galaxy S5 with no possible way of removing it, so maybe this is a sign that it’s time to learn how to use it and share content between various devices, but not before taking in consideration a few important things:
- The type of connection that we have just told you about is going to be different depending on the receiving device or the type of content being shared;
- Don’t forget that the device name may be different depending on the type of Bluetooth device being paired with;
- Before proceeding, make sure that the device’s screen is not turned off and that it supports the Quick Connect feature or the procedure won’t work! We can tell you that for sure!
How to Share Content with Other Devices on your Galaxy S5:
- In the first place, you must view the content that you want to share: we are talking about images, videos, audio files and more;
- While viewing the content, don’t hesitate to pull down the Notification Panel by using two fingers – you have to do that with a swiping gesture by using your two fingers, from the top-most part of the screen to the lower part of it;
- Tap on the Quick Connect button that can be found on the Notifications Panel;
- When using two-finger swipe to open the Notification Panel, Bluetooth is immediately enabled;
- Quick Connect will start searching for available nearby devices, while your Samsung Galaxy S5 is shown to other devices as well;
- Quick Connect will show the list of devices that you can connect to;
- Tap on a device in order to select it;
- After that, you can see a label explaining the action that can be done with the selected device;
- Now you must choose “Send the selected content” to the nearby device that you have selected;
- Wait for the receiver to accept the content being shared to complete the process.
There you go! You have just learned how to launch Quick Connect on Samsung Galaxy S5 and share content to other devices. But you have much more to explore and enjoy thanks to this Quick Connect feature!
As we have told you from the very beginning, you can also connect to a computer, but only after making sure that:
- The computer and your Samsung Galaxy S5 are both connected to the same network;
- Your PC is registered with Samsung Link;
- Samsung Link is installed on your computer and your handset as well.
Now, you are ready to begin!
How to Connect to a Computer on Samsung Galaxy S5:
- Enter your phone’s Home screen by tapping on the Back key for a few times or by pressing on the Home button;
- From your Home screen, pull down the Notification Panel with the help of a swiping gesture from the Status bar to the lower part of it;
- While in Notifications Panel, tap on the Quick Connect button to see the available devices that you can connect to;
- Quick Connect will immediately reveal a list of available nearby devices;
- Tap on Connect from the list of available devices;
- Available computers will also show the list, so you just have to select the computer that you want to connect to;
- Follow the instructions on-screen to complete the connection and that was all!
Do you understand why Quick Connect from your Samsung Galaxy S5 is so useful? Don’t hesitate to use it any time you need it!
And if you have problems with any of these steps, don’t hesitate to tell us more by using the comments section below. We are here to help you – don’t forget that!


User forum
0 messages