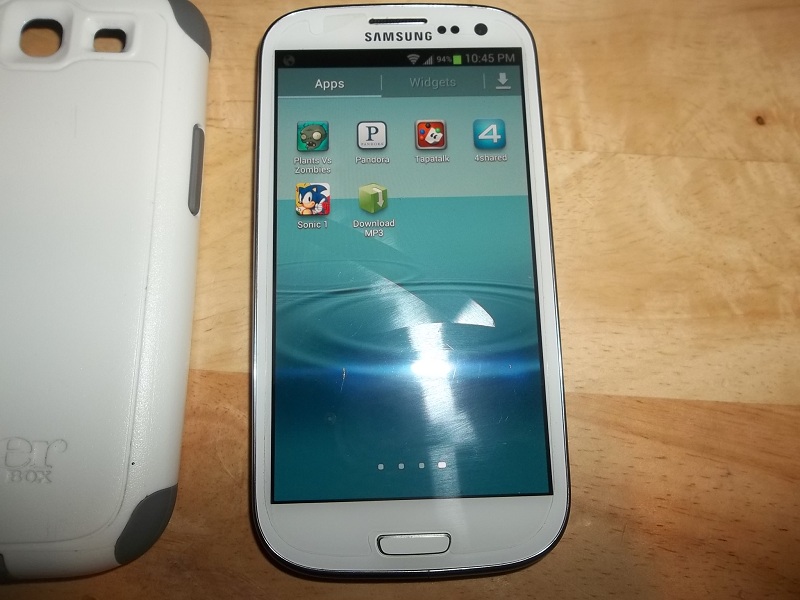
Install CyanogenMod 13 on your AT&T Galaxy S3
3 min. read
Published on

The AT&T Galaxy S3 variant is ready for the Android 6.0 Marshmallow update, so if you own this phone, what are you waiting for? It’s true that the update is a CyanogenMod 13 ROM, so I am talking about an unofficial ROM, but this is not an excuse to run away of such a chance. If you are not a newbie and want to have some fun, this guide will show you what you have to do!
What should you do to be fully prepared? First of all, root your AT&T Samsung Galaxy S3 and verify that you have a custom recovery like TWRP or CWM installed on your device. Then, verify that the correct USB drivers for the phone are installed on your computer or laptop and temporally deactivate the antivirus which might slow down the CM 13 update operation.
Even more, you have to gain developer options, so tap several times on built number under Menu – Settings – About phone to check the USB debugging option which can be found on Menu – Settings – Developer options.
Your A&T Samsung Galaxy S3 device must have at least 60% battery in order to be prepared for the procedure described below (you can install an app like Battery Percentage on your Android device to check it easily and let no room for errors or interpretations – take it from here) and don’t even think of starting without properly backing up all your data. This process will wipe all the data from your device, so be prepared if anything goes wrong.
If you have done everything that I mentioned above, then you are ready to follow this step-by-step guide:
Install CyanogenMod 13 on your AT&T Galaxy S3:
- First of all, take the Marshmallow CM 13 ROM of your choice from here;
- Then, you must also take Google apps and the boot image by using this link;
- It’s time to connect your Galaxy S3 phone to the PC as long as you have to transfer the files;
- Now, you have to move them into your device’s internal storage;
- Turn off your device;
- Reboot into Custom Recovery, so press and hold the usual volume down and power keys at the same time. If you see the TWRP logo, that means you have successfully booted into the recovery;
- Perform a full wipe. In order to do that, you have to return to the TWRP main menu and tap the wipe button in order to select Advanced Wipe. Then, select Dalvik Cache, System, Data, as well as Cache;
- Up next, just swipe the confirmation button to wipe;
- Now, go back to the main menu of recovery and tap on the install option;
- Navigate to the ROM file and select it;
- Swipe the confirmation button to proceed with the installation;
- Do the same for the Gapps package;
- Have patience and at the end, you just have to reboot to system.
Isn’t this your only Android device? More CyanogenMod 13 guides are waiting for you:
- Install CM13 Android 6.0 Marshmallow OS on Asus Padfone S/X;
- You can also learn to Install CM13 Custom ROM on 2014 Motorola Moto E by using the steps presented here;
- If it’s the case, don’t hesitate to apply this general guide: How to Install CM13 Android 6.0 Marshmallow OS on any Android based device.


User forum
0 messages