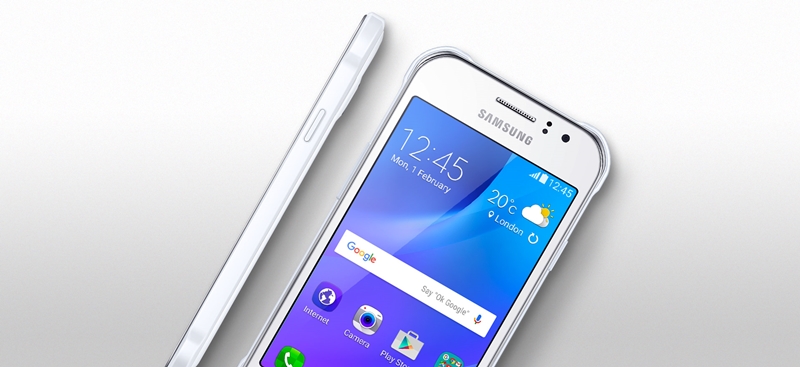
How to Unroot Samsung Galaxy J1 ACE Neo
3 min. read
Published on

You have heard it before and maybe you have discovered it on your own: rooting is a risky procedure. Apart from voiding your warranty, your Android handset may get bricked anytime during the process, but even in such conditions, some of you are willing to try. Is this the story for your Samsung Galaxy J1 ACE Neo as well? Why are you now looking for a method to unroot it?
In such a case, you know that rooting changes everything about the inherent security from Google and the people who built it. Plenty of us are thrilled by the idea at the start, but I have to remind you that being able to access an account with admin permissions was not included in release versions of Android for a specific purpose.
As soon as you add this capability, you are responsible for the security and integrity of the operating system and every application on it. For some, such a responsibility is way more than they can handle and they are one step closer to disaster.
Or maybe you have just been curious, you have tried it out and now you know! It can be fun to change the appearance of your Samsung Galaxy J1 ACE Neo, to get access in those places that were out of your league, but rooting is not the easiest, simplest, and fastest way for making your handset special and that initial feeling doesn’t last forever.
So, it’s ok to change your mind and look for a way to unroot your Samsung Galaxy J1 ACE Neo.
How to Unroot Samsung Galaxy J1 ACE Neo:
- First of all, download Odin v3.12.3 from this link;
- Now, open SuperSU-> Settings-> Full Unroot;
- Then tap on Continue;
- When the procedure is finished, your device should be unrooted once again;
- However, this doesn’t remove the insecure boot image file. For that, you must enter here and take the boot-stock.tar (mirror) file;
- Run Odin;
- Boot your device into the Download mode;
- Turn it off and then, press Power, Home, and Volume Down buttons together at the same time;
- A screen with a warning message will appear;
- Continue by pressing the Volume Up button;
- Connect your device to your PC via the original USB cable;
- Run Odin, select AP;
- Select the downloaded boot-stock.tar file and press Start;
- After the process is finished, you have to reboot your device to keep the changes that you have made.


User forum
0 messages