Transfer iTunes Library to your Android Device
3 min. read
Updated on

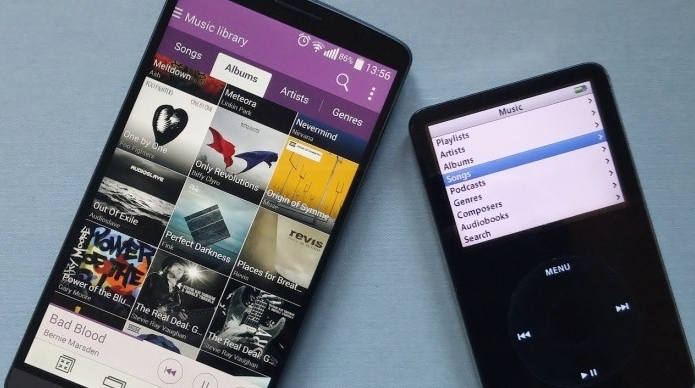
If you’ve used an iPod, iPhone or iPad for a long time, then there are big chances to have your generous digital music collection tied up inside iTunes. This seems like a problem in case of buying a new Android device, but be sure that you’ll be able to listen to your music here as well, even if there is no iTunes for Android.
Do you want to learn how to transfer iTunes Library to your Android Device as well? That is why I am here for.
First of all, you can choose to import your iTunes music library to an Android device by manually copying the music to your new Android smartphone. However, if you do that, you should know from the start that the library on your Android device cannot stay in sync with the iTunes library, meaning that when you purchase new songs in iTunes, you’ll be in the situation of repeating the process. In these conditions, I don’t really find this as being a solution, but there is something else that you can do.
I am referring to Google’s own Play Music which lets you import your iTunes music library to the cloud and the procedure is really simple, as you’ll see in the steps from below. Uploading a music library to Google Play Music means that it’s accessible to all your devices and even more, there is another major advantage that you should be aware of: it takes up no storage space. The data is practically stored in the cloud, so you’ll need a data connection to stream the music and if this could be a problem, you can also download content to keep it stored locally for offline listening.
How to Transfer iTunes Library to your Android Device:
- Go to the Google Play Music webpage;
- You must also to log in with a Google account;
- Agree to the terms of service after reading them;
- Google Play Music will detect that you have an iTunes library stored on your handset;
- Once you’re in the music section, open the main menu and select Upload Music towards the bottom;
- Now, it’s time to choose Upload songs to Google Play;
- Hit Next;
- It is up to you to select which library or folder you want to upload, so choose iTunes;
- The Music Manager will automatically find your library and once again, you are the one who must select to upload it all or selected songs only;
- Hit Next;
- You’ll be asked if you want to automatically upload songs which you add to your library in the future, therefore keeping iTunes and Google Play Music synchronized, so don’t hesitate to make your selection;
- Confirm your action;
- Leave the browser open and let Play Music upload the files to the cloud.
- Depending on the size of your iTunes music collection, this may take a while, so wait patiently.
If this guide helped you, make sure you leave me a comment below. Also, if you have any queries, I am always here to assist you, so let me know!


User forum
0 messages